
How to Make Roast Lamb Gravy (From Pan Juices)
Do you have a favorite roast dinner? While I love any roast dinner, a good lamb roast has a special place in my heart. This roast lamb gravy is a classic recipe, super easy, made from the leftover pan juices, and is out-of-this-world delicious. Serve it up alongside a roast leg of lamb or a slow-cooked lamb shoulder. You won’t regret it!

If you’re new here, you might not know I also run a small online store where I keep many of the tools I cook with every day, along with a few timeless homewares for good, slow living…
A good roast lamb leg is what my Monday night roast dinner dreams are made of. As kids, we bred sheep on our farm, so we were never short of lambs in the freezer. I remember as a teenager, being so sick of eating lamb. These days, though, a whole lamb leg, roasted to perfection with a killer gravy, mashed potatoes, and all the roast night trimmings, is dreamboat material.
Mum always makes the gravy directly in the roasting pan using the leftover juices from the roast, and after all these years, it’s still exactly how I make mine. Turning those pan drippings into a rich, delicious gravy is so satifying and maybe the best part of roast night!
How to make lamb gravy from pan drippings
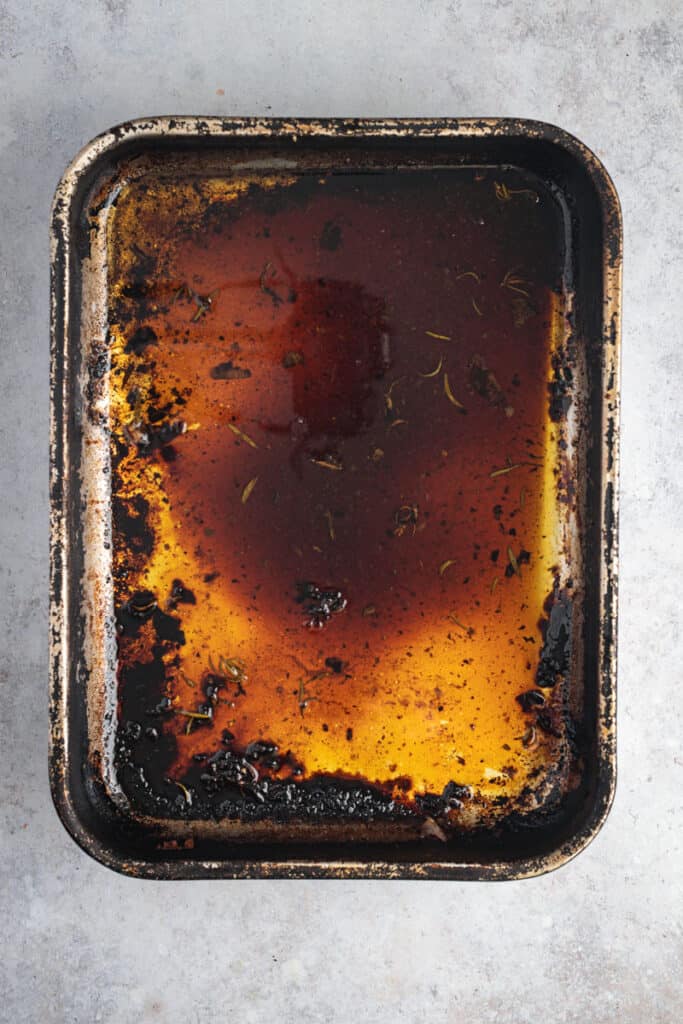
The secret to a really good lamb gravy is using the pan drippings left behind after roasting. These drippings are made up of meat juices, rendered fat, and all those delicious browned bits stuck to the bottom of the roasting pan.
Once your lamb has finished cooking, pour the drippings into a gravy separator and allow the fat to rise to the top. The flavour-packed juices can then be returned to the roasting pan to form the base of your gravy.
Don’t be tempted to wash the pan first. Those caramelised bits on the bottom of the pan are where much of the flavour lives and are what transform a simple gravy into something worthy of a Sunday roast.
What you need to get started
- Roast lamb pan juices – Pan juices are all of the drippings left in a pan after roasting a piece of meat. To use them to make gravy, you need to separate the flavor from the oils/fat.
- Plain flour / all-purpose flour
- Water
- Beef stock
- Sea salt flakes and freshly ground pepper to taste
The details
- After roasting, remove your roast leg of lamb (or other roasting cut) from the roasting pan and transfer it to a plate. Cover with foil and leave to rest.
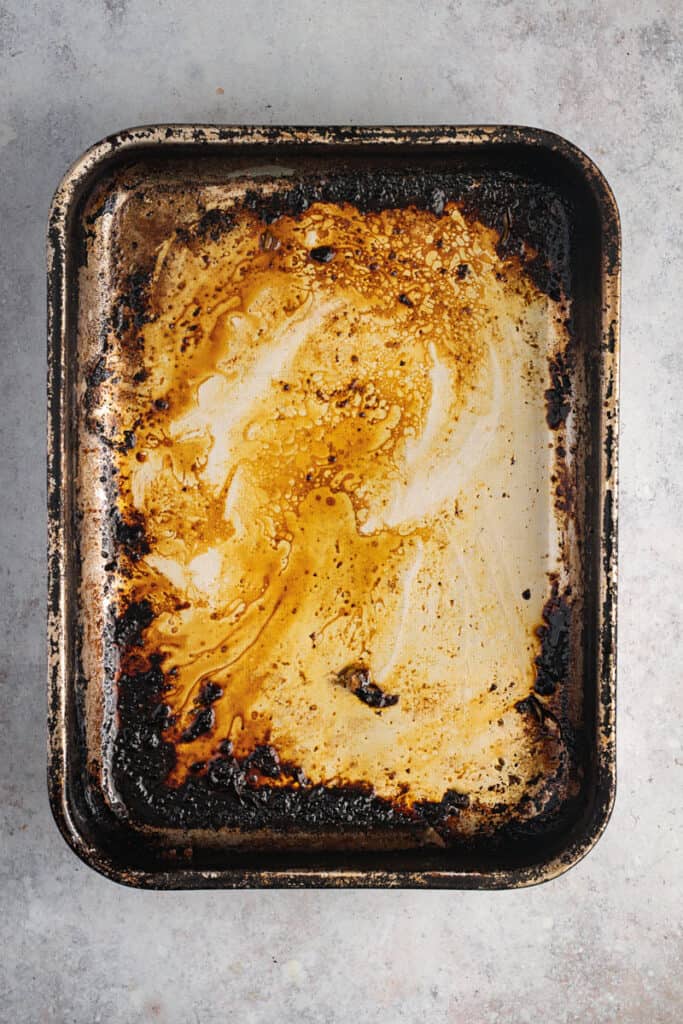
- Pour all the pan drippings into a gravy separator. Leave for a few minutes to give the fat and pan juices time to separate. You’ll notice the oils separate to the top leaving all the delicious bits at the bottom. Pour the pan juices back into the roasting tin and pop onto the stovetop on low to medium heat.
- Add the flour and stir with a whisk or wooden spoon to combine. The liquid will thicken and create a roux (a liquid/flour mixture used for thickening sauces). Cook for a few minutes (stirring continuously) to cook out the raw flour taste in the roux.
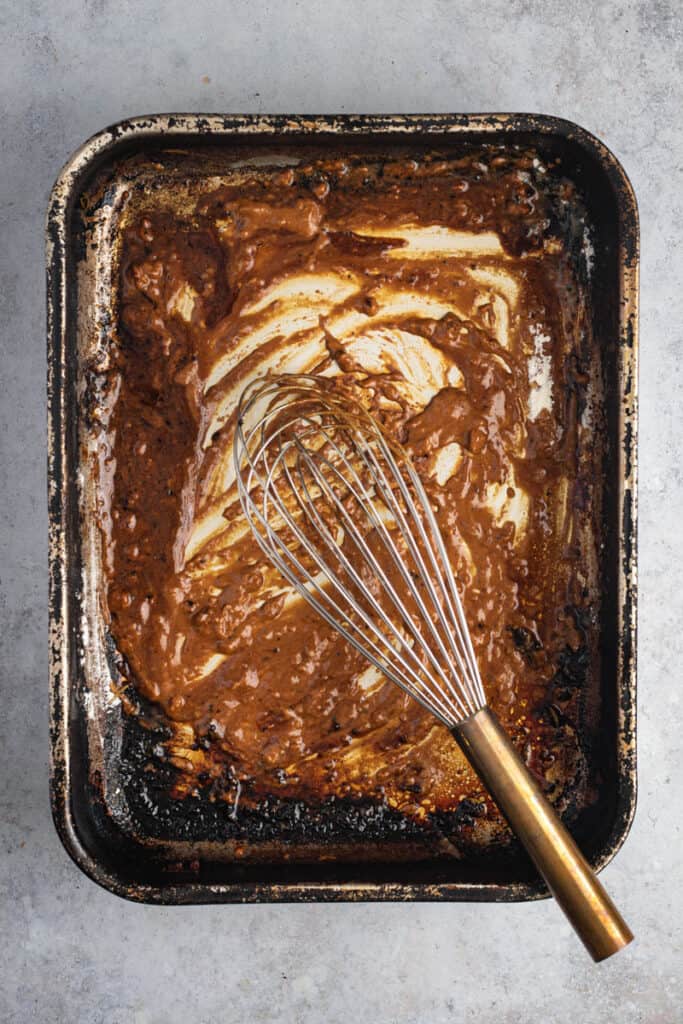
- Add the beef stock and water to the pan while whisking continuously to break up any lumps in your sauce. If you have any stuck-on bits on the bottom of your pan, try to incorporate them into the sauce. These stuck-on bits are what make the best gravy.
- Continue to whisk the gravy mixture as it comes to a simmer. Drop the temperature to low heat and simmer the gravy for 20-30 minutes, or until it thickens to your desired consistency. Make sure you are still stirring every few minutes to stop it from sticking to the bottom of the pan. If it becomes too thick, you can add more water or stock to thin it out.
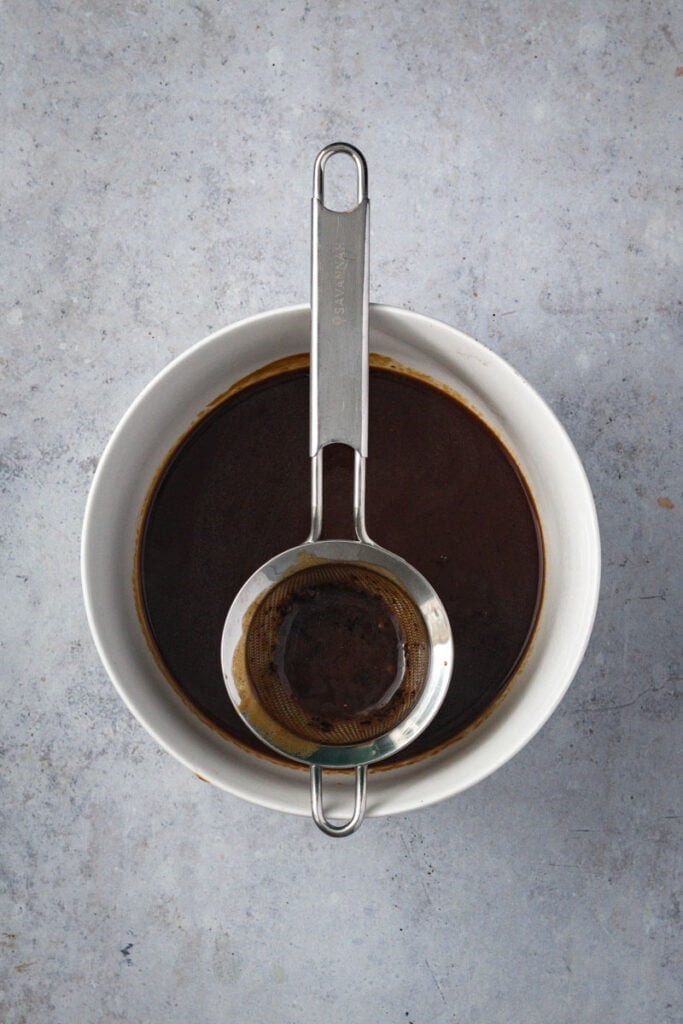
- Season (if required) with sea salt and freshly ground black pepper. At this point, you can serve it as is, or if you would prefer a cleaner-looking sauce you can strain it through a fine mesh strainer to remove any debris or lumps and pop into a gravy boat.

What’s the Difference Between Lamb Jus and Lamb Gravy?
While they’re often served with the same roast dinner, lamb jus and lamb gravy aren’t quite the same thing. A traditional lamb gravy is thickened with flour and made from roasting juices, stock, and pan drippings. It’s rich, silky, and perfect for pouring generously over roast potatoes and mashed potatoes.
A lamb jus is usually thinner and made by reducing stock and strained roasting juices without adding a thickener. It’s the kind of sauce that I serve when I’m really wanting to impress. Think Paris mash, buttered beans, roasted lamb rack, and a drizzle of lamb jus. Total perfection!
However, for a classic family roast, I’ll take gravy every time.
Equipment
I make my gravy the same way my Mum does it, directly in the pan the roast was cooked in. For me, that’s usually a stainless steel or cast iron roasting pan, but any roasting dish that’s safe for both oven and stovetop use will work.
A sturdy roasting pan makes it easy to turn those leftover roasting juices into a rich homemade gravy without creating extra dishes. If your roasting pan isn’t stovetop-safe, simply transfer the pan juices to a saucepan and continue from there.

New to Cast Iron Cooking?
Fallen down the cast-iron rabbit hole? You’re in the right place. Start with my Cast Iron Cooking Hub.
Can You Make Lamb Gravy in a Dutch Oven?
Absolutely.
The heavy base retains heat well and encourages the browned bits (known as fond) to develop on the bottom of the pot as the lamb cooks. Those browned bits are pure flavour and form the foundation of a rich homemade gravy.
If you’ve roasted your lamb shoulder or leg of lamb in a Dutch oven, simply remove the meat to rest, separate the fat from the pan juices, and make the gravy directly in the pot. Fewer dishes and more flavour is always a win in my book.
Variations
Add some mint sauce, seeded mustard, or cranberry sauce to the sauce just before seasoning to add some extra flavor.
Sauté some onions in a little olive oil and butter, and add them to the gravy for an easy onion gravy.
Swap out the water for a cup of red wine, and you’ve got a killer lamb and red wine gravy. Because I use white wine in my lamb recipes as a pan base, I don’t tend to add more to the sauce, but the world is your oyster, so if it floats your boat, go for it!
Add some finely chopped fresh herbs, or add some fresh rosemary to the pan while cooking to impart a rosemary flavor.
ENAMEL CAST IRON FAN?
If your idea of a good time involves a Dutch oven and a rainy afternoon, I think we’re going to get along just fine. Start with my Cast Iron Field Guide.
Cooks notes
After your lamb leg has rested, any excess meat juices can be incorporated into the sauce.
Gravy is very forgiving when it comes to exact quantities, so If you don’t have exactly 1/4 cup of lamb drippings, don’t stress, just as close as you can will be fine. You’ve also been roasting in a pan for an hour or so, so there will be flavor sitting on the bottom of it, too.
My lamb leg recipe has a salt rub all over the roast meat, therefore you may not need to add extra salt when seasoning. Always taste before salting!
While I have referred to a lamb leg through this recipe, any cut of roast lamb meat, bone-in or boneless lamb will still have the same result.
Can I make gravy ahead of time?
You sure can. If I cook a large roast, we might have a roast dinner two days in a row, or I tend to make heat-up dinners a lot for our shift worker in the house. In this case, after cooking, transfer your gravy to an airtight container and pop it in the fridge for up to three days. When you are ready to serve, reheat in a small saucepan on low heat on top of the stove.
What I serve my roast lamb with
- Duck fat roast potatoes
- Black garlic potato gratin
- Burrata Caprese salad
- Roasted Balsamic Beetroot and Carrot Salad with Labneh
- My Mushy Peas Recipe
Bring on roast night!
x
Start slow. Cook confidently.
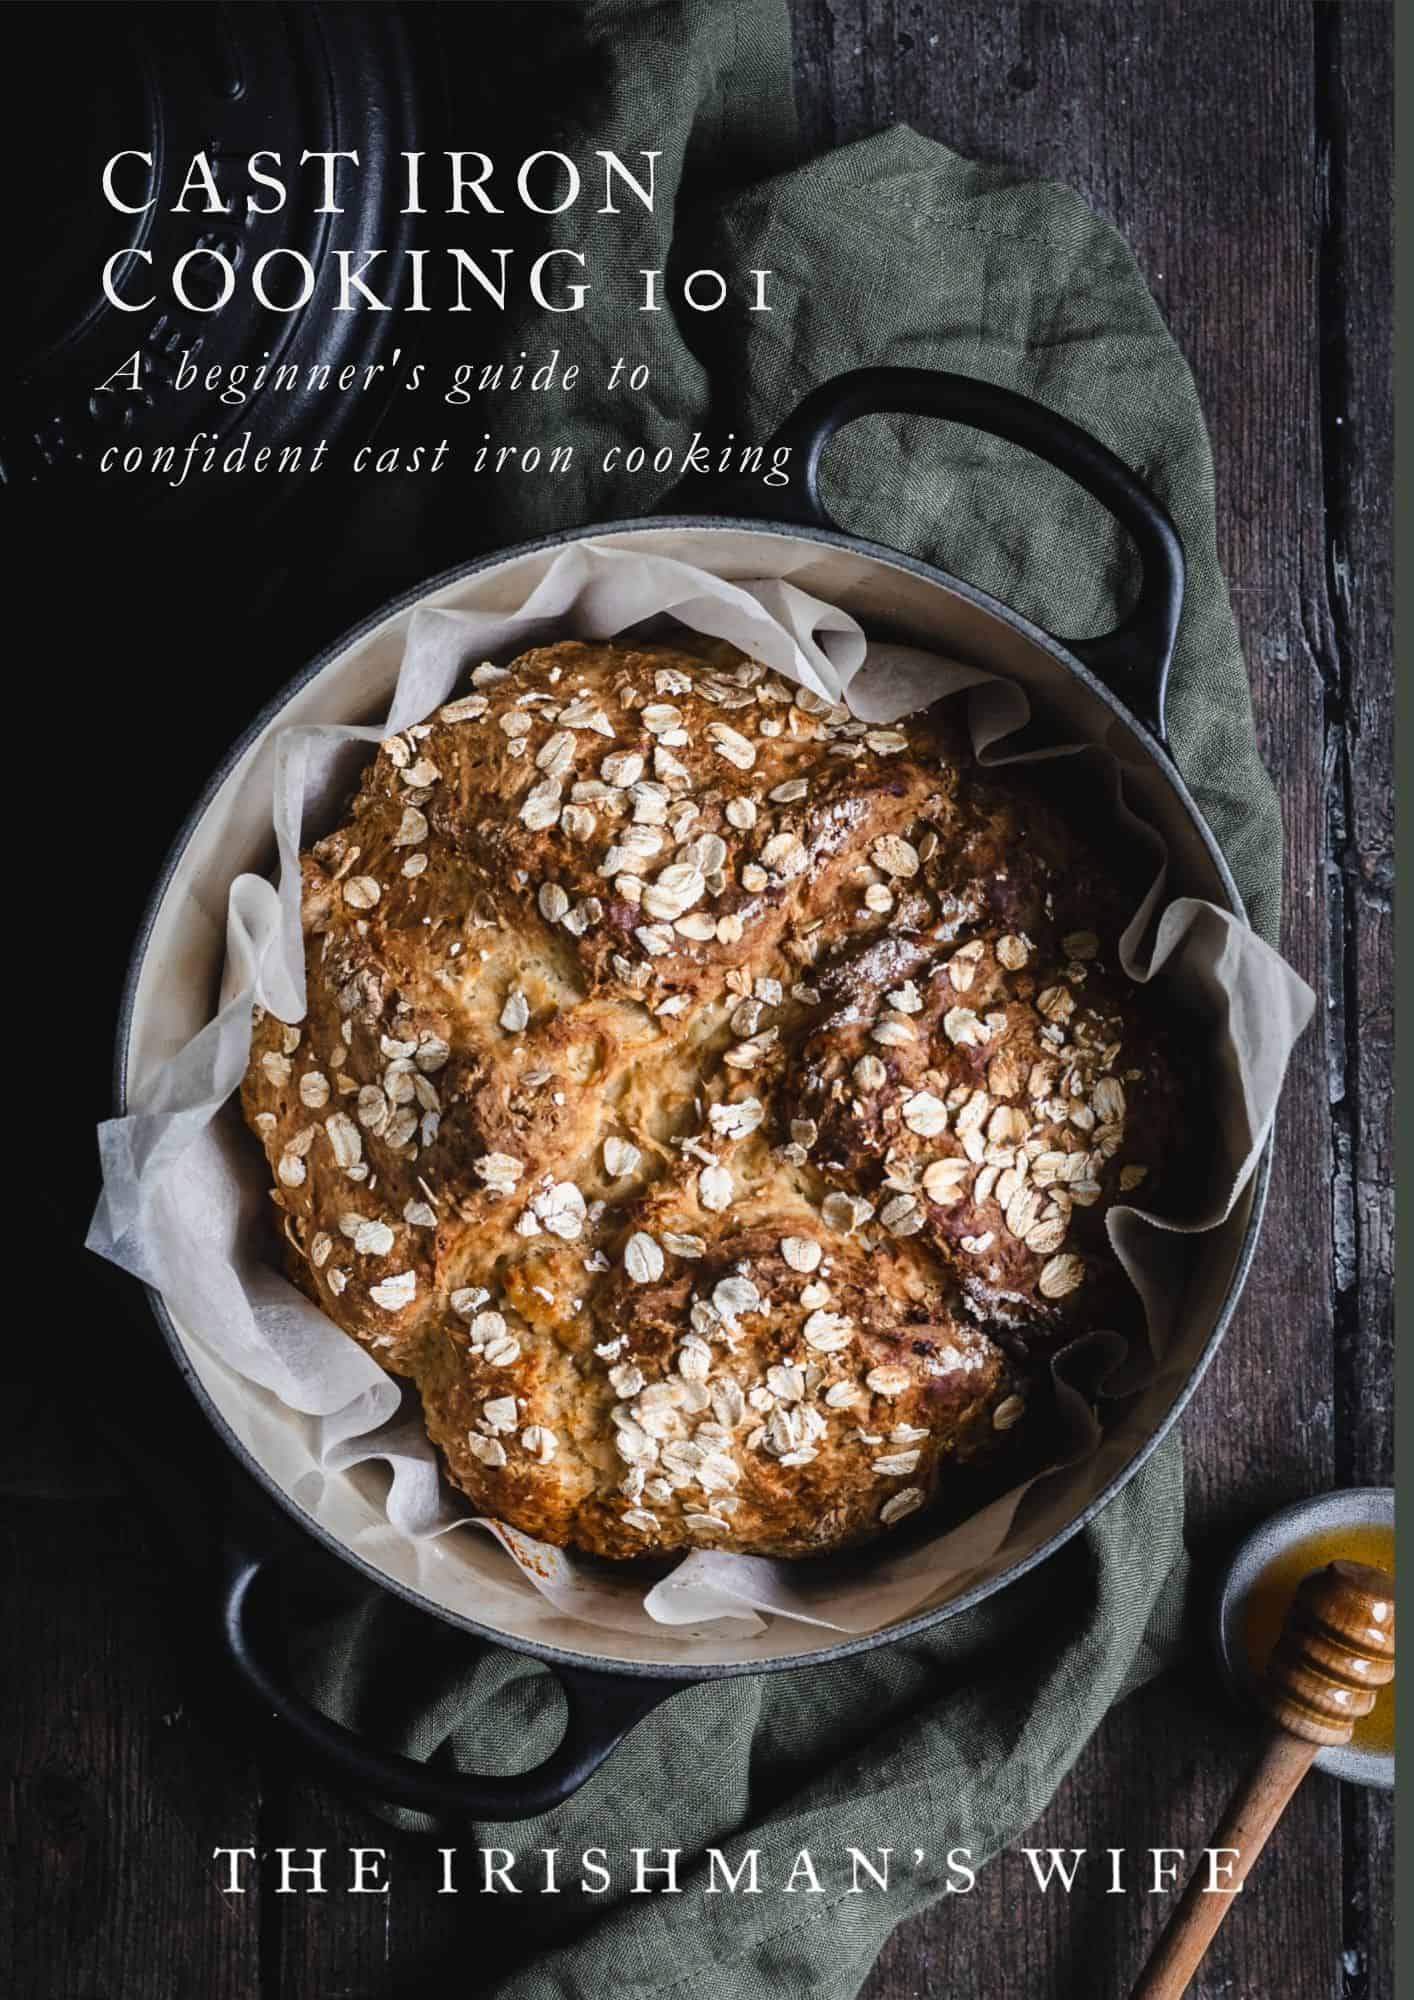
Cast Iron Cooking 101
From slow cooked stews to warm bread fresh from the oven, this guide will help you feel confident cooking with cast iron at home.
Roast Lamb Gravy (From Pan Juices)
- Prep Time: 5 minutes
- Cook Time: 25 minutes
- Total Time: 30 minutes
- Yield: 4 serves 1x
- Category: Side Dish
- Method: Stovetop
- Cuisine: Australian
Description
This roast lamb gravy is a classic recipe, super easy, made from the leftover pan juices, and is out-of-this-world delicious. Serve it up alongside a leg of lamb or a slow-cooked lamb shoulder. You won’t regret it!
Ingredients
- 1/4 c roast lamb pan juices*
- 2 tbsp plain flour
- 250ml water
- 250ml beef stock
- sea salt flakes and freshly ground pepper to taste
Instructions
- After roasting, remove your lamb leg (or other roasting cut) from the roasting pan and transfer it to a plate. Cover with foil and leave to rest.
- Pour all the pan drippings into a gravy separator. Leave for a few minutes to give the fat and pan juices time to separate. Pour the pan juices back into the roasting pan and pop onto the stovetop on a low to medium heat.
- Add the flour and stir with a whisk or wooden spoon to combine. The liquid will thicken and create a roux (a liquid/flour mixture used for thickening sauces). Cook for a couple of minutes (stirring continuously) to cook out the raw flour taste in the roux.
- Add the beef stock and water to the pan while whisking continuously to break up any lumps in your sauce.
- Continue to whisk the gravy mixture as it comes to a simmer. Simmer the gravy for 20-25 minutes, or until it thickens to your desired consistency and you get your desired flavor. If it becomes too thick, you can add more water or stock to thin it out.
- Season (if required) with sea salt and freshly ground black pepper. At this point, you can serve it as is, or if you would prefer a cleaner-looking sauce you can strain it through a fine mesh strainer to remove any debris or lumps.
Notes
Pan juices are all of the drippings left in a pan after roasting a piece of meat. To use them to make a gravy, you need to separate the flavor from the oils/fat. This is where a gravy separator comes in handy and makes easy work of it. The spout of the tool connects to the bottom of the jug, therefore when you pour the drippings, you get all the good bits pour out first. Total genius. Alternatively, you can also use a turkey baster to suck up all the good bits leaving behind the oil layer.
Gravy really develops in flavor as you cook it. It will take 30 minutes of stirring and simmering to get a delicious lamby gravy – so don’t rush this process!
Please note all recipes on this website are in US measurements. Eg, 1 cup / 240ml, 1 tablespoon/15mls. Oven temperatures refer to a fan-forced oven.

Had it with my lamb last week. I had never made gravy from scratch such an eye opener
So great to hear thank you Bruce for you comment x
This stuff is amazing, I made the leg of lamb and just had to make the sauce! Requires a little patience but man as it cooks down and gets all velvety….heaven on a spoon
Thanks John! It doesn’t get much better than Roast lamb with homemade gravy! Enjoy your dinner x
Hi Emma, I slow-roasted a 5-lb boneless leg of lamb, which included a total of 4 cups of liquid (3 c beef stock, 1 c water) along with onions, garlic and herbs. I am not serving it immediately and have shredded and stored the meat separately. I have almost 3 cups of rich liquid left over (after skimming most of the fat). What is the best way to make gravy with this? For example, for 1 cup of liquid, what would be the correct proportions of fat and flour?
Thanks in advance,
Cindy Moore
Charlottesville, VA
Hi Cindy. No Matter how much liquid I have I still use 2 tbsp of flour. If I was cooking a very small amount of gravy, you could reduce to one tablespoon, however I’ve always found that 2 is the sweet spot. What I would change though is the liquid. If you roast and have 3 cups of liquid left, I would substitute the amount of beef stock and use the juices from your pot instead. If I’m roasting a leg of lamb, I never would have that much liquid left over, hence the beef stock addition. Hope this helps:) Happy New Year! Emma x