
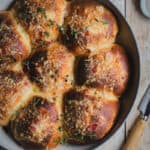
Cheese and Bacon Rolls
Hands up who grew up in Australia on cheese and bacon rolls from your local bakery? It’s an Aussie staple. Well, this is my version. Light, fluffy homemade bread rolls with a good bit of bacon and cheese thrown into the mix!

If you’re new here, you might not know I also run a small online store where I keep many of the tools I cook with every day, along with a few timeless homewares for good, slow living…
Why you are going to love these bacon and cheese rolls.
Very little hands-on time. Most of the cooking time here is waiting for the dough to rise. I start a batch of these on a Sunday morning at about 9am while I’m making breakfast, And we have them for lunch with a hot-out-of-the-oven roast chicken. Easy breezy and oh-so cheesy!
They are such a great addition to any Summer BBQ. Just add some grilled sausages, beef rissoles, a bottle of wine, and a potato salad and you have a party.
Here’s what you need to get started
- Dried yeast – I use Saf Instant Yeast. It’s a dry yeast that doesn’t require activation in water to make the dough rise.
- Full cream milk, unsalted butter (for greasing the skillet and glazing the buns)
- Pantry Essentials – Bread flour, sea salt flakes, runny honey, extra virgin olive oil
- Egg
- Bacon – I use eye bacon cut into a rough 1cm dice.
- Vintage cheddar cheese. Any good, sharp cheddar with a good bit of flavor will work.
The Nitty Gritty
- Grate the cheddar cheese and pop it aside. Saute 200g of the bacon bits in a small frypan for a couple of minutes on medium heat. Once cooked, transfer the bacon to a plate lined with paper towel and leave to cool.
- Place the milk, yeast, sugar, and honey in a bowl. Give it a quick stir to combine it with a fork. Set aside.
- In a stand mixer bowl place the flour, salt, olive oil, and egg.
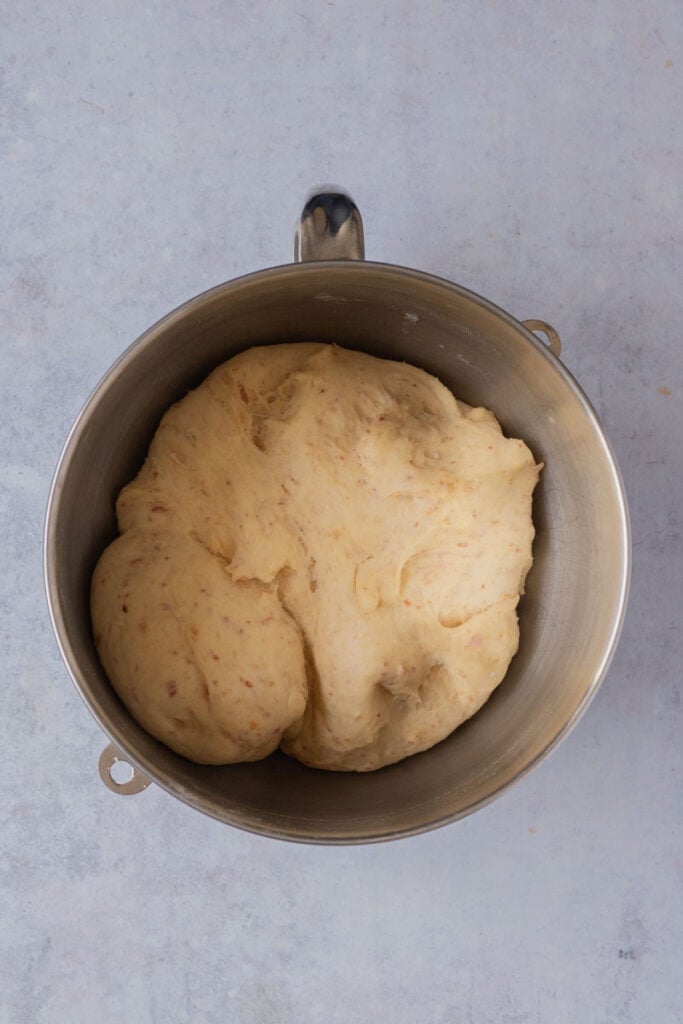
- Add the milk mix to the dry ingredients. Turn the mixer onto speed two. When just combined, reduce the speed to one and add the cooked bacon bits and 100g of the grated cheddar. Continue to mix for a further 10 minutes. By this stage, your dough should be super smooth and elastic with the bacon and cheddar fully incorporated.
- Cover the bowl with a tea towel or plastic wrap and leave to stand at room temperature or a warm place (on a cold day) for 90 minutes to allow the dough to rise.
- While the dough proves, grease a 30cm cast iron skillet with a little butter and set aside.
- Remove the dough from the bowl and turn out onto a lightly floured surface.
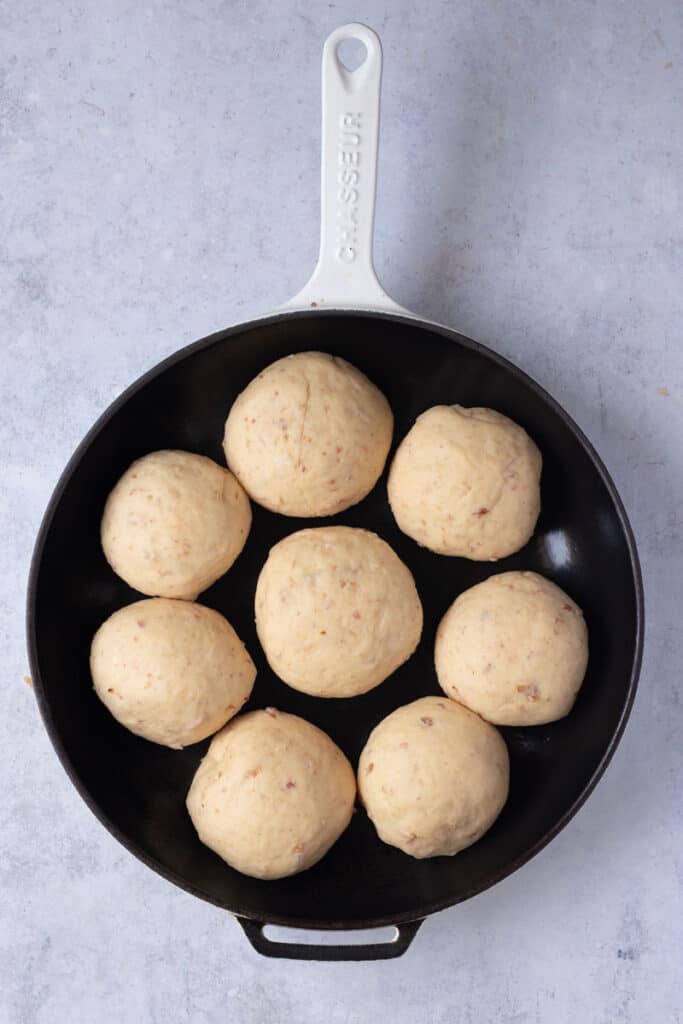
- Divide the dough into 12 pieces for small dinner rolls or 8 pieces for hamburger-size rolls. Shape each piece of dough into a ball.
- Pop the dough balls into the greased skillet. They should be close but not touching to allow for the dough to rise during the second proof. Cover with a tea towel and place in a warm spot for 1 hour.
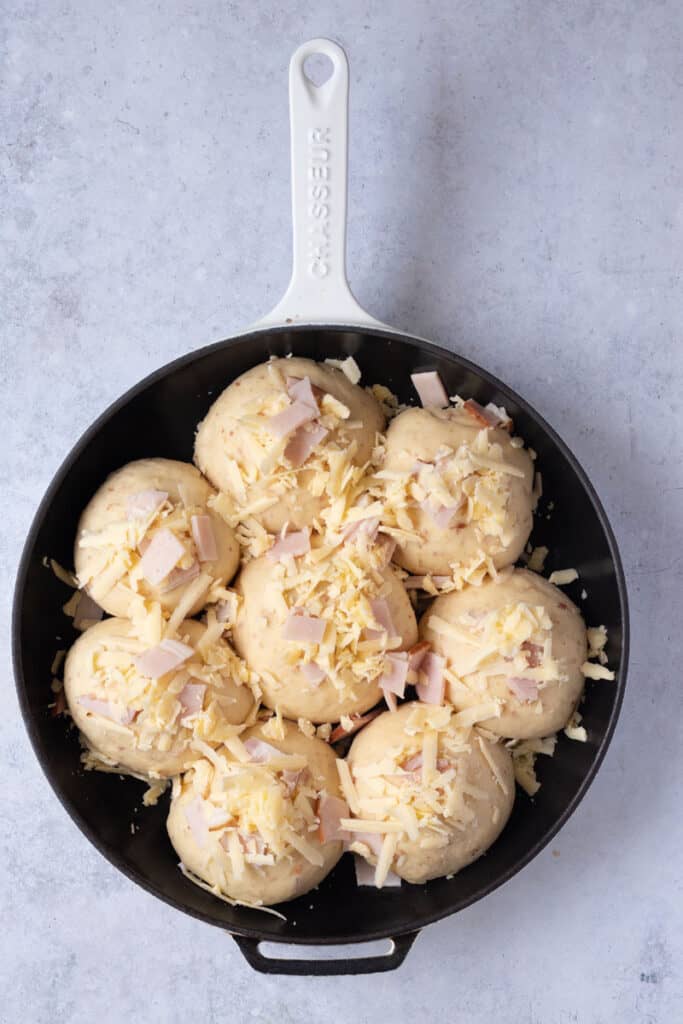
- Melt the remaining butter and Brush the tops of the cheesy bacon rolls. Sprinkle the remaining uncooked bacon and shredded cheese on top.
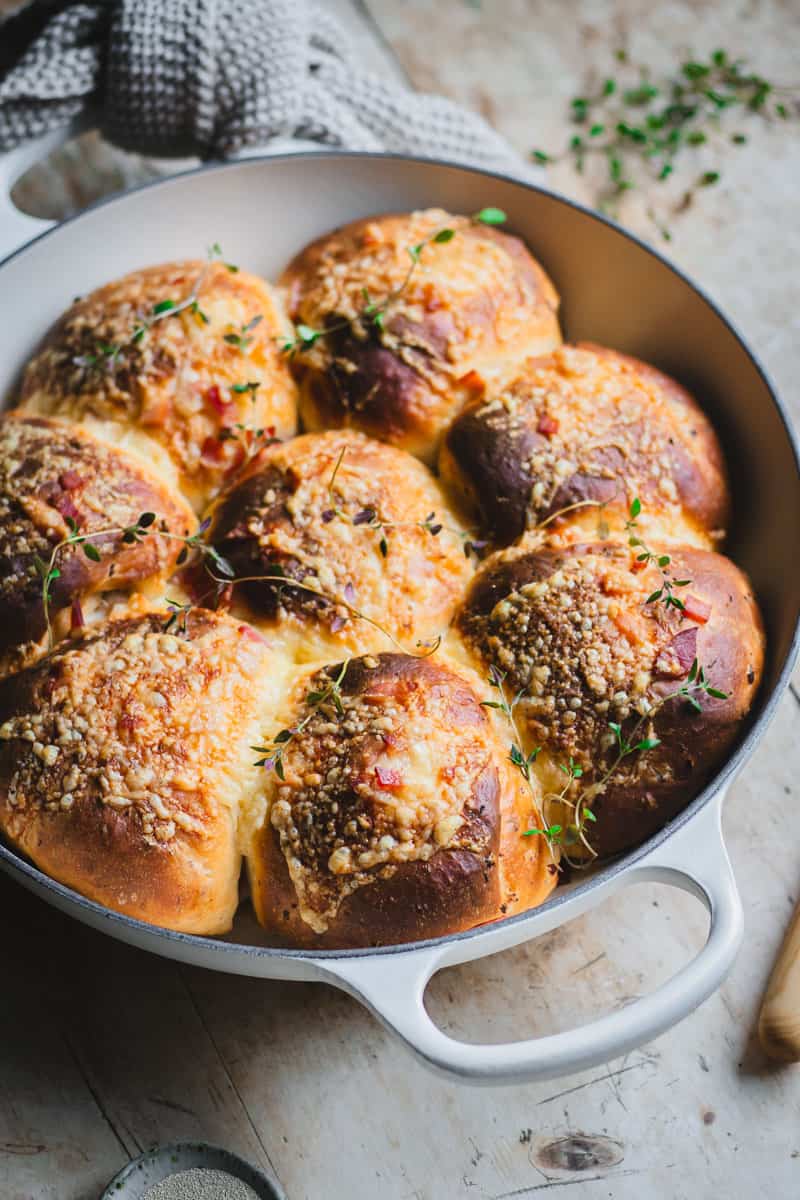
- Bake in a preheated 190 degrees Celcius oven for 25 minutes or until golden brown.
Equipment
Can you make this by hand? Yes! Do I want to? Ah no. My trusty KitchenAid electric mixer fitted with its dough hook and the large bowl makes a quick and easy bread dough in 15 minutes.
I also use my 30cm cast iron skillet (or my 30cm shallow casserole) to saute the bacon and bake the rolls in. You can also use a regular oven tray / cookie sheet for this cheese and bacon rolls recipe instead of a skillet. I’m all about less washing up so if one piece of cookware can do two jobs, well that’s a win for sure! I do wipe out my skillet after cooking the bacon, before greasing it with butter to use it to bake the rolls. Plus think of all that extra bacon flavor in that skillet!
A small mixing bowl, and a dough scraper are my other two essentials. I never make a dough without having my plastic dough scraper on hand.
Cooks notes
When cooking the bacon, you are only lightly cooking it to release all that good bacon flavor. We are not making crispy bacon, so be sure to not overdo it!
Ideally, when you have incorporated the bacon and cheese into the dough, there should not be any bacon bits poking out to ensure they don’t burn. While this is sometimes unavoidable, you’ll get a better result if the bacon stays hidden on the inside!
How long do they last?
Homemade cheese and bacon rolls should ideally be eaten on the day they are made.
If you have leftovers, you can eat them the next day. I usually just heat them in the microwave for 10 seconds, and they taste just like they are fresh straight out of the oven!
To store your cheesy skillet rolls, once they have cooled, pop them into an airtight container.
Love a quickbread? Try these easy recipes…
x
Start slow. Cook confidently.
Cast Iron Cooking 101
From slow cooked stews to warm bread fresh from the oven, this guide will help you feel confident cooking with cast iron at home.
Easy Cheese and Bacon Rolls – In a cast iron skillet
- Prep Time: 30 minutes
- Resting Time: 2 hours 30 minutes
- Cook Time: 25 minutes
- Total Time: 3hours 25 minutes
- Yield: 8–12 1x
- Category: Skillet Baking
- Method: Baking
- Cuisine: Australian
Description
It’s an Aussie staple. Well, this is my version. Light, fluffy homemade bread rolls with a good bit of bacon and cheese thrown into the mix!
Ingredients
- 200g + 50g bacon, cut into a rough 1cm dice.
- 100g + 50g vintage cheddar cheese
- 250ml warm milk
- 2 tsp dried yeast
- ½ tsp sugar
- 1 tbsp runny honey
- 500g bread flour
- 2 tsp sea salt flakes
- 2 tbsp extra virgin olive oil
- 1 egg
- Butter for greasing the skillet and glazing the buns (about 2 tbsp)
Instructions
- Grate the cheddar cheese and pop it aside. Saute 200g of the bacon bits in a small frypan for a couple of minutes on medium heat. Once cooked, transfer the bacon to a plate lined with paper towel and leave to cool.
- Place the milk, yeast, sugar, and honey in a bowl. Give it a quick stir to combine it with a fork. Set aside.
- In a stand mixer bowl place the flour, salt, olive oil, and egg.
- Add the milk mix to the dry ingredients. Turn the mixer onto speed two. When just combined, reduce the speed to one and add the cooked bacon bits and 100g of the grated cheddar. Continue to mix for a further 10 minutes. By this stage, your dough should be super smooth and elastic with the bacon and cheddar fully incorporated.
- Cover the bowl with a tea towel or plastic wrap and leave to stand at room temperature or a warm place (on a cold day) for 90 minutes to allow the dough to rise.
- While the dough proves, grease a 30cm cast iron skillet with a little butter and set aside.
- Remove the dough from the bowl and turn out onto a lightly floured surface.
- Divide the dough into 12 pieces for small dinner rolls or 8 pieces for hamburger-size rolls. Shape each piece of dough into a ball.
- Pop the dough balls into the greased skillet. They should be close but not touching to allow for the dough to rise during the second proof. Cover with a tea towel and place in a warm spot for 1 hour.
- Melt the remaining butter and Brush the tops of the cheesy bacon rolls. Sprinkle the remaining uncooked bacon and shredded cheese on top.
- Bake in a preheated 190 degrees Celcius oven for 25 minutes or until golden brown.
Notes
Ideally, when you have incorporated the bacon and cheese into the dough, there should not be any bacon bits poking out to ensure they don’t burn. While this is sometimes unavoidable, you’ll get a better result if the bacon stays hidden on the inside!
Don’t have a cast iron skillet? This recipe can also be baked on a greased baking tray.
Never shaped bread rolls before? Check out this tutorial by King Arthur Baking.
Nutrition
- Serving Size: I roll
- Calories: 519
- Sugar: 4.7 g
- Sodium: 935.4 mg
- Fat: 26.8 g
- Carbohydrates: 50.8 g
- Protein: 18 g
- Cholesterol: 70.7 mg


The ultimate comfort snack- family favorite
It totally is!, thank you Annie so happy to hear you loved it x