
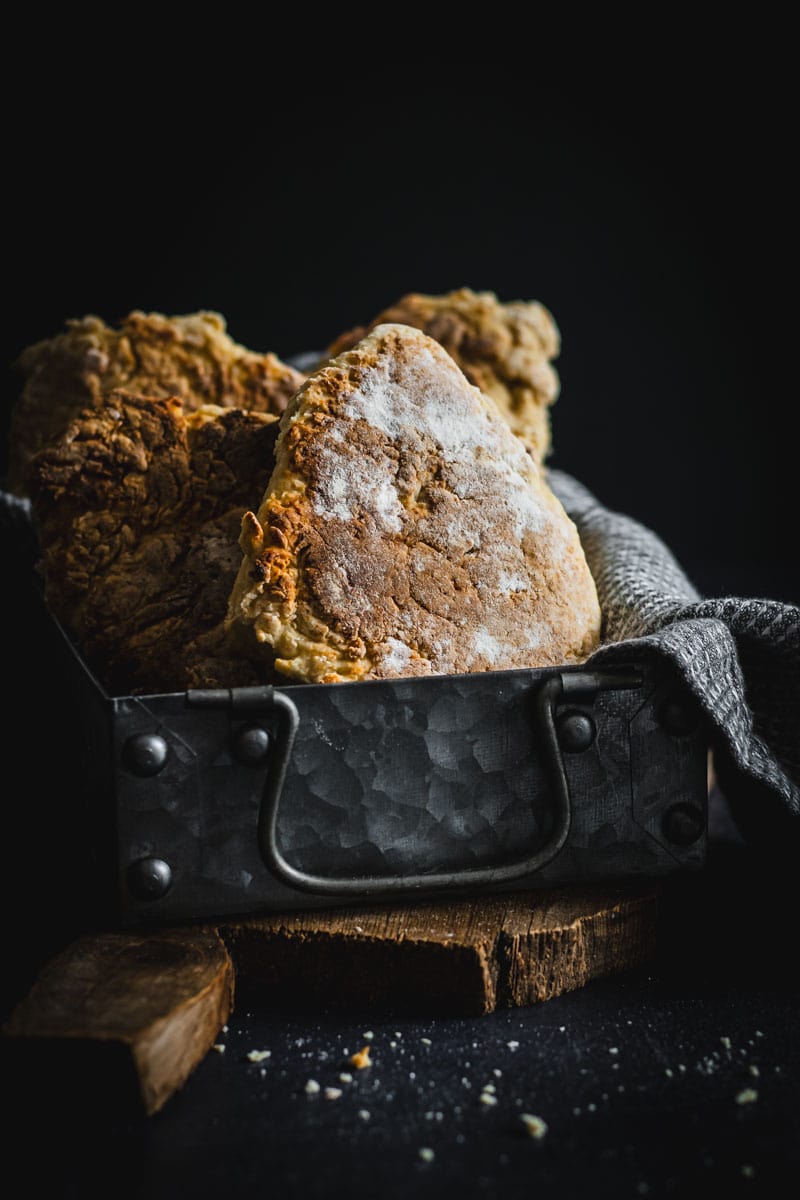
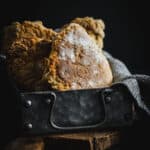
Traditional Irish Soda Farls
I’m putting it out there. Irish Soda Farls on Sunday mornings are the best. Yes, potato farls are delicious, a traditional Irish soda bread is too, but soda farls are the bomb. I cannot think of another homemade bread that is so quick to whip up for Sunday breakfast and tastes SO DAMN GOOD!
If you’re new here, you might not know I also run a small online store where I keep many of the tools I cook with every day, along with a few timeless homewares for good, slow living…
For those new to soda farls, they are simply an Irish soda bread loaf that is flattened and cut into quadrants before being cooked on a stovetop griddle (a flat cast iron skillet). While many indulge in these beauties as part of their St Patrick’s Day breakfast, I love to cook them all year round. Because why save something so delicious for just one day of the year?
So, what exactly are soda farls?
If you’ve never had soda farls before, you’re in for a treat. These traditional Northern Irish griddle breads are soft, rustic, and cooked on a hot skillet rather than baked in the oven. They’re best known as part of a full Ulster Fry, though honestly? Around here we’ll happily eat them warm from the pan with nothing more than butter and a hot cup of tea.
While they are so much like soda bread, soda farls are softer, thinner, and cook surprisingly quickly on top of the stove. They’re seriously one of the easiest homemade breads you can make without turning on the oven.
Why you are going to love this recipe
It’s FIVE simple ingredients. They are all pantry staples that most people would keep in their pantry. Winner!
Can you say BEST BREAKFAST EVER? I like my soda farls simply hot, straight out of the skillet, doused with lashings of cold butter, homemade jam or served with baked beans. The Irishman is more of a fryup kinda guy on a Sunday morning so it’s a Traditional Full Irish Breakfast with soda farls on the side.
It takes under 40 minutes to get homemade, hot soda farls on the table. Hands-on time is under 10 minutes.
What you need to get started
- Plain flour – no need to use bread flour with this one, plain, all-purpose flour will do the job!
- Sea salt flakes. I am a huge fan of Murray River Salt Flakes. It’s my go-to sea salt. Maldon salt is another favorite.
- Baking soda (bicarbonate of soda). The bicarb soda acts as the evening agent when activated by the acidity in the buttermilk. Always make sure your baking soda is in date before cooking! To test, add a small amount into a bowl and add a little vinegar. If it sizzles, you’re good to go, otherwise, it’s probably past its best-before date and needs to be replaced.
- Runny Honey
- Buttermilk – if you don’t have buttermilk on hand, you can easily make your own by combining 1 cup of regular milk with 1 tbsp lemon juice in a measuring jug or small bowl. Leave for a couple of minutes until it curdles and you’ve got buttermilk!
How to
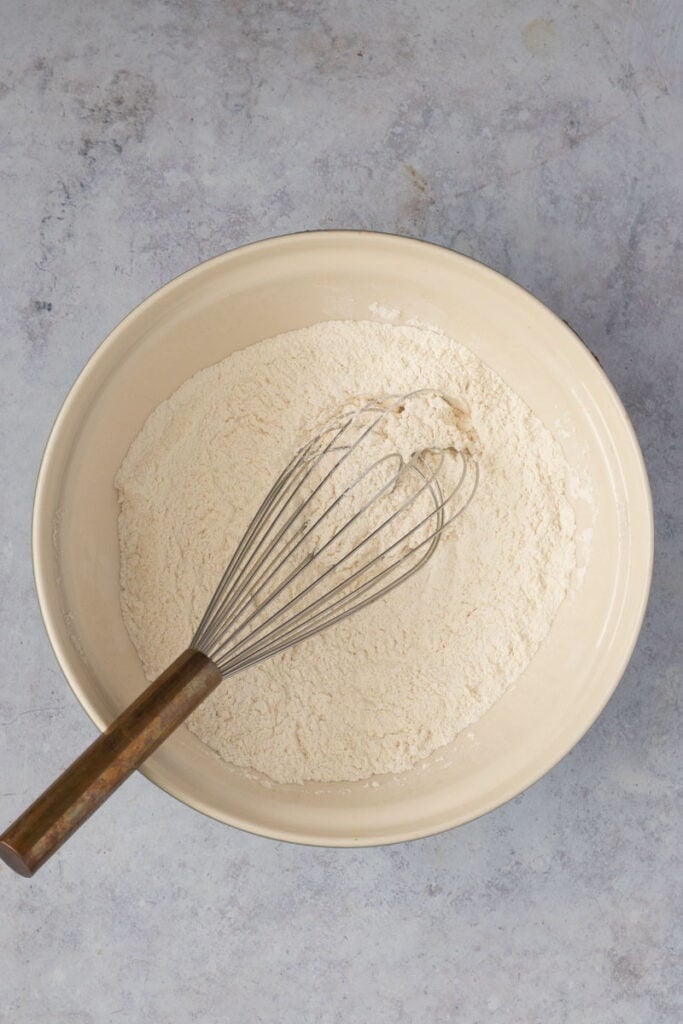
- Combine all the dry ingredients in a large bowl. Give it a quick whisk to aerate the flour and pop aside.
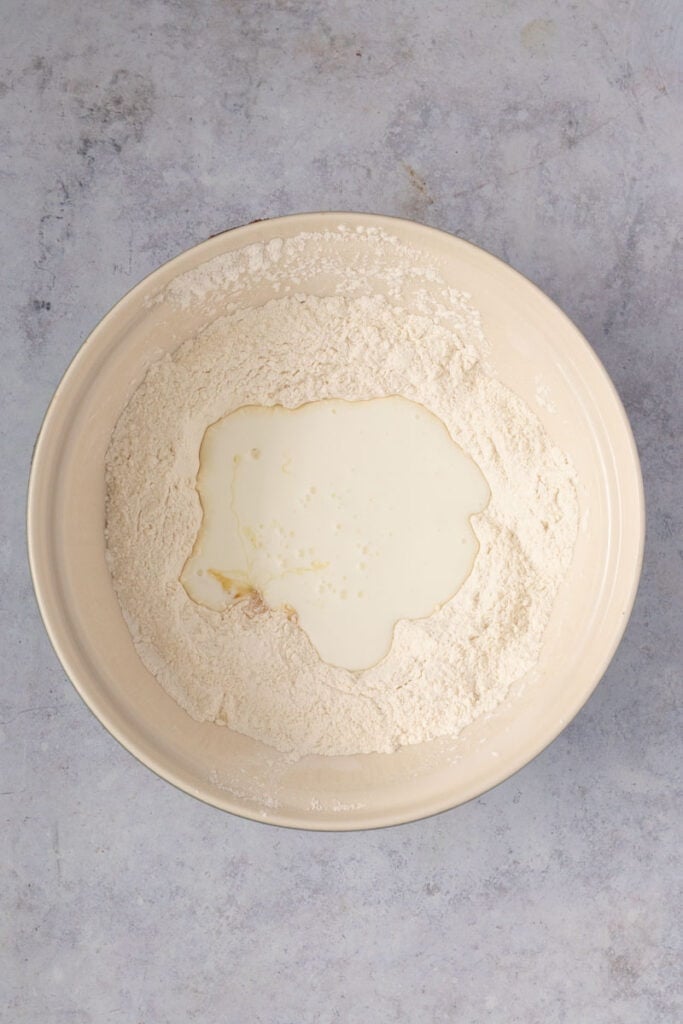
- In a small bowl add the honey to the buttermilk and give a good stir.
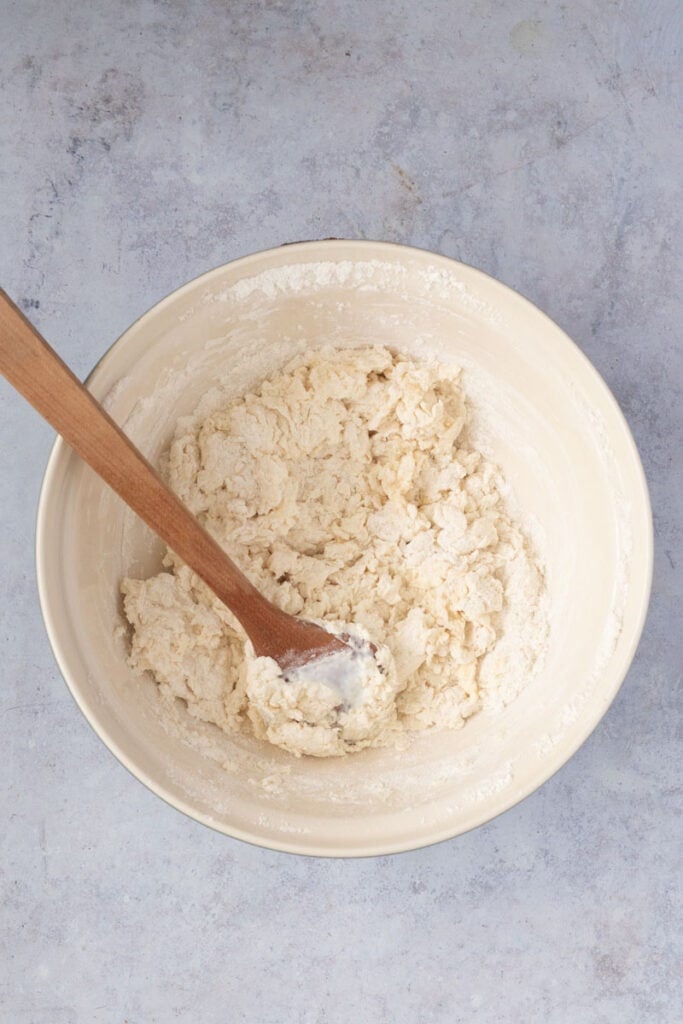
- Make well in the center of the dry ingredients. Add the buttermilk mixture to the mixing bowl with other ingredients. Using a large wooden spoon, Stir just to combine, but no more. The mixture should be a bit sticky. This is completely normal. Turn the soft dough out onto a well-floured surface and lightly form the dough into a disc about one and a quarter inches thick. Divide the dough into quarters by cutting the disc into wedges with a floured knife.
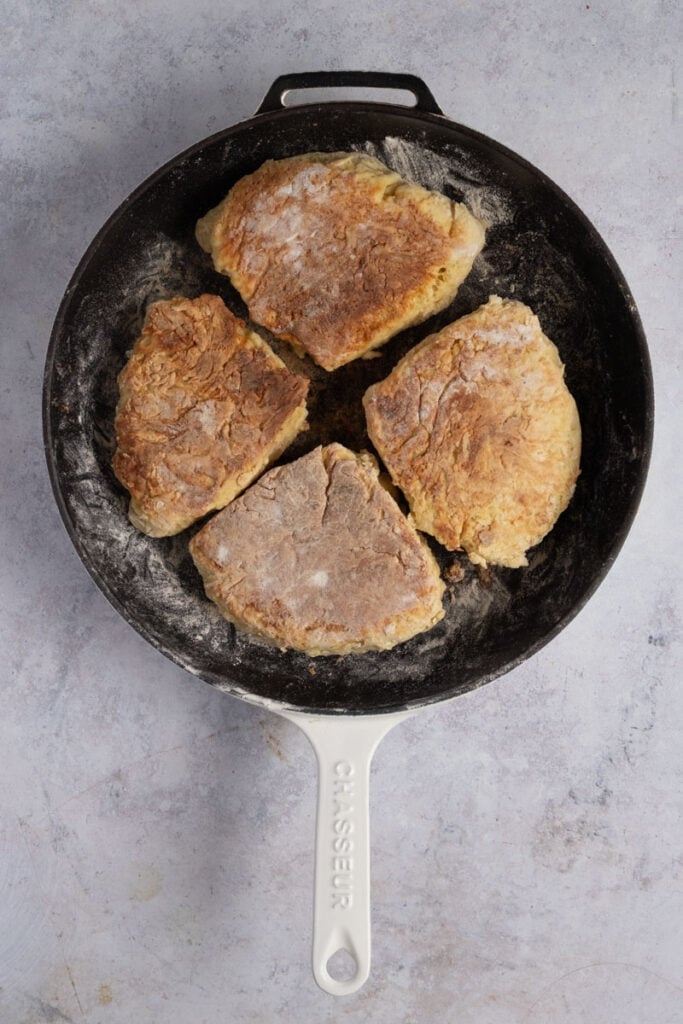
- Warm up a heavy, cast iron skillet on low heat. After a couple of minutes dust the base of the pan with a little flour. Add your soda farls to the floured skillet and pop on the lid. Cook for 10 minutes on low heat until crusty and golden brown. Flip the soda farls and cook on the other side for another 10-12 minutes or until cooked through. Depending on the thickness of your soda farls, you may need to flip them on their sides to toast.
- Turn the cooked farls onto a wire rack to cool, then wrap them in a clean tea towel or eat them hot straight out of the pan.


Equipment
A heavy cast iron pan or flat griddle is a must. The cast iron gives the soda farls a delicious, rustic crust to the exterior, and trust me, it’s an essential part of a soda farl. Don’t be tempted to use a nonstick pan, it just won’t give you the same result. I use my 30cm enamel cast iron skillet for making soda bread farls – it works a treat!
Other must-haves are a wooden spoon, a sharp knife, a large mixing bowl, an egg flip as well as measuring cups and spoons.
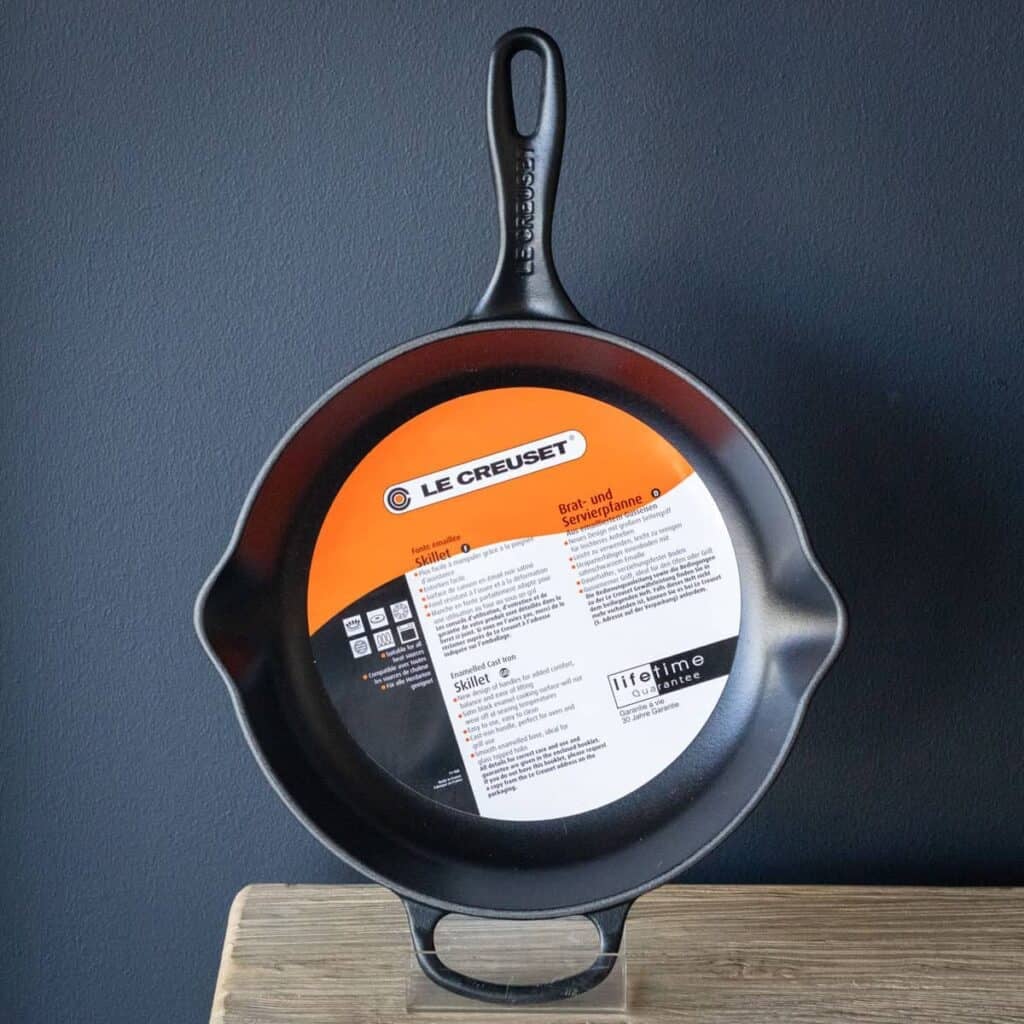
My Everyday Skillet
If you only need one skillet in your life, this is it. My 26cm skillet handles everything from morning eggs to steak dinners and cozy fruit cobblers. Big enough for a family meal, but light enough to grab every single day.
Why I cook soda farls in cast iron
Traditional soda farls are cooked on a flat griddle, so a heavy cast iron skillet is about as close as you can get in a home kitchen. It gives the farls that gorgeous golden crust while still keeping the middle soft and fluffy.
I cook mine low and slow in my enamel cast iron skillet, and to be honest, I’m just a little obsessed with how cast iron cooks bread. The texture, the rusticness… it’s hard to beat.
While you can use a regular frying pan, I’m going to put it out there, it’s just not the same. Cast iron holds heat far more evenly, which makes it much easier to cook the farls right through without burning the outside. This is one of those recipes where your cast iron pan really shines.
If you’re just getting started with cast iron cooking, my Start Here guide is packed with tips for cooking with enamel cast iron, from choosing the right skillet to baking your first loaf of bread.
Cooks notes
When it’s time to cook your soda bread farls, Make sure your cast-iron griddle is free from oil or butter. You’ll only need a hot, dry griddle and a little flour in the base to get a nice, dry crust on the soda farl.
Don’t be tempted to turn up the heat to get your farls to cook faster. Low and slow is the way to go! Sorry for that;) A high heat will only cook the outside and you’ll be left with a raw dough inside.
How to serve them up
Ok, so we’ve talked about adding to an Ulster fry for breakfast. But what about half a soda farl to dip in your Irish Stew for dinner? Yes, please!
The same goes for dunking in a hearty soup like this lamb shank soup.
Cut your soda farl in half and layer in your favorite sandwich fillings for a different take on a simple sandwich Or, a cracking bacon and fried egg breakfast roll.
With this homemade berry jam. Anytime. All the time.
FAQ’s

WELCOME TO THE WORLD OF CAST IRON
One pot turned into three… and now you’re hooked? It happens to the best of us. Find recipes, tips, and guides in my Cast Iron Cooking Library.
Storage
Soda farls are best eaten on the day they are made. If you do have leftovers, store the farls in an airtight container. The next morning either pop them into a warm oven for 5 minutes or cut them in half and toast them before topping with your favorite breakfast condiment.
To freeze soda farls, allow them to cool completely, then wrap well and freeze for up to 2 months. I like to split them before freezing so they can go straight into the toaster.
Love an easy bread recipe? Try these…
- Easy Irish Buttermilk Scones
- Bacon and Cheese Soda Bread
- Guinness Bread
- Dutch Oven No Need Bread
- Pub-Style Irish Brown Bread
x
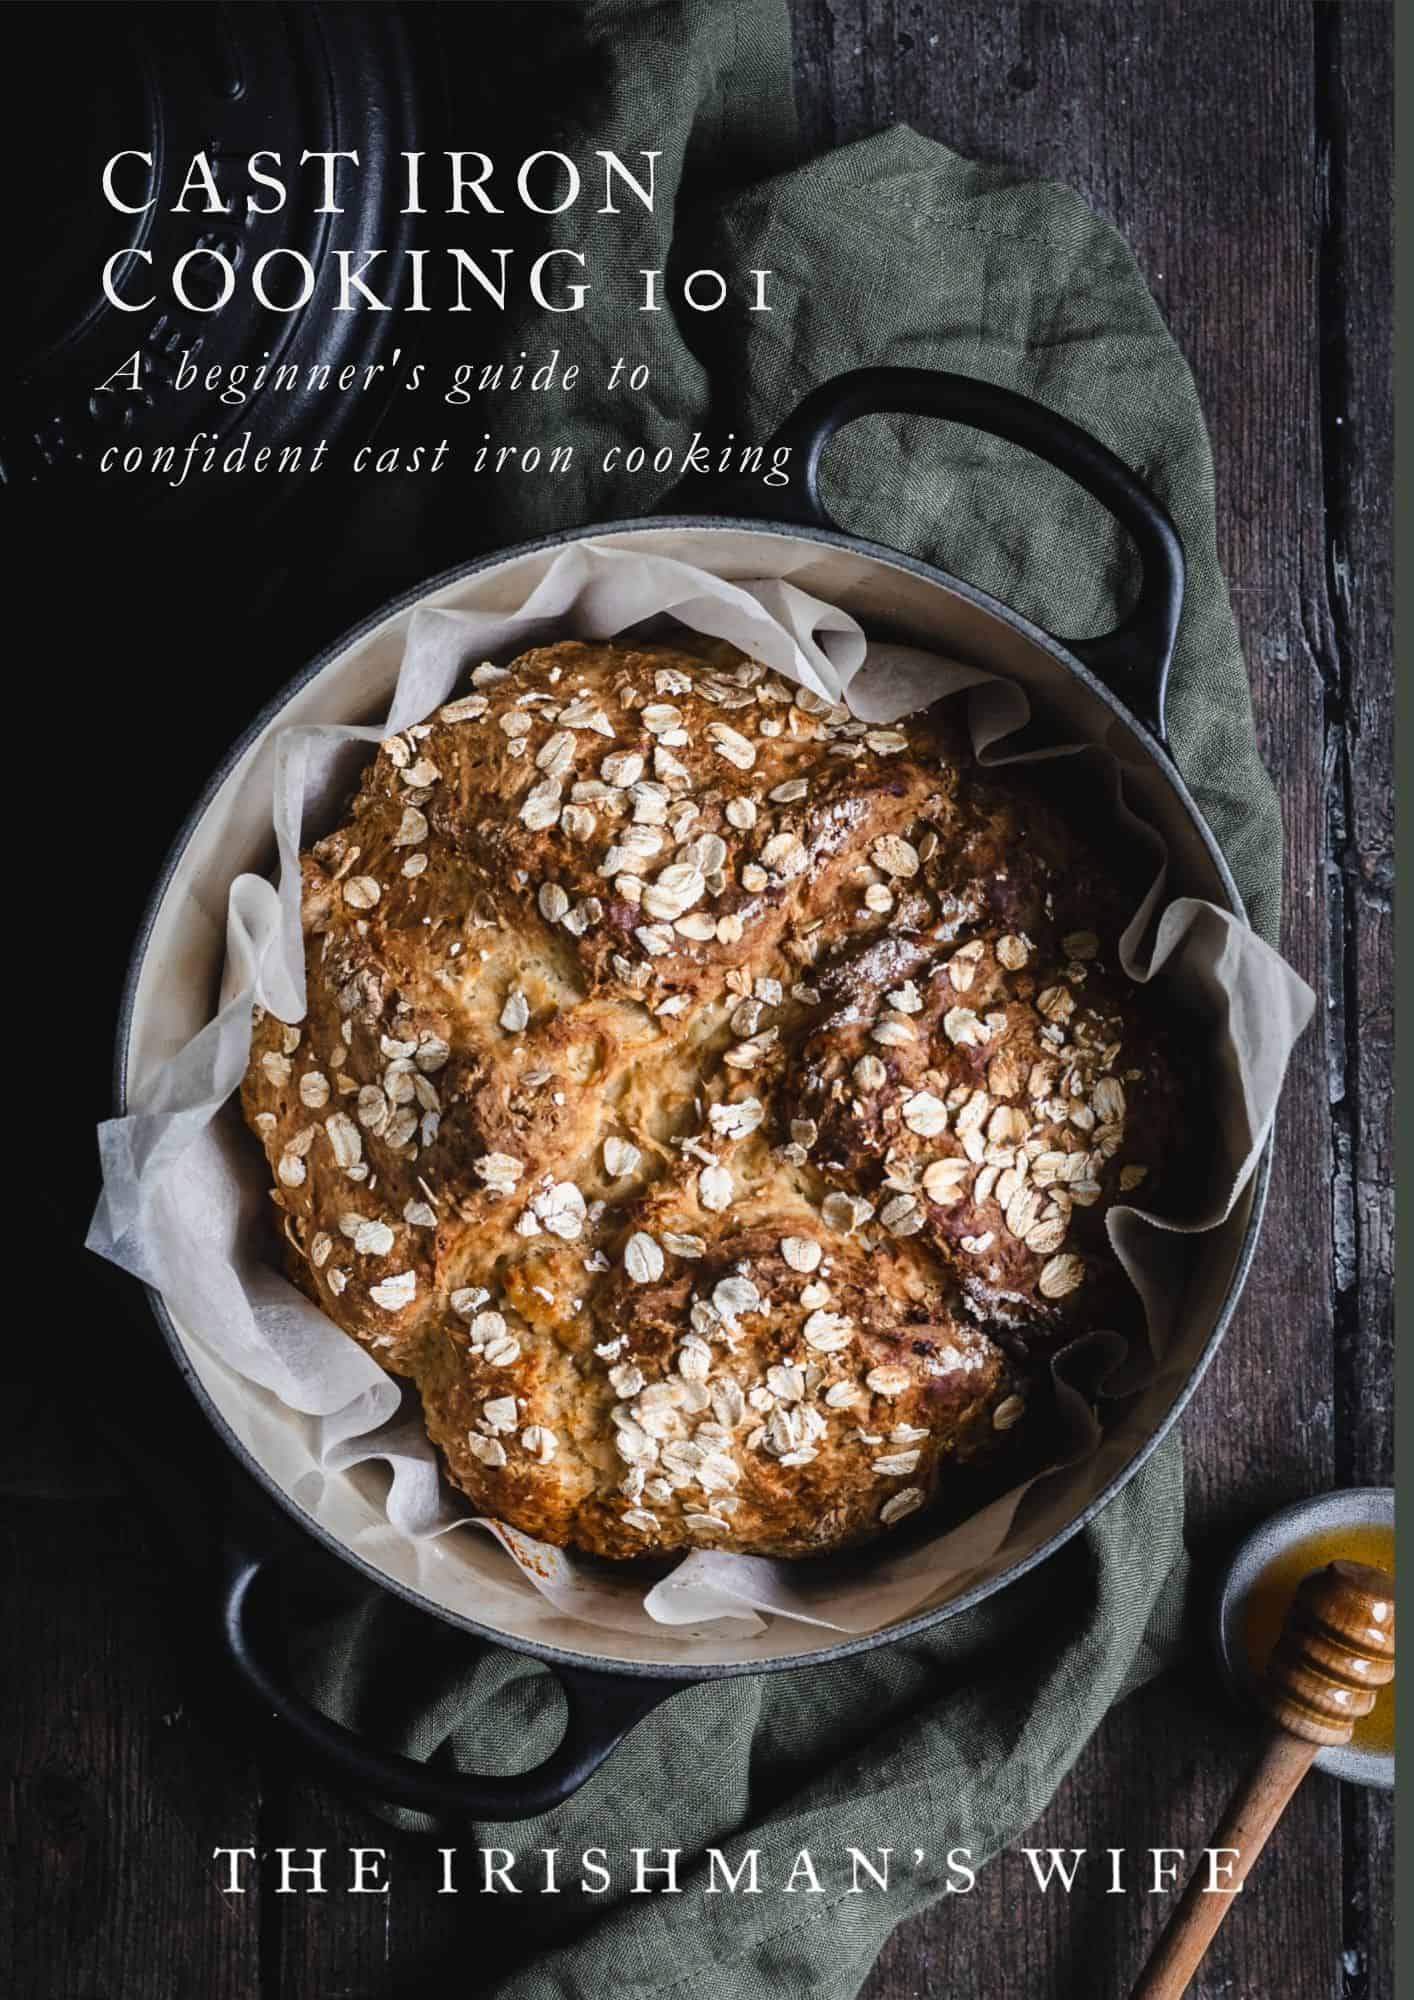
Start slow. Cook confidently.
Cast Iron Cooking 101
From slow cooked stews to warm bread fresh from the oven, this guide will help you feel confident cooking with cast iron at home.
Traditional Irish Soda Farls
- Prep Time: 10 minutes
- Cook Time: 25 minutes
- Total Time: 35 minutes
- Yield: 4 1x
- Category: Side Dish
- Method: Stovetop
- Cuisine: Irish
Description
Soda Farls are FIVE simple ingredients. And they are all pantry staples Winner! Can you say BEST BREAKFAST EVER?
Ingredients
- 350g plain flour
- 1 tsp sea salt flakes
- 1 tsp baking soda (bicarbonate of soda)
- 300ml buttermilk
- 1 tbsp honey
Instructions
- Combine all the dry ingredients in a large bowl. Pop aside.
- In a small bowl add the honey to the buttermilk and give a good stir.
- Make well in the center of the dry ingredients. Add the buttermilk mixture to the mixing bowl with other ingredients. Using a large wooden spoon, Stir just to combine, but no more. The mixture should be a bit sticky. This is completely normal. Turn the dough out onto a well-floured surface and lightly form the dough into a disc about one and a quarter inches thick. Divide the dough into quarters by cutting the disc into wedges with a floured knife.
- Warm up a heavy, cast iron skillet on low heat. After a couple of minutes dust the base of the pan with a little flour. Add your soda farls to the floured skillet and pop on the lid. Cook for 10 minutes on low heat until crusty and golden brown. Flip the soda farls and cook on the other side for another 10-12 minutes or until cooked through. When it’s time to cook your soda bread farls, Make sure your cast-iron griddle is free from oil or butter. You’ll only need a hot, dry griddle and a little flour in the base to get a nice, dry crust on the soda farl.
- Turn the cooked farls onto a wire rack or eat straight out of the pan.
Notes
A heavy cast iron pan or flat griddle is a must. The cast iron gives the soda farls a delicious, rustic crust to the exterior, and trust me, it’s an essential part of a soda farl. Don’t be tempted to use a nonstick pan, it just won’t give you the same result. For this recipe I use my 26cm enamel cast iron skillet.
Please note all recipes on this website are in US measurements. Eg, 1 cup / 240ml, 1 tablespoon/15mls. Oven temperatures refer to a fan-forced oven.
Nutrition
- Serving Size:
- Calories: 383
- Sugar: 8.3 g
- Sodium: 979.5 mg
- Fat: 3.4 g
- Carbohydrates: 74.9 g
- Protein: 11.5 g
- Cholesterol: 8.5 mg


I made these yesterday. I’ve never had soda farls before, but they were delicious. Thanks for the recipe.
So happy you liked them! Thanks for following along Sammy x
Made for breakfast and served with strawberry jam like suggested. Will be making again- thanks
I’m glad you loved it Caroline thankyou x
Thanks so much for sharing this recipe. I made these for the first time this afternoon and they turned out great…..though I didn’t add any honey to the mix 🙂 Hubby was very impressed haha (he’s Northern Irish) and really chuffed that I can now whip up a fresh batch for him. x
That’s so great to hear Susie. So happy you enjoyed them, and thanks for the feedback! x
Hello, I can’t wait to make the bread and the farls. However, I can’t use cast iron skillets on my stovetop. Is there anyway to bake them in an oven? I hope❣️ I found theiririshmanswife.com on Google. I have only visited one European country, and it was my beloved Ireland. My sister and i tiured for three abd a half weeks. Thats where i fell in love with Brown Irish Bread. The whites not the same. Thank you so much for this awesome recipe.
Hi Kelly. Yes! Brown bread is the best isn’t it! You could definitely try the oven, although I’ve just never done it myself. Happy cooking x