
Easy Irish Buttermilk Scones
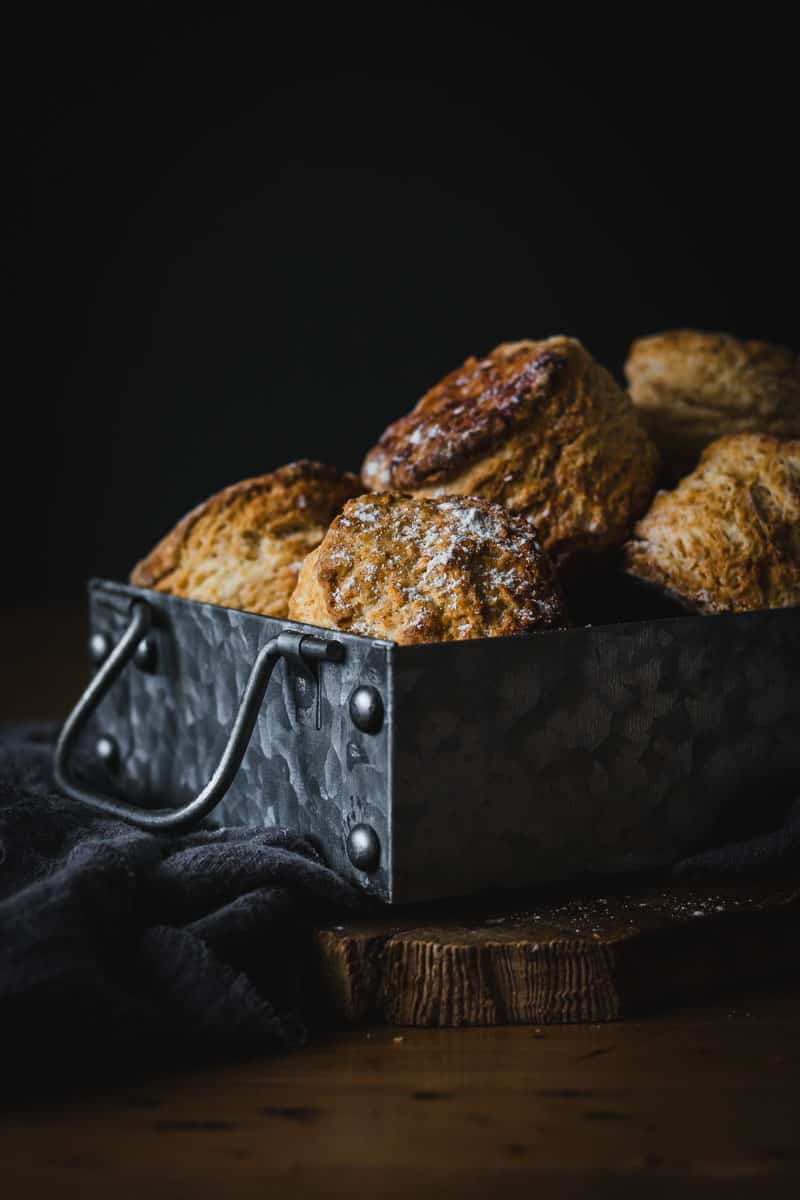
So what makes a good Irish scone? Soft and fluffy on the inside, a good crust on the outside, and just a little sweetness. Not a lot, but just enough. We’re baking scones, not bread after all!
If you’re new here, you might not know I also run a small online store where I keep many of the tools I cook with every day, along with a few timeless homewares for good, slow living…
What’s the difference between an Irish scone recipe and an Australian one?
Well firstly, Irish scones are generally a little bigger than their Aussie cousin. In my mind, they’re a little more rugged flaky scones, whereas Aussie ones are a bit more delicate and fluffy scones. If you’ve ever had a CWA scone at a country show, you’ll know what I mean – The CWA makes the meanest scones in Australia after all!
Another difference is the way in which they are cooked. In Australia, we push our scones together on the baking tray to encourage the dough to rise even higher. Irish scones are spread out on the baking tray, in the same way cookies are baked. I’ve made this recipe both ways, and for me it comes down to whether you like to have more of an exterior crust (Irish) or if you like more of a fluffy scone with crust mainly on the top and bottom (Australian). So what’s the best way? I’ll leave that up to you.
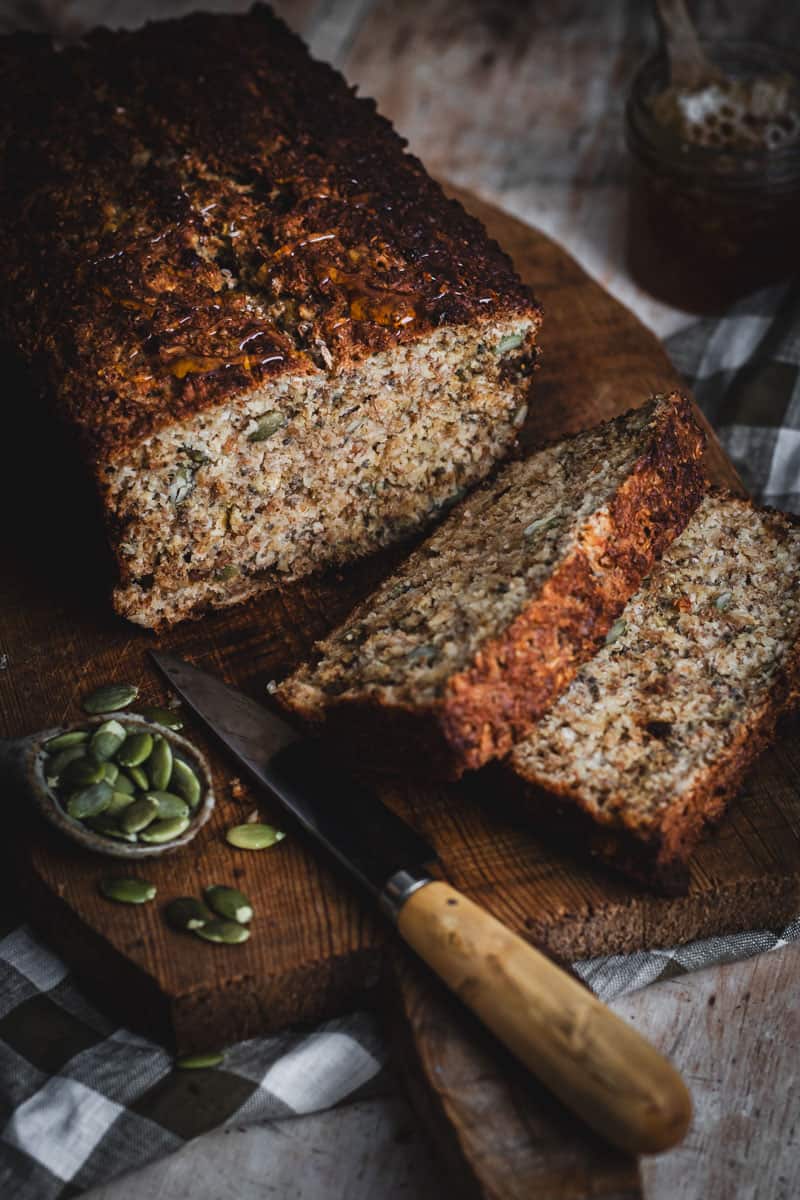
You’ll all know how much I love Irish soda bread, right?! Well, I like to think of making a traditional Irish scones recipe as very similar process. Good ingredients, work the dough as little as possible, let it rest, and you’ll be rewarded with a delicious scone in under an hour. All you need now is your favorite jam!
What you need to get started
- Self-raising flour
- Baking Powder – Always make sure your baking powder is well in date before starting to bake. I tend to restock my baking powder every 3-4 months to ensure it’s always at its freshest. To keep track of it, just write the date you opened it on the base with a Sharpie – You’ll never be caught with out-of-date baking powder again!
- White Sugar or golden castor sugar are always my go-to’s. Either will work perfectly.
- Sea Salt flakes.
- Unsalted butter – Straight from the fridge cold butter is an essential. Bonus points if it’s Irish butter. Kerry Gold unsalted butter makes perfect Irish scones and it’s always my go-to when I can get my hands on it. Be sure to chop your butter up into small cubes. Smaller pieces of butter make incorporating it into the flour easier. Alternatively, if it’s a hot day, grate your butter with a coarse grater.
- Buttermilk. Don’t have buttermilk? Make up a quick batch in under 5 minutes by combining 1 cup of whole cream, regular milk with the juice of ½ lemon. Give it a stir with a fork and leave for a few minutes to curdle. And now you have buttermilk!
- Runny Honey. If I don’t have honey in my cupboard, I’ve also substituted it with golden syrup before.

Equipment
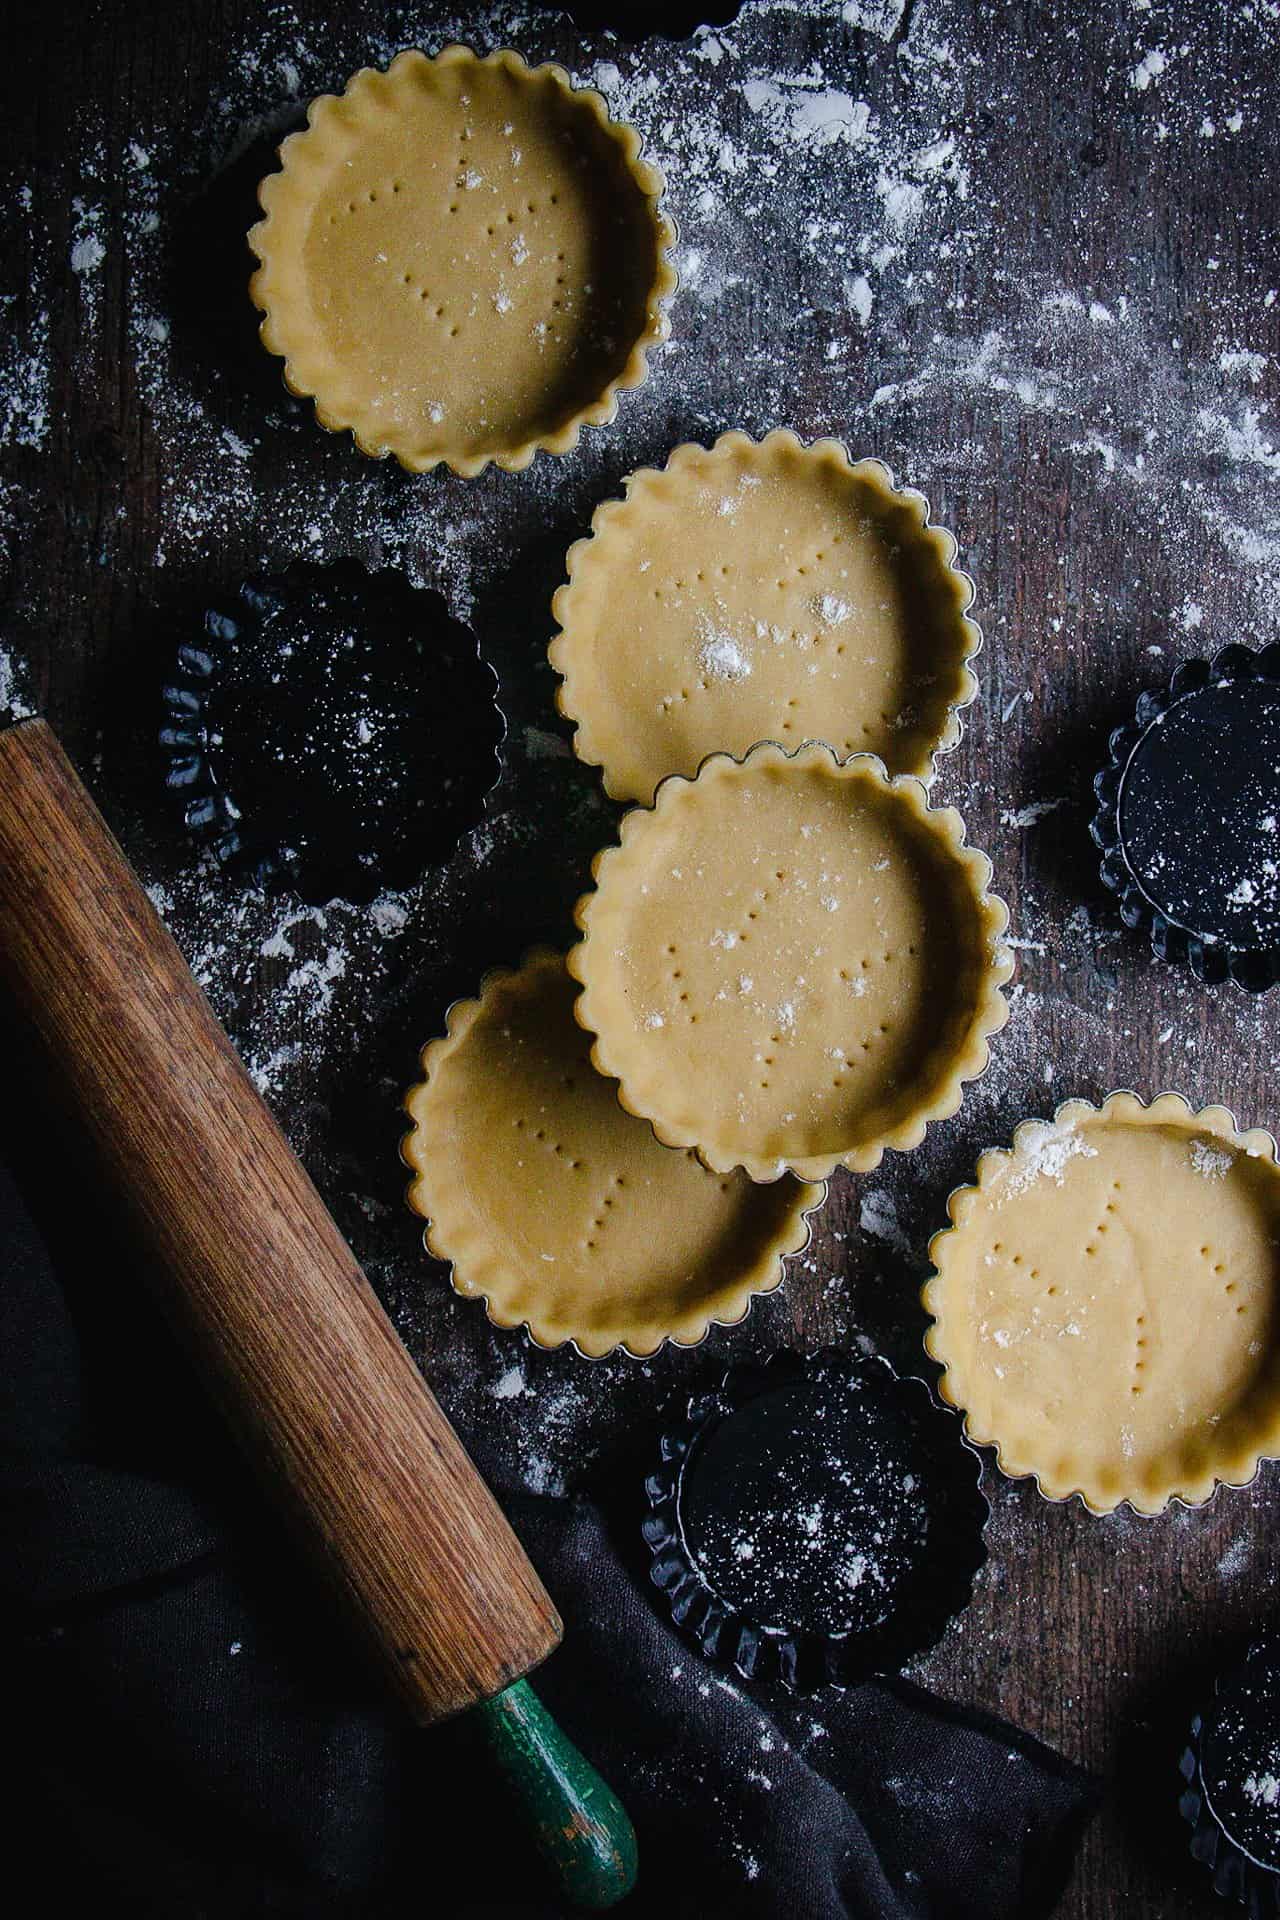
A large bowl, a wooden spoon, and a baking sheet lined with parchment paper and dusted with a little plain flour are essentials. If you want to get a bit fancy (and cut down on the manual handling) a pastry blender will make light work of incorporating the butter into the flour mixture. While I grew up cutting my scones with a water glass, you’ll get a better result with a scone/pastry cutter as there is less of a chance that you’ll have to do the dreaded twist to get the dough out! For these easy Irish scones, I use a 6cm biscuit cutter, however, don’t be afraid to mix things up with small scones or even larger ones. Just be sure to adjust the cooking time.
Here’s how to make this easy scone recipe
- In a large mixing bowl, combine all the dry ingredients. Give them a good whisk in order to remove any lumps and aerate the flour.
- Add the chopped butter pieces. Using your fingertips, and working quickly, rub the cubes of cold butter between your fingers to create a mixture that resembles coarse crumbs.
- In a small bowl, combine the buttermilk and honey. Give them a quick mix with a fork to combine. In the dry mixture bowl, make a well in the center and pour the buttermilk mixture into the well. Using a wooden spoon, gently combine the wet ingredients into the flour, being careful not to overwork the dough. It should come together into a rough, scraggy, soft dough.
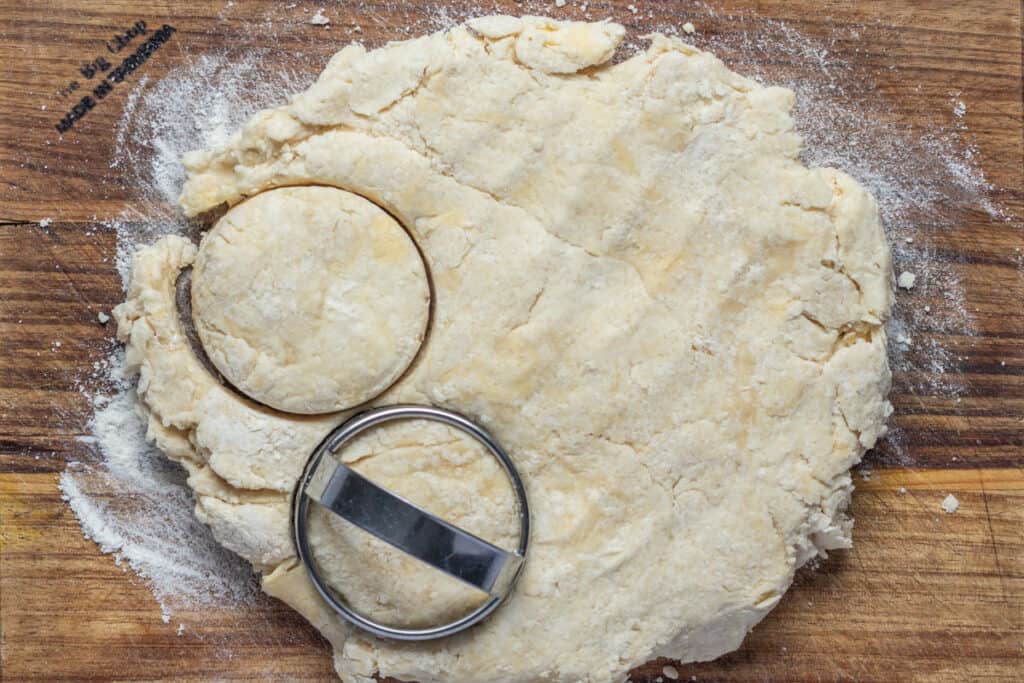
- Pop the dough into a lightly floured work surface and with a rolling pin, lightly roll the dough out to be about 3cm thick. Using the scone cutter, cut scones out of the dough and place them onto a prepared baking sheet a couple of centimeters apart from each other. When all the scones are cut out, leave to rest on the bench for 10 minutes.
- While the scones are resting, preheat the oven to 210 degrees Celsius.
- Brush the top of the scones with a little extra buttermilk. Bake in a preheated oven for 15-18 minutes or until golden brown. Turn onto a wire cooling rack to cool.
- Serve warm scones with lashings of jam and double cream.


How to serve scones
Well, it’s the age-old question, isn’t it? Is it jam and topped with cream or cream and then topped with jam? A good friend of mine and I argue about this all the time. Personally, I’m a jam first and topped with a dollop of fresh cream or even clotted cream.
There is also the question of which jam? I’m a traditionalist, so homemade strawberry jam is my pick. Although if it’s fig season, I won’t say no to using my Fig jam instead of strawberry. Another great option is homemade lemon curd for a twist on a classic. Don’t forget the pot of tea to go with them!
Cook’s Notes
So, what’s the secret to the best buttermilk scones? It’s not one thing but a combination of steps. Aerate the flour, cold butter, just enough liquid, and a quick mix. Sounds easy, doesn’t it? Here are a few more tips…
Don’t be tempted to twist the cutter when you are cutting out the scones. Big mistake, HUGE! If you twist you’ll lose the crumbly fluffy layers of dough rising and instead, your scones will spread. To get the fluffiest scones, we want our scone dough to go up, not out people! Work the butter in as quickly as possible without overworking the dough.
If it’s a really hot day, try freezing the butter beforehand and then grating it into the bowl with a coarse grater. I then give it a really quick work-through between my fingers in the flour mixture.
Why ‘no eggs’ you ask? I’ve been baking scones since I was 16, and it just seems wrong to me! The first cookbook I ever owned had a shearers scones recipe. It was easy, rustic, and tasted delicious! I guess I’ve just always made scones without eggs, so why would I change things now?
Baking a good scone is all about trying to get a nice, light texture, which is why I use a whisk to aerate the dry ingredients. Another option is to sift them using a sifter into the mixing bowl. Aerating the flour really changes the texture of the scones. Don’t skip this step!
Storage
Fresh scones are best eaten on the day they are made. Alternately, once they are at room temperature, store them in an airtight container to eat the next day and warm them in the microwave for 10-20 seconds to bring them back to their just-out-of-the-oven freshness. Don’t be tempted to keep them longer.
Variations
I know, traditionally Irish scones would normally contain dried currants or some sort of sultana. Well, not in this house! I’m all about the plain buttermilk scone. No need to confuse the flavors in my opinion!
Now it you like a good addition, chopped-up dried fruit works well, as do some dark chocolate chips.
What about a savory version? Pare back the sugar and add some cheddar and chives for a savory take on the humble scone.
Love a home-baked afternoon tea treat? Here are a few more you might like
- Apple cider doughnuts
- Chocolate chip banana brownies
- Mars bar slice
- Maple pecan shortbread cookies
- Baked Biscoff cheesecake slice
- Boozy Baileys Chocolate Truffles
Now go forth and bake!
x
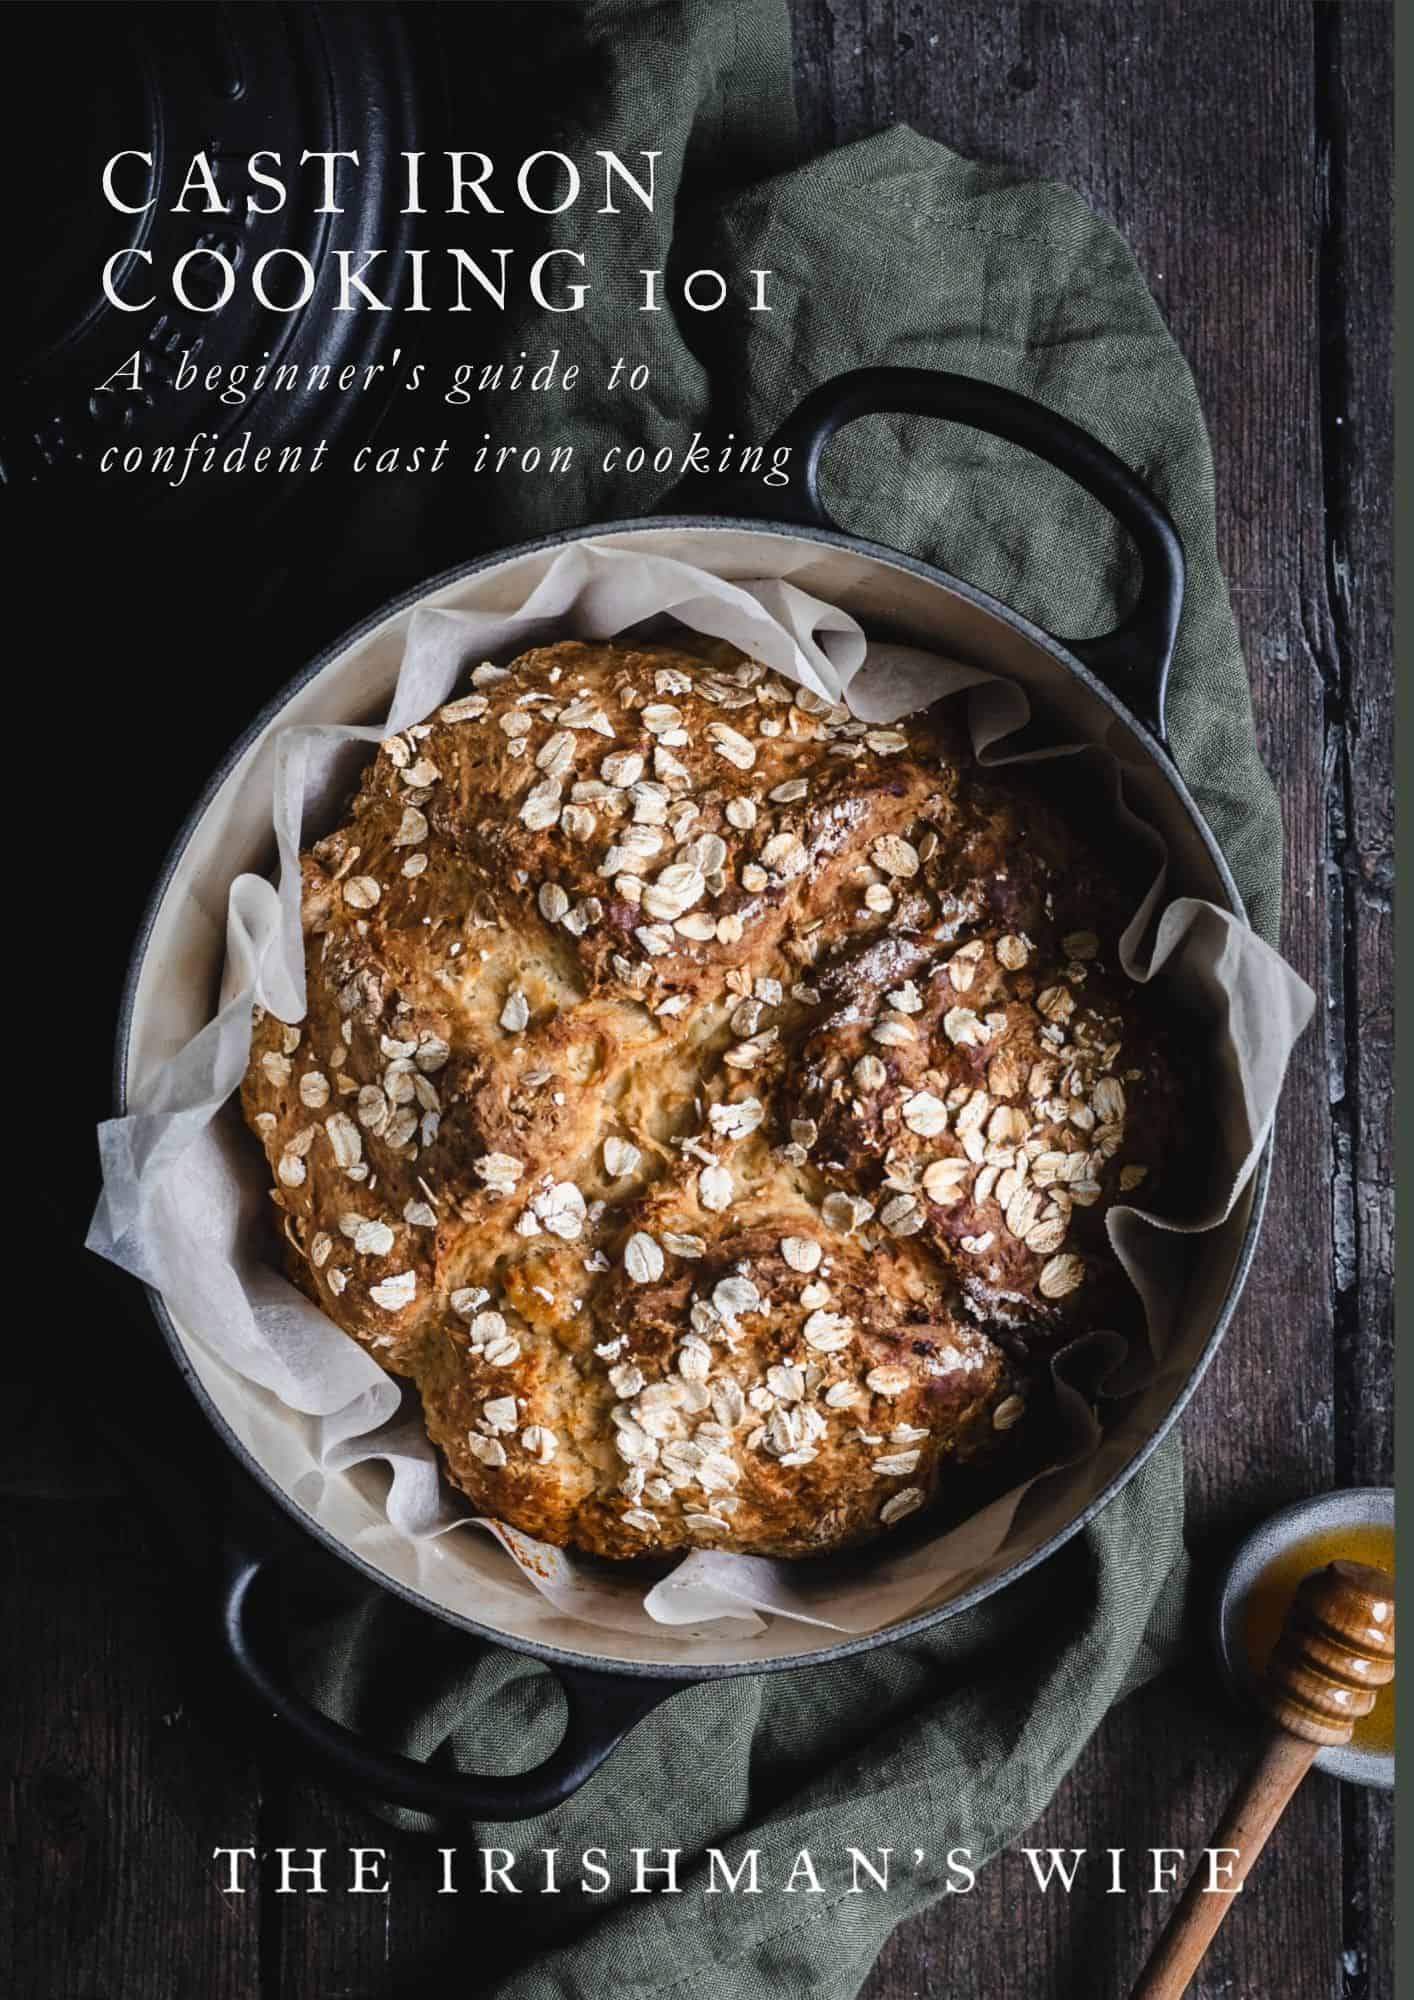
Start slow. Cook confidently.
Cast Iron Cooking 101
From slow cooked stews to warm bread fresh from the oven, this guide will help you feel confident cooking with cast iron at home.

Easy Irish Buttermilk Scones
- Prep Time: 15 minutes
- Resting Time: 10 minutes
- Cook Time: 15 minutes
- Total Time: 40 minutes
- Yield: 10 scones 1x
- Category: Sweets
- Method: Baking
- Cuisine: Irish
Description
So what makes a good Irish scone? Soft and fluffy on the inside, a good crust on the outside, and just a little sweetness. Not a lot, but just enough. We’re not baking bread after all!
Ingredients
- 2 3/4 cups self-raising flour
- 2 tsp baking powder
- 3 tbsp sugar
- 1/2 tsp sea salt flakes
- 70g unsalted butter
- 250ml buttermilk + 1 extra tbsp to brush the top of scones
- 1 tbsp honey
Instructions
- In a large mixing bowl, combine all the dry ingredients. Give them a good whisk in order to remove any lumps and aerate the flour.
- Add the chopped butter pieces. Using your fingertips, and working quickly, rub the cubes of cold butter between your fingers to create a mixture that resembles coarse crumbs.
- In a small bowl, combine the buttermilk and honey. Give them a quick mix with a fork to combine. In the dry mixture bowl, make a well in the center and pour the buttermilk mixture into the well. Using a wooden spoon, gently combine the wet ingredients into the flour, being careful not to overwork the dough. It should come together into a rough, scraggy, soft dough.
- Pop the dough into a lightly floured work surface and with a rolling pin, lightly roll the dough out to be about 3cm thick. Using the scone cutter, cut scones out of the dough and place them onto a prepared baking sheet a couple of centimeters apart from each other. When all the scones are cut out, leave to rest on the bench for 10 minutes.
- While the scones are resting, preheat the oven to 210 degrees Celsius.
- Brush the top of the scones with a little extra buttermilk. Bake in a preheated oven for 15-18 minutes or until golden brown. Turn onto a wire cooling rack to cool
- Serve warm scones with lashings of jam and double cream.
Notes
Don’t be tempted to twist the cutter when you are cutting out the scones. Big mistake, HUGE! If you twist you’ll lose the crumbly fluffy layers of dough rising and instead, your scones will spread. To get the fluffiest scones, we want our scone dough to go up, not out people! Work the butter in as quickly as possible without overworking the dough.
If it’s a really hot day, try freezing the butter beforehand and then grating it into the bowl with a coarse grater. I then give it a really quick work-through between my fingers in the flour mixture.
Nutrition
- Serving Size: per scone
- Calories: 211
- Sugar: 6.8 g
- Sodium: 556.3 mg
- Fat: 6.9 g
- Carbohydrates: 33.2 g
- Protein: 4.3 g
- Cholesterol: 17.9 mg


So delicious. A great recipe! Thanks will definitely make again
Yay! That’s so nice to hear x
Made them for the grandparents they loved them with some tea and also used your mixed berry jam and it paired so well. Loved it thank you Emma
Thats so sweet, I’m glad you loved them. Thank you for letting me know x
If I don’t have self raising flour can I use baking powder instead ??
Hi Aisling. Yes you can definitely add baking powder to plain flour instead of self raising 🙂 x