My Super Simple Mushy Peas Recipe
Ok, so I’m pretty sure this Mushy Peas recipe is the easiest recipe I’ll ever share with you. Five simple ingredients. Under 10 minutes to make, and you’ve got an easy side dish for every roast you’ll ever cook.

If you’re new here, you might not know I also run a small online store where I keep many of the tools I cook with every day, along with a few timeless homewares for good, slow living…
So what are “mushy peas”?
A true British side dish that’s most commonly found served in fish and chip shops all over the UK. Traditional mushy peas are served on the side of a piece of battered fish and a portion of chips. While different regions of the country put their own spin on it, I like to keep it super simple.
To this day, the most memorable fish, chips, and mushy peas I’ve eaten were in the Cotswolds. Pretty sure I ate O’s mushy peas (he thought they were “weird”) as well as mine, they were that good!
While many mushy pea recipes use dried marrowfat peas, fresh peas, or even frozen garden peas, I’m a traditionalist, so marrowfat peas are the only option! In Australia, canned marrowfat peas are more readily available in supermarkets than dried, so that is what I use for this recipe.
Only have dried marrowfat peas on hand? While canned peas do all the hard work for you as they have already been soaked and seasoned before canning, you can always make mushy peas from dried marrowfats by soaking the dried peas overnight in a large saucepan full of salted water and roughly a teaspoon of bicarbonate of soda (baking soda). The next morning, take the soaked peas, drain them, and rinse well. Pop back into the saucepan with enough water to cover and simmer for 25 – 30 minutes until soft. I then drain off a bit of the liquid, mash it with a knob of butter til you get the perfect texture and seasoning.
Why this recipe works
Firstly, it’s super simple. Actually, scratch that. I’m declaring it the easiest recipe you’ll ever make! Using canned marrowfat peas keeps this version quick and simple while still giving you that classic creamy, comforting mushy pea texture we all love with our fish and chips!
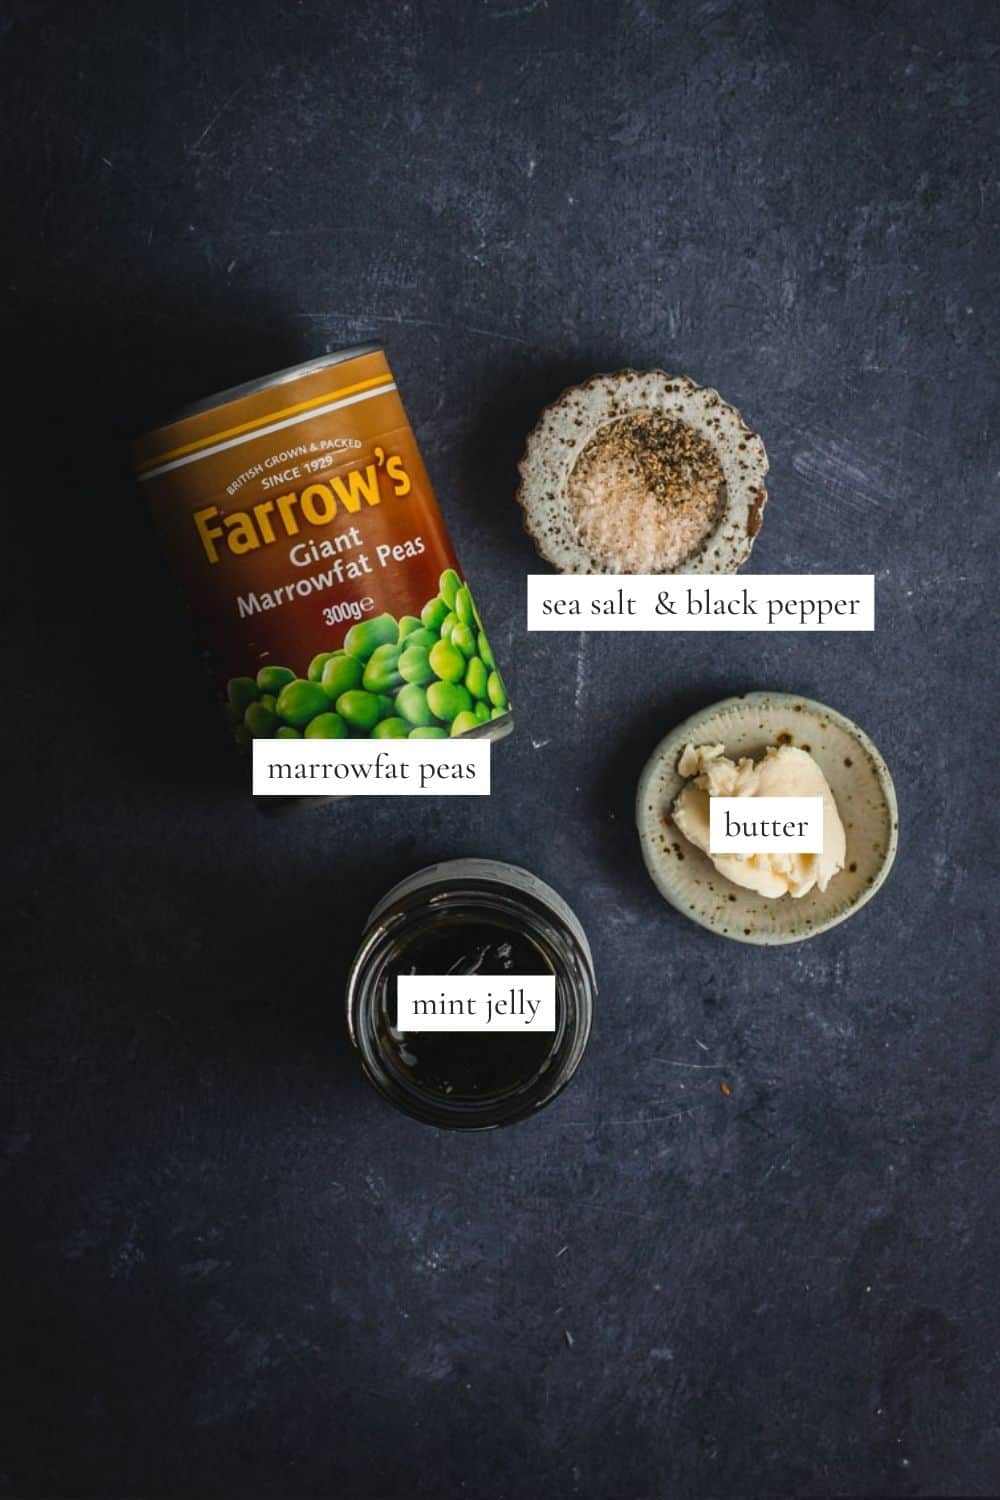
Here’s a few simple ingredients you need to get started
- Canned marrowfat peas. I’d never had marrowfat peas until I met the Irishman. But oh, how I love them now! I swear, our local grocery store delivery man must think I’m absolutely crackers because every once in a while, he’ll deliver a just box of marrowfat peas and a box of Taytos potato chips. Two pantry essentials this family doesn’t like to live without! If you’ve never come across marrowfat peas, you’ll notice that they are quite large in comparison to the normal peas you would find in the frozen vegetable section. That is because marrowfat peas are mature peas left to dry in the paddock, where frozen peas are generally picked quite young.
- Butter
- Sea salt flakes & freshly ground black pepper (optional)
- Mint Jelly (optional). Alternatively, you could add a little fresh mint or mint sauce.
Canned vs dried marrowfat peas
Traditional mushy peas are usually made with dried marrowfat peas that have been soaked overnight before cooking. They give you that classic soft, creamy texture and slightly deeper flavour you’ll often find in British fish and chip shops.
That said, canned marrowfat peas are my shortcut ingredient of choice. They’re already soaked, softened, and seasoned, which means you can make a bowl of homemade mushy peas in under 10 minutes without planning ahead the night before. Honestly, for a quick roast dinner side dish, they’re brilliant.
The texture is slightly different between the two. Dried marrowfat peas tend to give you a thicker, more rustic mushy pea, while canned peas are a little softer and smoother. Both are delicious, though, and at the end of the day, it really comes down to how much time you’ve got and what’s sitting in the pantry. For me, it’s canned marrofats every day for the win!
Equipment
You’ll need a strainer to drain your peas, a fork or potato masher to mash them, and a small saucepan to cook them in. That’s it! See, I told you this was going to be a simple one.
If you are making quite a large batch of mushy peas and want to cut down on the mashing by hand, you could always give them a quick blitz in the food processor. As I like mine with a little texture – chunky if you will, a simple fork is my weapon of choice.
How to …
- Drain the canned marrowfat peas, reserving the liquid.
- Mash the peas with a fork.
- Heat the mashed peas on top of the stove with the butter and a little liquid. Simmer until warmed through.
- Add the mint jelly and season with sea salt flakes and freshly ground black pepper if required.
Cook’s notes
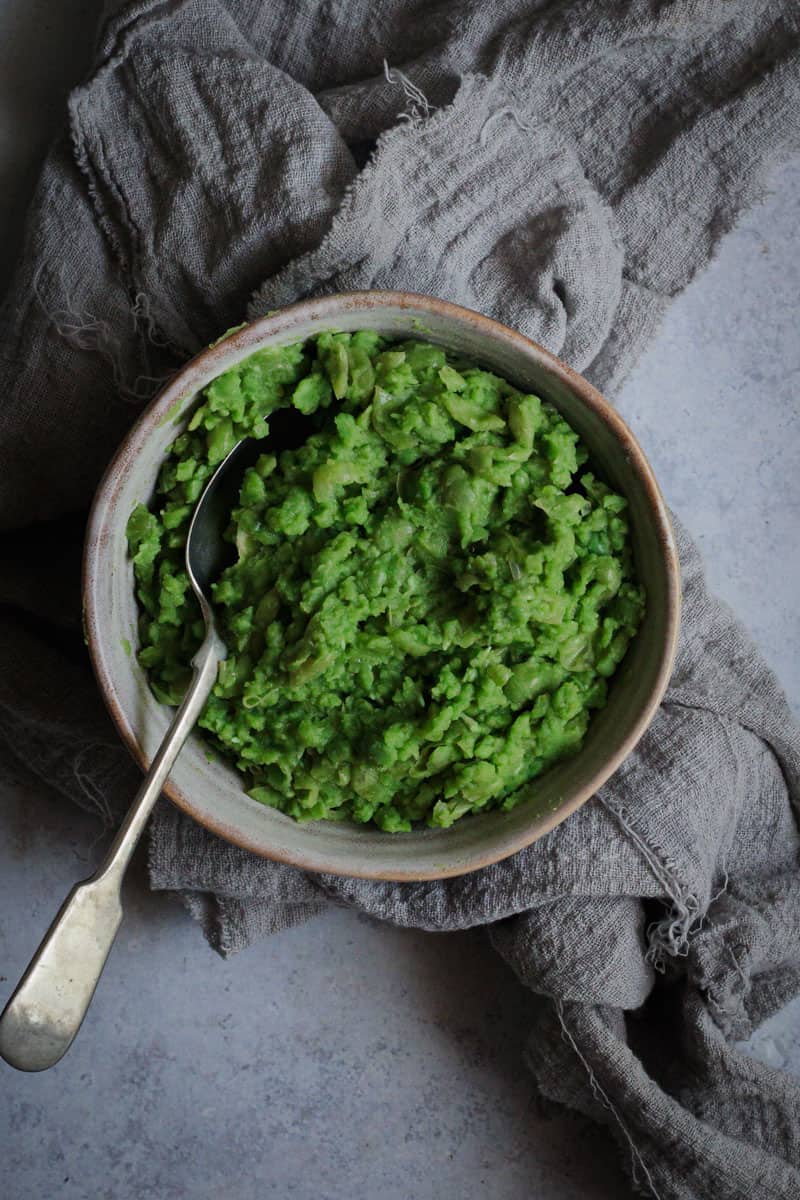
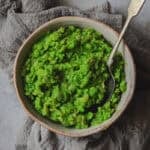
To me, the perfect mushy peas are chunky, flavorsome, and soft, but not runny. You should still be able to see some texture in the peas rather than ending up with a completely smooth purée. While there are so many variations to make great mushy peas, this recipe is based on my favorite way to eat them.
Here is what I serve my mushy peas with
Homemade fish and chips- it’s a classic for good reason.
A proper Irish feast. Think corned beef silverside, colcannon mashed potatoes, and obviously, mushy marrowfat peas.
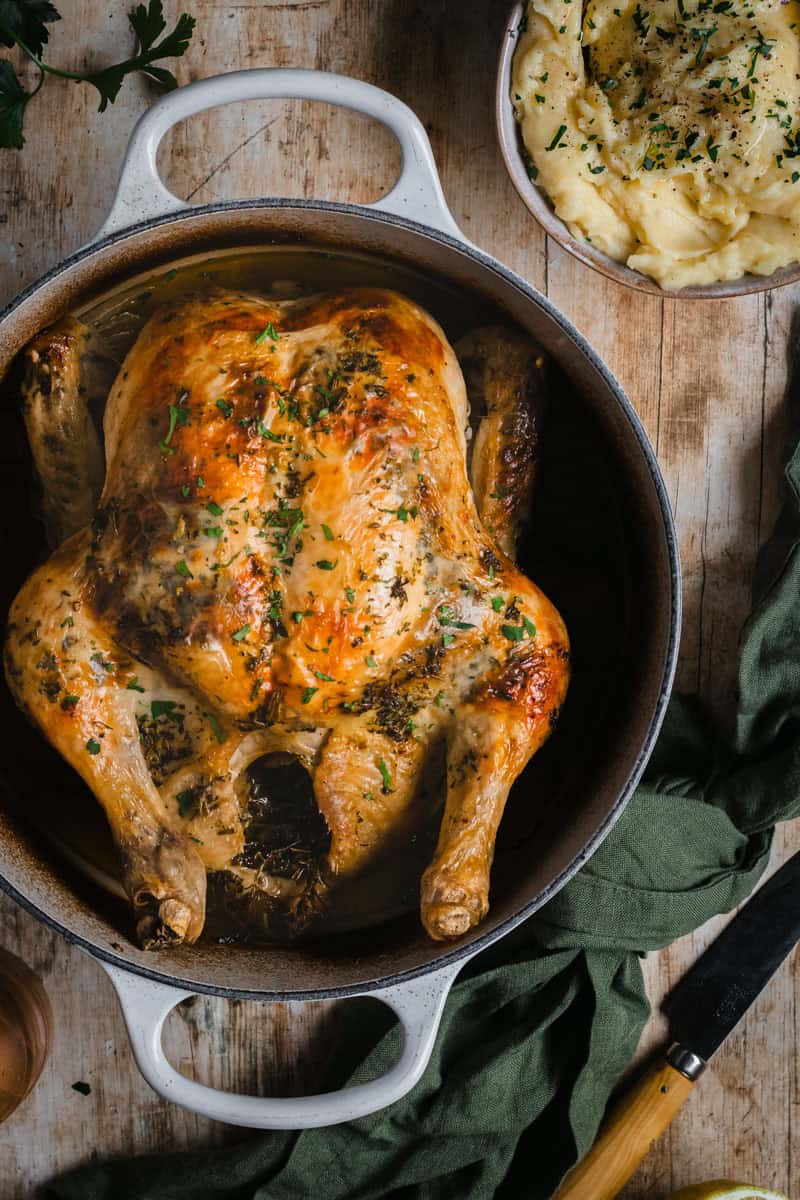
Your roast dinner. If Sunday roasts are your thing, then homemade mushy peas are the perfect side dish. In our house, we are Monday night roast people, so you’ll find us eating our side of mushy peas most Mondays alongside a Leg of lamb or this Dutch oven roast chicken recipe.
A savory meat pie like this beef bourguignon pie, alongside some hot chips.
Troubleshooting
Why are my mushy peas too runny?
Usually, it just means there’s too much liquid in the pan. Keep simmering the peas gently for another minute or two, stirring regularly, until they thicken up. Next time, start by adding only a small amount of the reserved pea liquid and build from there.
Why are my mushy peas too thick?
Simply stir through a splash of the reserved pea liquid or a little hot water until they loosen up again. Mushy peas tend to thicken as they sit.
Why do my mushy peas taste bland?
Mushy peas really benefit from seasoning. A good knob of butter, sea salt flakes, freshly ground black pepper, and a little mint jelly or mint sauce make all the difference.
FAQ’s
Have leftovers and want to rehash them for another night’s dinner?
Leave them to cool and store them in an airtight container til the next day. To reheat, I pop mine in the microwave and nuke them in 30-second increments. Alternatively, you could also warm them on top of the stove in a small saucepan on low heat until warmed through. You may need to add a little water so they don’t dry out.
To freeze mushy peas, transfer them to an airtight container and freeze for up to 2 months. Defrost overnight in the fridge and reheat gently on the stovetop or in the microwave with a splash of water if needed.
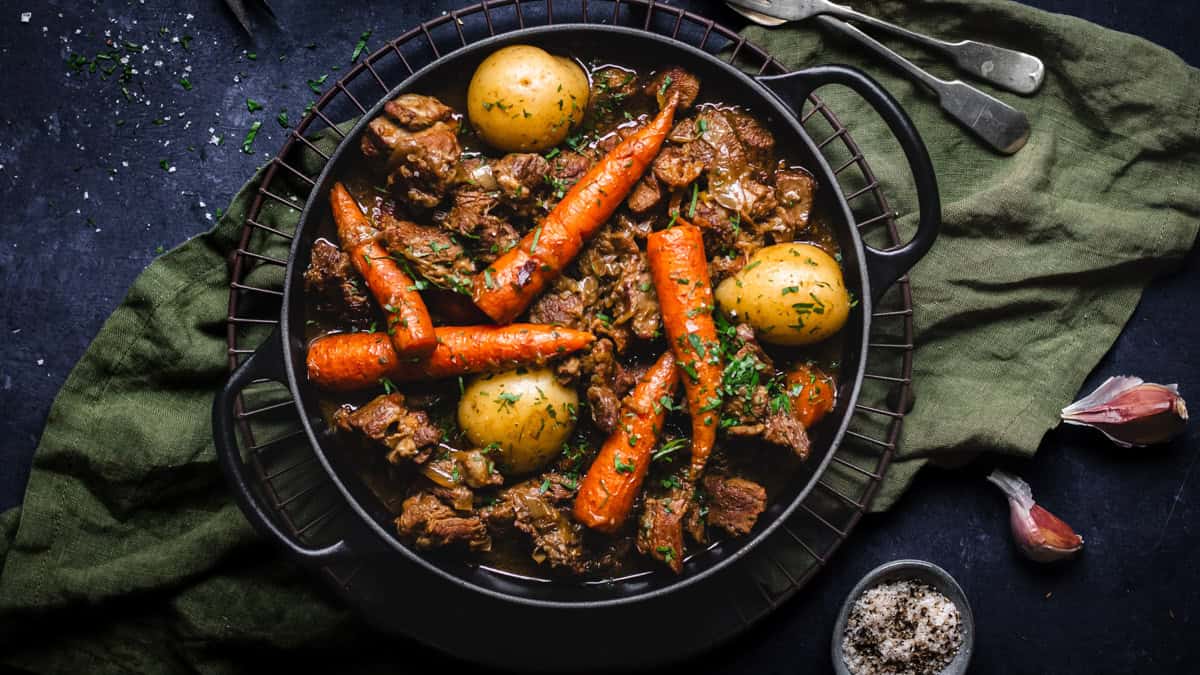
BOUGHT THE POT, NOW WHAT?!
From beginner guides to comfort-food favourites, you’ll find everything you need inside my Cast Iron Cooking Survival Guide.
Love a roast dinner? Here are a few more recipes you might like…
- Slow-Cooked Lamb Shoulder
- Dutch Oven Corned Silverside
- Duck fat roast potatoes with truffle salt
- Greek-Style Roast Chicken
Happy roast night!
x
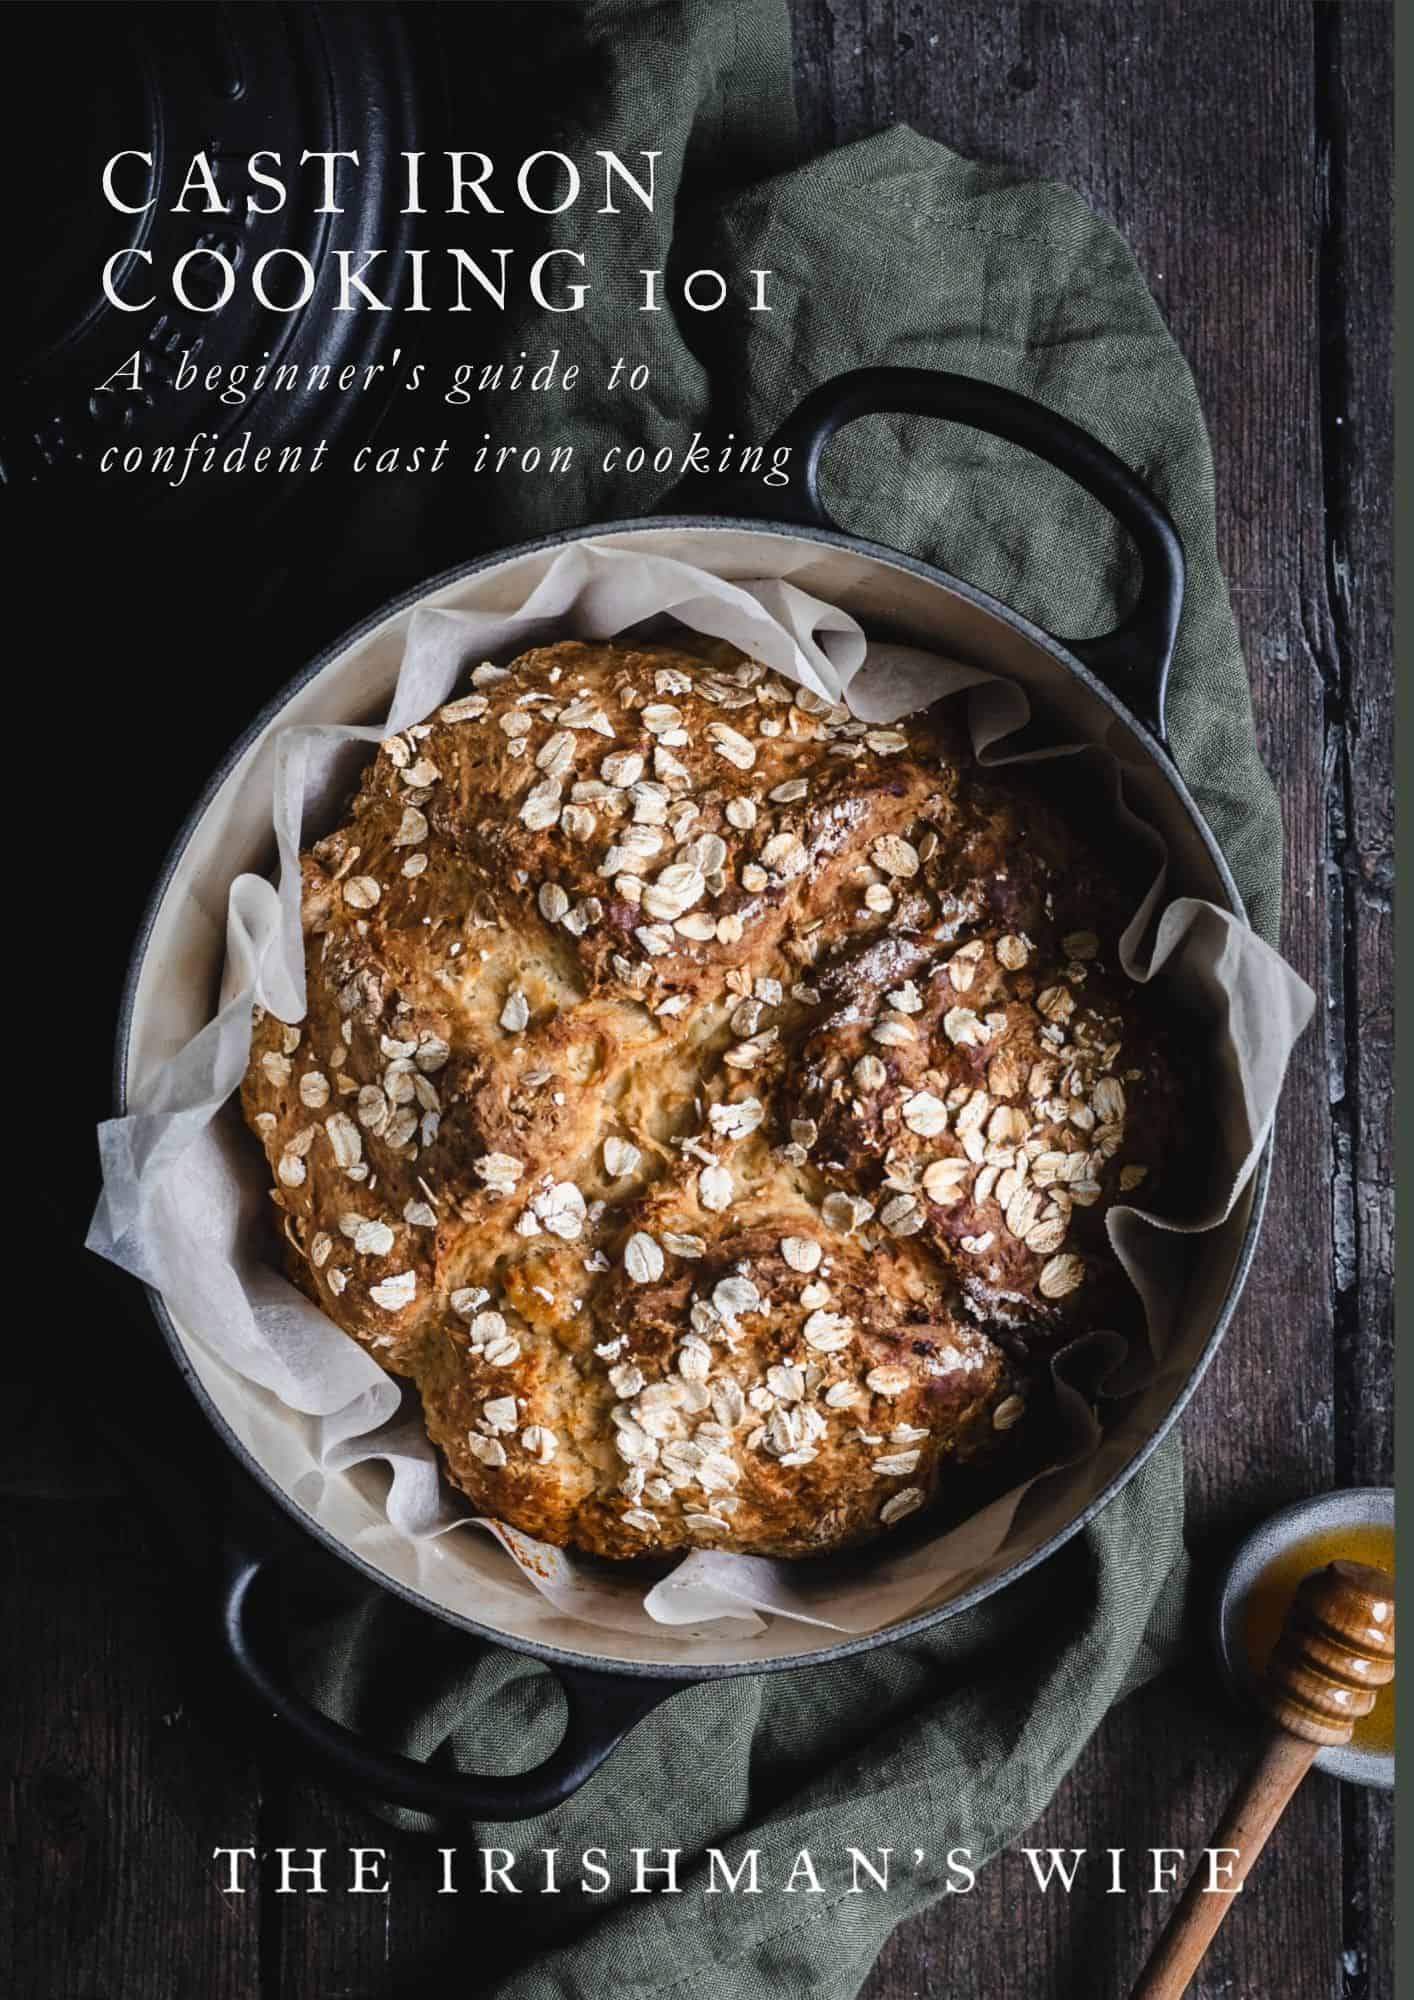
Start slow. Cook confidently.
Cast Iron Cooking 101
From slow cooked stews to warm bread fresh from the oven, this guide will help you feel confident cooking with cast iron at home.
My Super Simple Mushy Peas Recipe
- Total Time: 10 minutes
- Yield: 6 serves 1x
Description
Ok, so I’m pretty sure this Mushy Peas recipe is the easiest recipe I’ll ever share with you. Five simple ingredients. Under 10 minutes to make and you’ve got an easy side dish for every roast you’ll ever make.
Ingredients
- 2 x 300g cans of Marrowfat peas
- knob of butter
- 1 tsp mint jelly
- sea salt and black pepper to season
Instructions
- Drain the canned marrowfat peas, reserving the liquid.
- In a small saucepan pop in the peas, and give them a bit of a mash with a fork.
- Gently heat on top of the stove on low-medium heat with the butter and a little of the reserved liquid. Mix to your desired consistency adding more liquid if needed. Simmer until warmed through, stirring occasionally so the peas don’t stick to the bottom of the pan.
- Add the mint jelly and season with sea salt flakes and freshly ground black pepper if required.
Notes
To me, the perfect mushy peas are chunky, flavorsome, and soft, but not runny. While there are so many variations to make great mushy peas, this recipe is based on my favorite way to eat them. Want creamier mushy peas? Add a tablespoon of cream. Love a softer version, add more of the reserved liquid. Don’t like mint? Just omit it!
Please note all recipes on this website are in US measurements. Eg, 1 cup / 240ml, 1 tablespoon/15mls. Oven temperatures refer to a fan-forced oven.
- Prep Time: 5 minutes
- Cook Time: 5 minutes
- Category: Side Dish
- Method: Stovetop
- Cuisine: British
Nutrition
- Serving Size:
- Calories: 71
- Sugar: 0.5 g
- Sodium: 642.3 mg
- Fat: 2.2 g
- Carbohydrates: 10.3 g
- Protein: 3.2 g
- Cholesterol: 5.1 mg