
Nanna’s Best Ever Beef Rissoles Recipe
My Mum is known for her rissoles, and there was much discussion about what I should call this beef rissoles recipe. Mum’s rissoles, Aunty Sil’s Rissoles, but in the end, O and my dad outvoted me and decided they must be called Nanna’s best-ever beef rissoles. It’s an easy recipe for beef rissoles that works equally as well as part of a Summer BBQ or in Winter with mashed potato, peas, and homemade onion gravy.
These are SO goood! Made them for a BBQ last weekend. Such a hit!
-BELINDA

If you’re new here, you might not know I also run a small online store where I keep many of the tools I cook with every day, along with a few timeless homewares for good, slow living…
Looking for a chicken rissole recipe instead? Here’s a quick and easy harissa chicken meatball recipe that makes a cracking spicy chicken burger!
What are rissoles?
If you’re Australian, chances are you grew up eating rissoles. They’re one of those old-fashioned family dinners that seem to appear at backyard BBQs, weeknight dinners, and tucked into sandwiches the next day.
If you’re not from the Land Down Under and don’t have a clue what I’m talking about, classic beef rissoles are an Aussie staple. Think of them as beef burger patties, but thicker, rounder, and with a texture that’s a little closer to meatloaf.
A traditional rissole is made by combining mince, breadcrumbs, egg, onion, herbs, and seasonings before shaping the mixture into thick patties and pan-frying in a skillet or on the BBQ until golden brown. While beef rissoles are the most common, you’ll also find chicken, lamb, pork, and even fish versions.
Normally served with tomato sauce or gravy, rissoles are an Australian summer BBQ essential and a winter comfort food favourite. Every family seems to have their own recipe, and this one happens to be the version my Mum has been making for decades.
A bit of a backstory
To everyone in our family, my Mum’s mince rissoles have been a staple at family BBQs since, well, the beginning of our family BBQs! I can remember having sunny, Summer, Sydney BBQs as kids, and my cousins always asking if Aunty Sil’s rissoles were on the menu!
To this day, according to O, Nanna makes the best rissoles, and mine are ok, but just not as good! My grandmother used to soak whole pieces of bread in an egg wash and put big chunks of wet bread in her rissoles (cue horrified face!) – oh how far we’ve come! Anyway, I’ve managed to bribe my Mum into giving me the recipe, and here it is. Is it the best ever rissoles recipe? I’ll let you decide!
Three reasons why this easy rissole recipe is SO good
It can be made ahead of time. Just what us time-poor, weekend-working Mum’s need. Ps, they freeze well (uncooked) too, so batch cooking is a breeze!
Making rissoles is super quick and easy. With the right tools (a food processor), you can prep the rissole mixture in under 5 minutes from go to WOAH! How’s that for speedy?
Leftover cold rissole sandwiches for tomorrow’s lunch. Enough said!
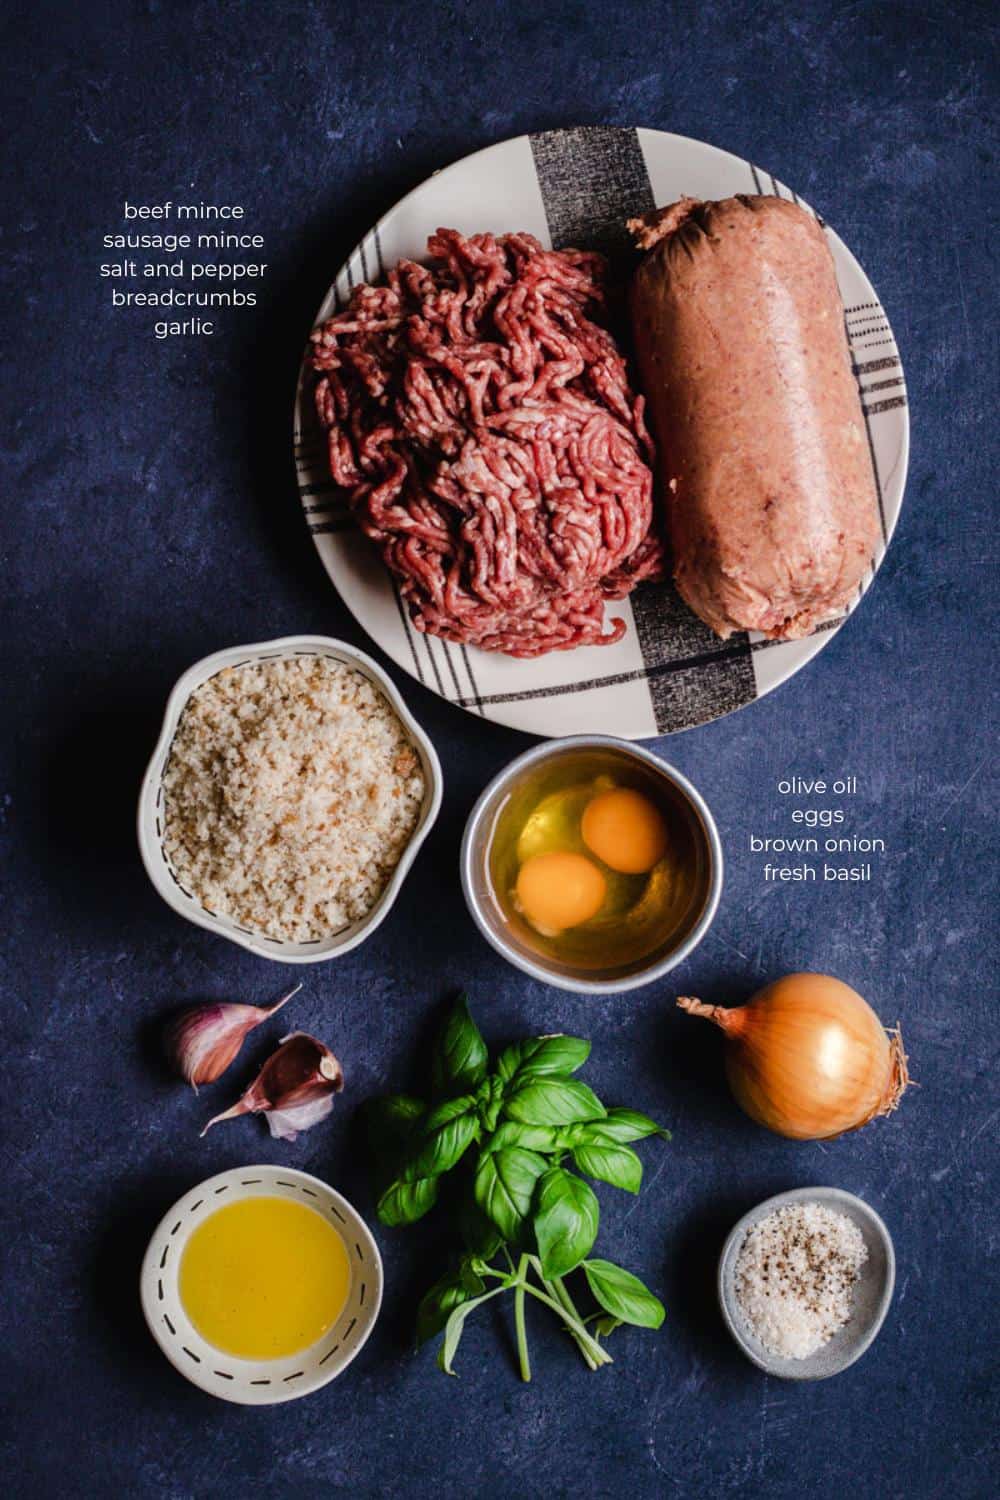
Ingredients
- Mince. You will need two types of minced meat you need for homemade rissoles – Premium ground beef mince and sausage mince. If you can’t get your hands on sausage mince, just purchase the equivalent amount in sausages and remove their skins. Not a fan of beef? Why not try substituting the beef mince with pork, chicken, or turkey mince instead?
- Eggs at room temperature
- Fresh bread crumbs. I haven’t bought breadcrumbs since I got a food processor. A couple of slices of yesterday’s bread pulsed in the food processor for a minute or two, and you’ll have enough for this recipe. Alternatively, you can use store-bought breadcrumbs or panko breadcrumbs.
- Basil. I always have an abundance of fresh herbs in the garden, so I’m using fresh Basil. However, dried basil will work as well. As dried herbs are much more potent than fresh, just halve the recipe amount if you opt for dried basil as a substitution.
- Finely diced brown onion
- Sea salt flakes, and freshly ground black pepper
- Olive oil or vegetable oil for pan-frying
Why Use Sausage Mince In Rissoles?
The secret to my Mum’s rissoles is the combination of beef mince and sausage mince.
While many rissole recipes use only beef mince, adding sausage mince gives the rissoles extra flavour and helps keep them beautifully juicy. The additional fat in the sausage mince creates a more tender texture and gives them that old-fashioned rissole flavour I remember from family BBQs growing up.
If you can’t find sausage mince, simply buy good-quality sausages and remove the skins before mixing them through the beef mince. It’s not exactly the same, but it’s a good substitute. I love this combination so much that I also use it as the base for my homemade beef sausage rolls. The beef and sausage mince mixture creates a richer flavour and softer texture than using beef mince alone.
Could you make these with all beef mince? Absolutely. But if you want proper old-school Aussie rissoles, the beef and sausage mince combination is hard to beat.
How to
- Pop all the ingredients into a large mixing bowl.
- Using your hands, mix everything thoroughly to ensure constant consistency.
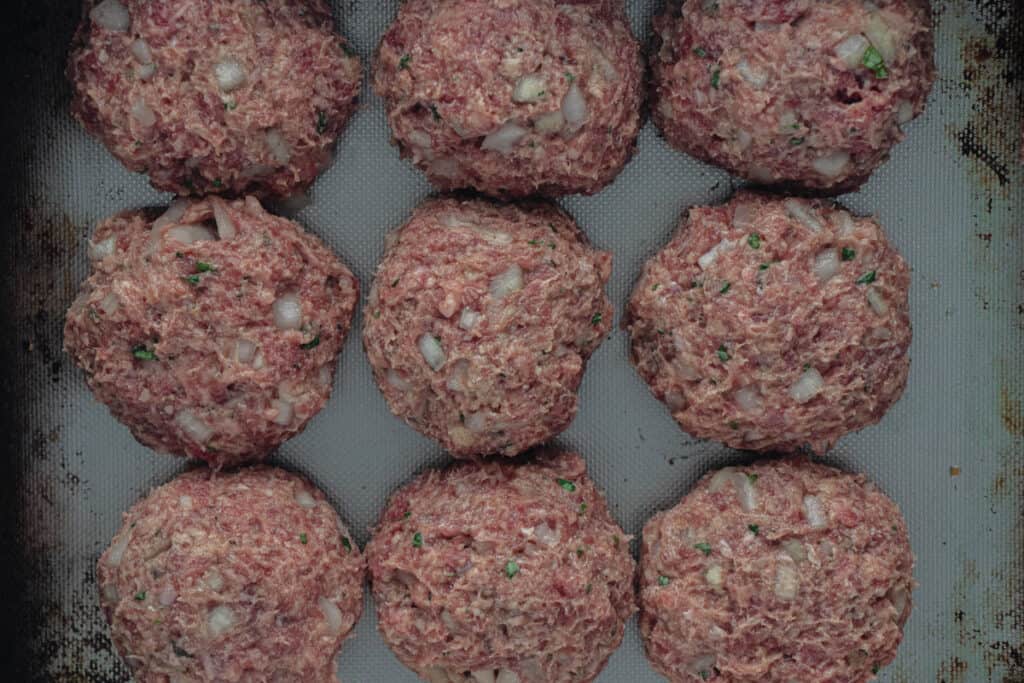
- Divide the beef mixture into 12 even portions and shape the mixture into round rissoles. Start by wetting your hands to stop the beef mixture from sticking. I kind of throw them back and forth between each hand to compress the meat and shape it into a ball. At this stage, I normally line them up on a baking tray to ensure they are all evenly sized.
- Lightly tap each rissole to give a slightly flat surface on the top of each rissole for even cooking.
- On the stovetop, heat a large skillet over medium heat with a drizzle of olive oil in it. Put a few rissoles in the pan (be sure not to overcrowd it!) and let them cook for 5-7 minutes, depending on size, until golden brown.
- Turn the rissoles over and cook the other side for another 5 minutes. By this time, they should be cooked throughout, have a bit of a cooked crust on both the top and bottom, and be nice and juicy on the inside.
- Remove from the heat and serve!


Equipment
As kids, my Mum always cooked her rissoles in her electric frypan. Remember that oh-so retro kitchen appliance that every Aussie kitchen had in the 80s and 90s? Well, a stovetop frying pan will do the same job. All you need is a little oil and a good heavy-based pan. These days, I usually reach for my 26cm enamel cast-iron skillet, which gives the rissoles a beautiful golden crust while keeping them juicy in the middle.
Whatever pan you use, rissoles cook best over medium heat, which allows them to develop a golden crust without drying out.
Want to cut your prep time down to under 5 minutes? Use a food processor for not only making breadcrumbs but also dicing (or finely chopping) the onion and then combining the mixture. I reckon it could even be under 3 minutes!
Alternatively, cook your rissoles outside on the BBQ or in an air fryer.
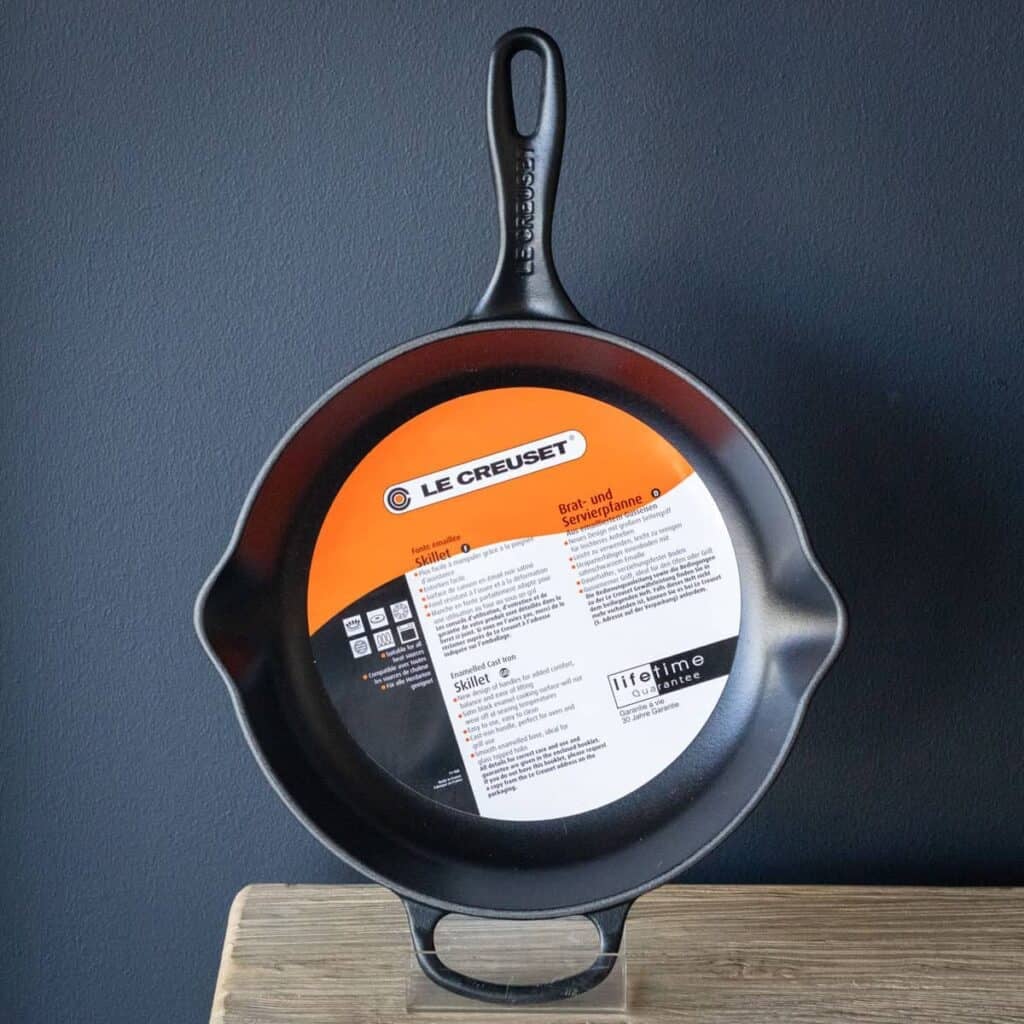
My Everyday Skillet
If you only need one skillet in your life, this is it. My 26cm skillet handles everything from morning eggs to steak dinners and cozy fruit cobblers. Big enough for a family meal, but light enough to grab every single day.
Cooking Rissoles In A Cast Iron Skillet
A cast-iron skillet is one of my favourite pans for cooking beef rissoles. It holds heat beautifully and gives the outside of the rissoles that lovely golden crust while keeping the inside juicy.
If you’re using enamel cast iron, preheat the pan gradually over medium heat before adding a little oil. Once the pan is hot, cook the rissoles in batches, so they have plenty of room to brown rather than steam. Once a good crust forms, the rissoles will release much more easily from the pan.

New to Cast Iron Cooking?
Fallen down the cast-iron rabbit hole? You’re in the right place. Start with my Cast Iron Cooking Hub.
Cooks notes
For juicy beef rissoles every time, keep these tips in mind…
First, don’t use extra-lean mince. A little fat equals flavour, which is one of the reasons Mum’s recipe uses a combination of beef mince and sausage mince.
Second, avoid overworking the mixture. Mix everything until just combined. The more you handle the mince, the firmer the finished rissoles can become.
Finally, don’t be tempted to flatten your rissole. They are not burger patties, and you are squeezing out all of the juiciness! They should not be flat but a kind of small tennis ball that has a flattened surface on both the top and bottom from the cooking. Mine normally sit around 4cm high with a diameter of 8cm.
Cook them over medium heat until golden brown on both sides and just cooked through. High heat can dry them out before the centre has time to cook properly.
Can you make rissoles ahead of time? Heck yeah, you can! Make them up to step 3, then pop them into a sealed container for a day or two in the fridge. When it’s time to cook, just remove them from cold storage and continue with step 4 of the instructions.
Ok, let’s rehash the leftovers…
A good recipe for beef rissoles can easily be doubled or tripled in quantity for those large hot weather weekend gatherings, so I always make extra for the next few days.
Rehash them by slicing them cold for sandwich fillings (my favorite!) or heat them up and pop them together into a hot roll with gravy. Or what about a leftover rissole hamburger, anyone?

Storage
Pop them in the fridge in a sealed, airtight container for tomorrow’s lunch. They will last up to 3 days in the fridge if covered.
HELLO, FELLOW POT COLLECTOR
Did one Dutch oven somehow become a whole collection?
Welcome to the rabbit hole. Start exploring in my Cast Iron HQ.
FAQ’s
What To Serve With Beef Rissoles
Beef rissoles are one of those versatile dinners that work just as well at a summer BBQ as they do on a cold winter night with mashed potatoes and gravy. Around here, we serve them both ways depending on the time of year.
For a Traditional Family Dinner
If you’re after the classic Aussie comfort food experience, serve your beef rissoles with:
For a Summer BBQ
Beef rissoles are equally at home alongside fresh salads and BBQ favourites. Try serving them with:
- The BEST Potato Salad
- Bason & Cheese Skillet Rolls
- Baked Smoky Chipotle Butter Corn Ribs
- A simple Caprese salad
Don’t forget the tomato sauce!
x
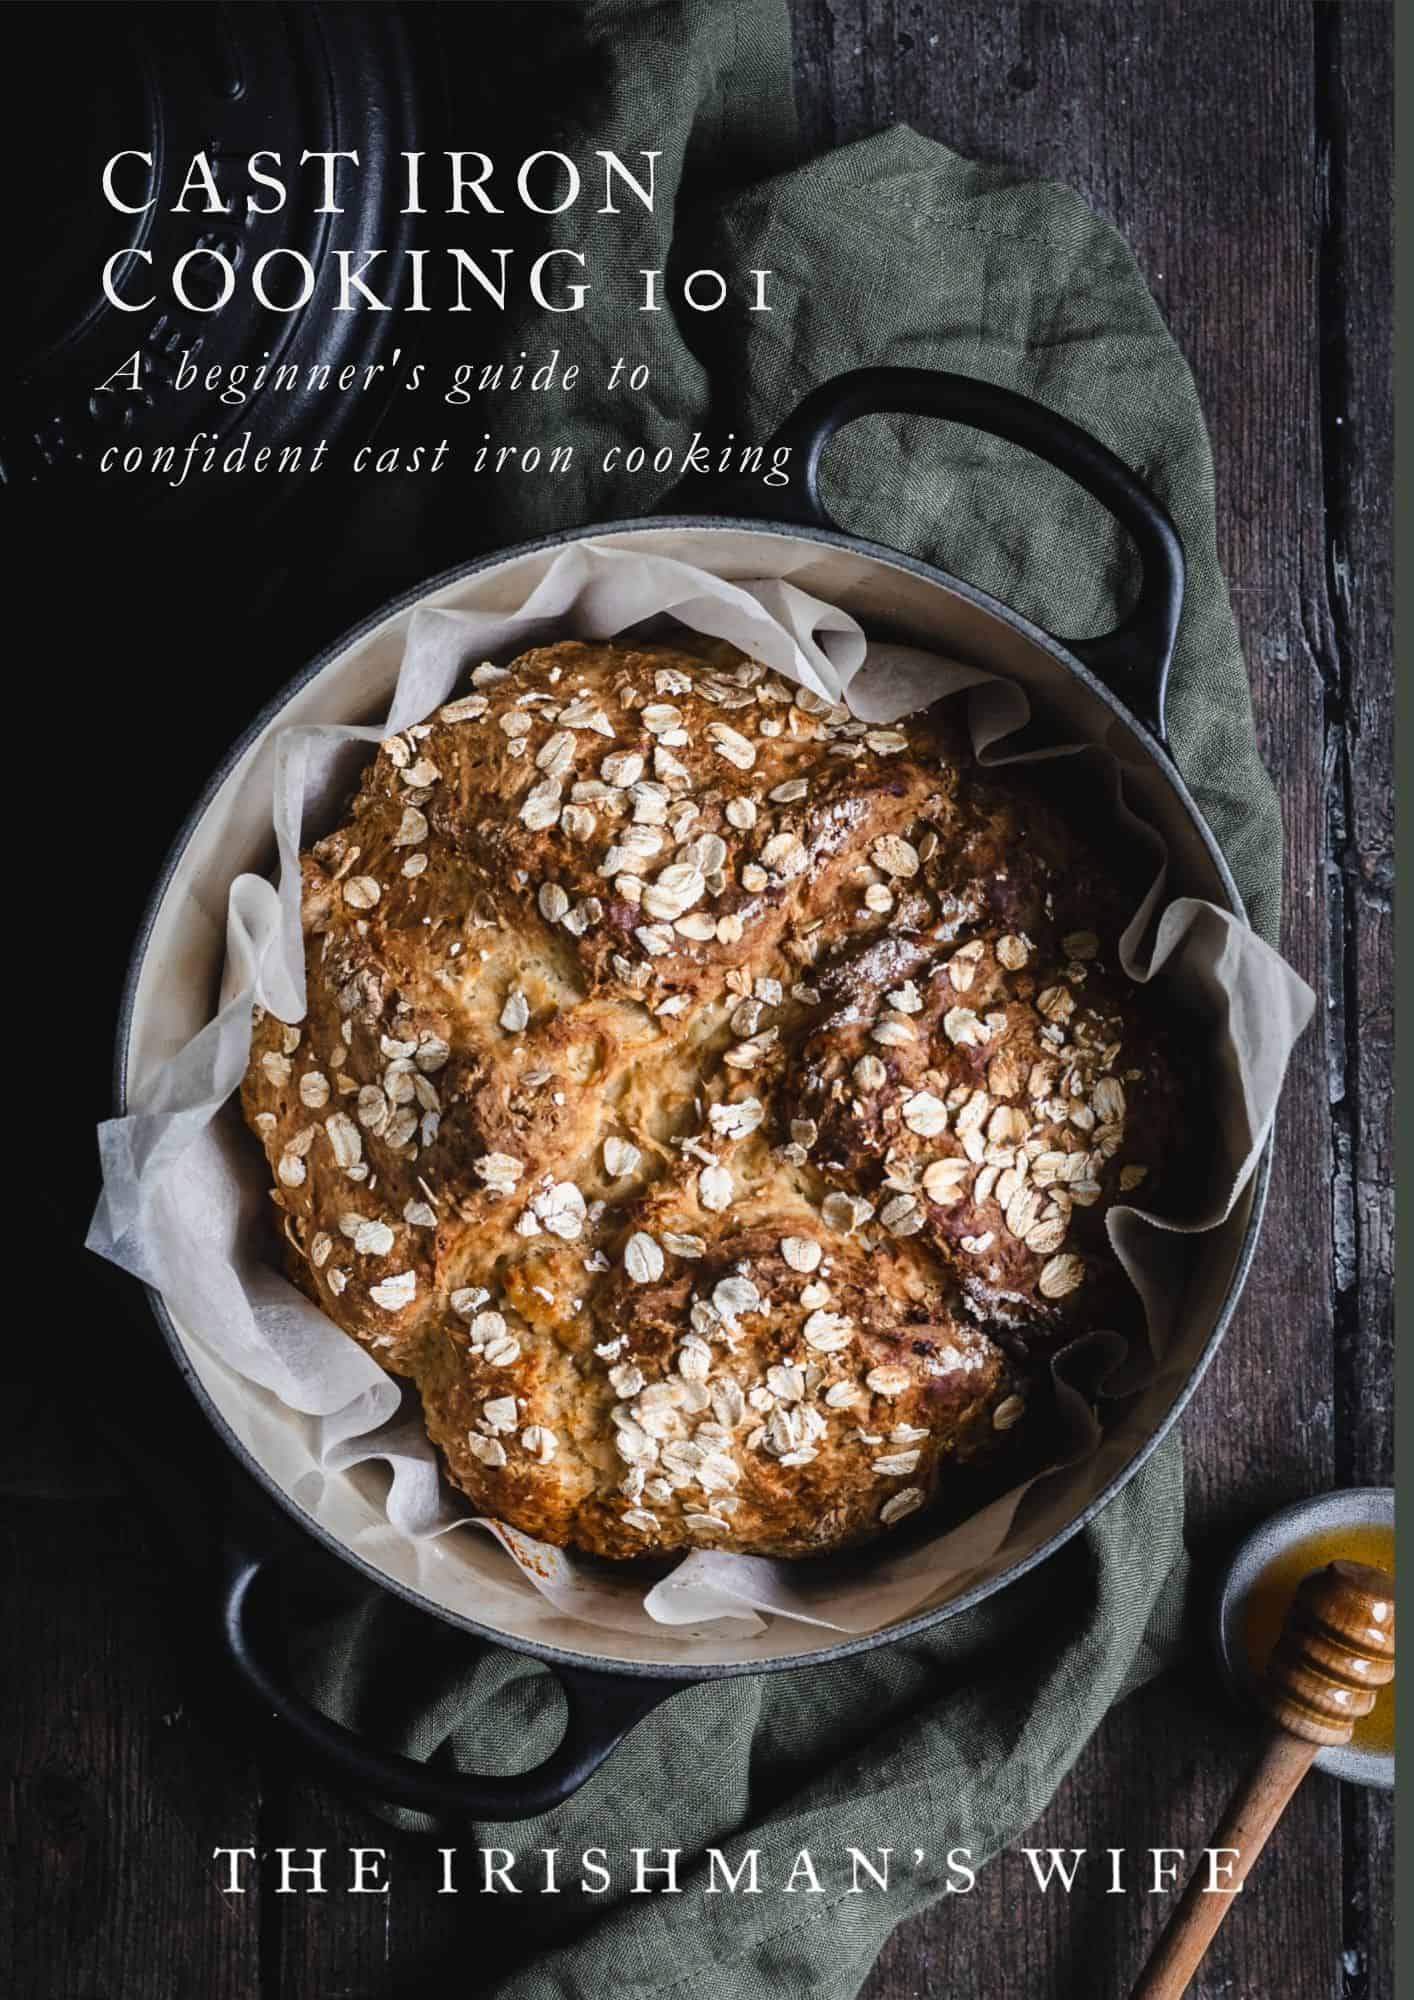
Start slow. Cook confidently.
Cast Iron Cooking 101
From slow cooked stews to warm bread fresh from the oven, this guide will help you feel confident cooking with cast iron at home.
Nanna’s Beef Rissoles Recipe
- Prep Time: 15 minutes
- Cook Time: 10 minutes
- Total Time: 25 minutes
- Yield: 12 serves 1x
- Category: Dinner
- Method: Stovetop
- Cuisine: Australian
Description
A juicy beef rissoles recipe that works equally as well as part of a Summer BBQ or in Winter with mash, peas, and homemade onion gravy.
Ingredients
- 500g Premium beef mince
- 500g Sausage mince
- 1 1/4 c fresh breadcrumbs
- 2 eggs
- 1 onion, finely diced
- 3 cloves garlic, crushed
- 2 tbsp fresh basil, finely chopped
- 1 tbsp sea salt flakes
- 1/2 tsp freshly ground pepper
- oil for frying
Instructions
- Pop all the ingredients in a large bowl.
- Using your hands, mix everything thoroughly to ensure consistency.
- Divide the mince mixture into 12 even portions and shape your rissoles. I kind of throw them back and forth between each hand to compress the meat and shape them into a ball
- Lightly tap each rissole to give a slightly flat surface on the top of each rissole for even cooking.
- On the stovetop, heat a skillet to medium heat with a teaspoon of oil in it. Put a few rissoles in the pan (be sure not to overcrowd it!) and let the cook for 5-7 minutes depending on size.
- Turn the rissoles over and cook the other side for another 5 minutes. By this time they should be cooked throughout, have a bit of a cooked crust on both the top and bottom as well as be nice and juicy on the inside.
- Remove from the heat and serve!
Notes
Don’t be tempted to flatten your rissole. They are not burger patties and you are squeezing out all of the juiciness! Rissole should not be flat but a kind of small tennis ball that have a flattened surface on both the top and bottom from the cooking. Mine normally sit around 4cm high with a diameter of 8cm.
Can you make these rissoles ahead of time? Heck yeah you can! Make them up to step 3 , then pop them into a sealed container for a day or two in the fridge. When it’s time to cook, just remove them from cold storage and continue with step 4 of the instructions.
To make your own breadcrumbs, pop a couple of slices of day-old bread in a food processor and pulse until you have breadcrumbs!
I cook my beef rissoles in my Le Creuset 26cm enamel cast iron skillet.
Please note all recipes on this website are in US measurements. Eg, 1 cup / 240ml, 1 tablespoon/15mls. Oven temperatures refer to a fan-forced oven.
Nutrition
- Serving Size: 1 rissole
- Calories: 214
- Sugar: 2.1 g
- Sodium: 1134.6 mg
- Fat: 9.8 g
- Carbohydrates: 13.1 g
- Protein: 17.6 g
- Cholesterol: 106 mg


These are SO goood! Made them for a bbq last weekend. Such a hit!
Thanks Belinda. So lovely to hear! x
can’t go wrong great recipe. I put them with a salad was a great dish
Great idea Amy, so good to hear you enjoyed the recipe