
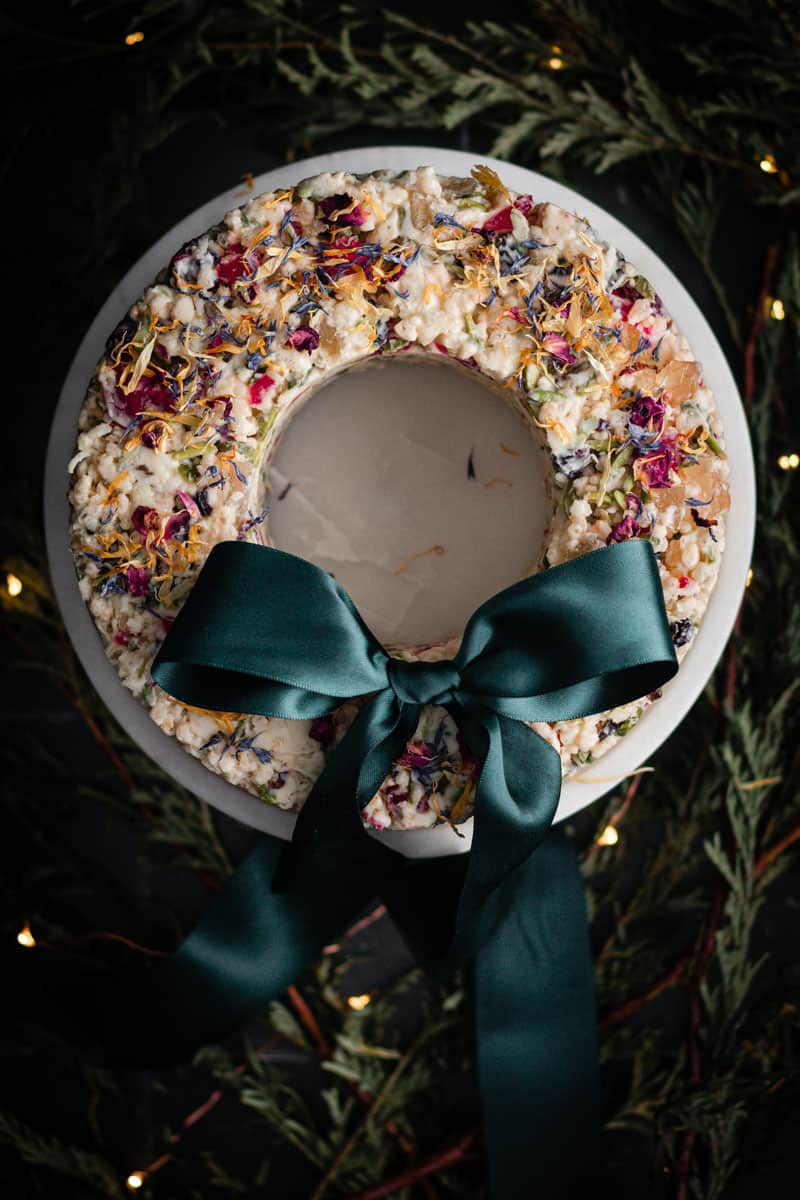
White Christmas Chocolate Wreath
One of my absolute favorite recipes for the festive season is this White Christmas Slice – although spoiler alert, there is no baking involved! This year I took this humble festive favorite and took it a step further, and turned it into a showstopping centerpiece… I give you my White Christmas Chocolate Wreath!
If you’re new here, you might not know I also run a small online store where I keep many of the tools I cook with every day, along with a few timeless homewares for good, slow living…
Christmas baking is my jam. There is something special about baking for your people during the festive season. Whether it’s a work morning tea, a packed box of sweets for the night shift worker, a homemade gift, or simply a plate on the bench, there is always someone to bake for in the month of December.
Here’s what you need to get started…
- This White Christmas slice recipe. It’s the base for our wreath and oh-so-freaking-good! Full of glace fruit, pistachios, coconut, rice bubbles, and white chocolate, this recipe just screams the festive season.
- No stick Cooking spray. I am OBSESSED with good baking sprays specifically for bakeware. This stuff is the bomb when it comes to greasing bundt pans, but I use it for so much more and it never fails me.
- Ribbon. I used a 38mm satin green ribbon I had lying around.
- You can use either a non-stick cake tin with a removable base (a 22-24cm pan is perfect) or a round mold on a Silpat or baking paper. To create the center hole, I use a straight-sided whisky glass with an 8cm diameter.
- Dried edible flowers
How to make this edible chocolate wreath for the festive season
- Thoroughly spray with baking spray your no-stick cake tin and whisky glass. In the center of the ring tin, place the straight-sided glass in the middle, and (if needed) touch up any sections that have not been sprayed with baking spray.
- Make White Christmas slice according to the recipe up until (and including) step 4
- Place spoonfuls of the white Christmas mixture evenly in the DIY ring tin until all the mixture is used up.
- Place in the fridge for 2 hours.
- Remove from the fridge and gently remove both the glass and the cake ring.
- Place on a plate or cake stand and decorate with a ribbon bow. Scatter edible flowers on top!
Cooks Notes
You can use either a cake tin with a removable base (a 22-24cm pan is perfect) or a round mould on a Silpat or baking paper. + To create the inner center of the wreath I used a straight-sided whisky glass with a base about 8cm wide. Be sure to give everything a good spray with baking spray to ensure nothing sticks too much!
Holy moly, it’s stuck!
If your glass doesn’t release straight away, pour a little hot water in the glass and it normally releases in a minute or two. You only need a little water (not a lot) otherwise it can get super messy. With a bit of cloth, move the water around the glass, gently wiping (and warming up) the glass for a smooth release.
A few more recipes that just scream festiveness…
What is your favorite recipe to bake over the festive season? Let me know in the comments!
Merry Christmas
x
Start slow. Cook confidently.
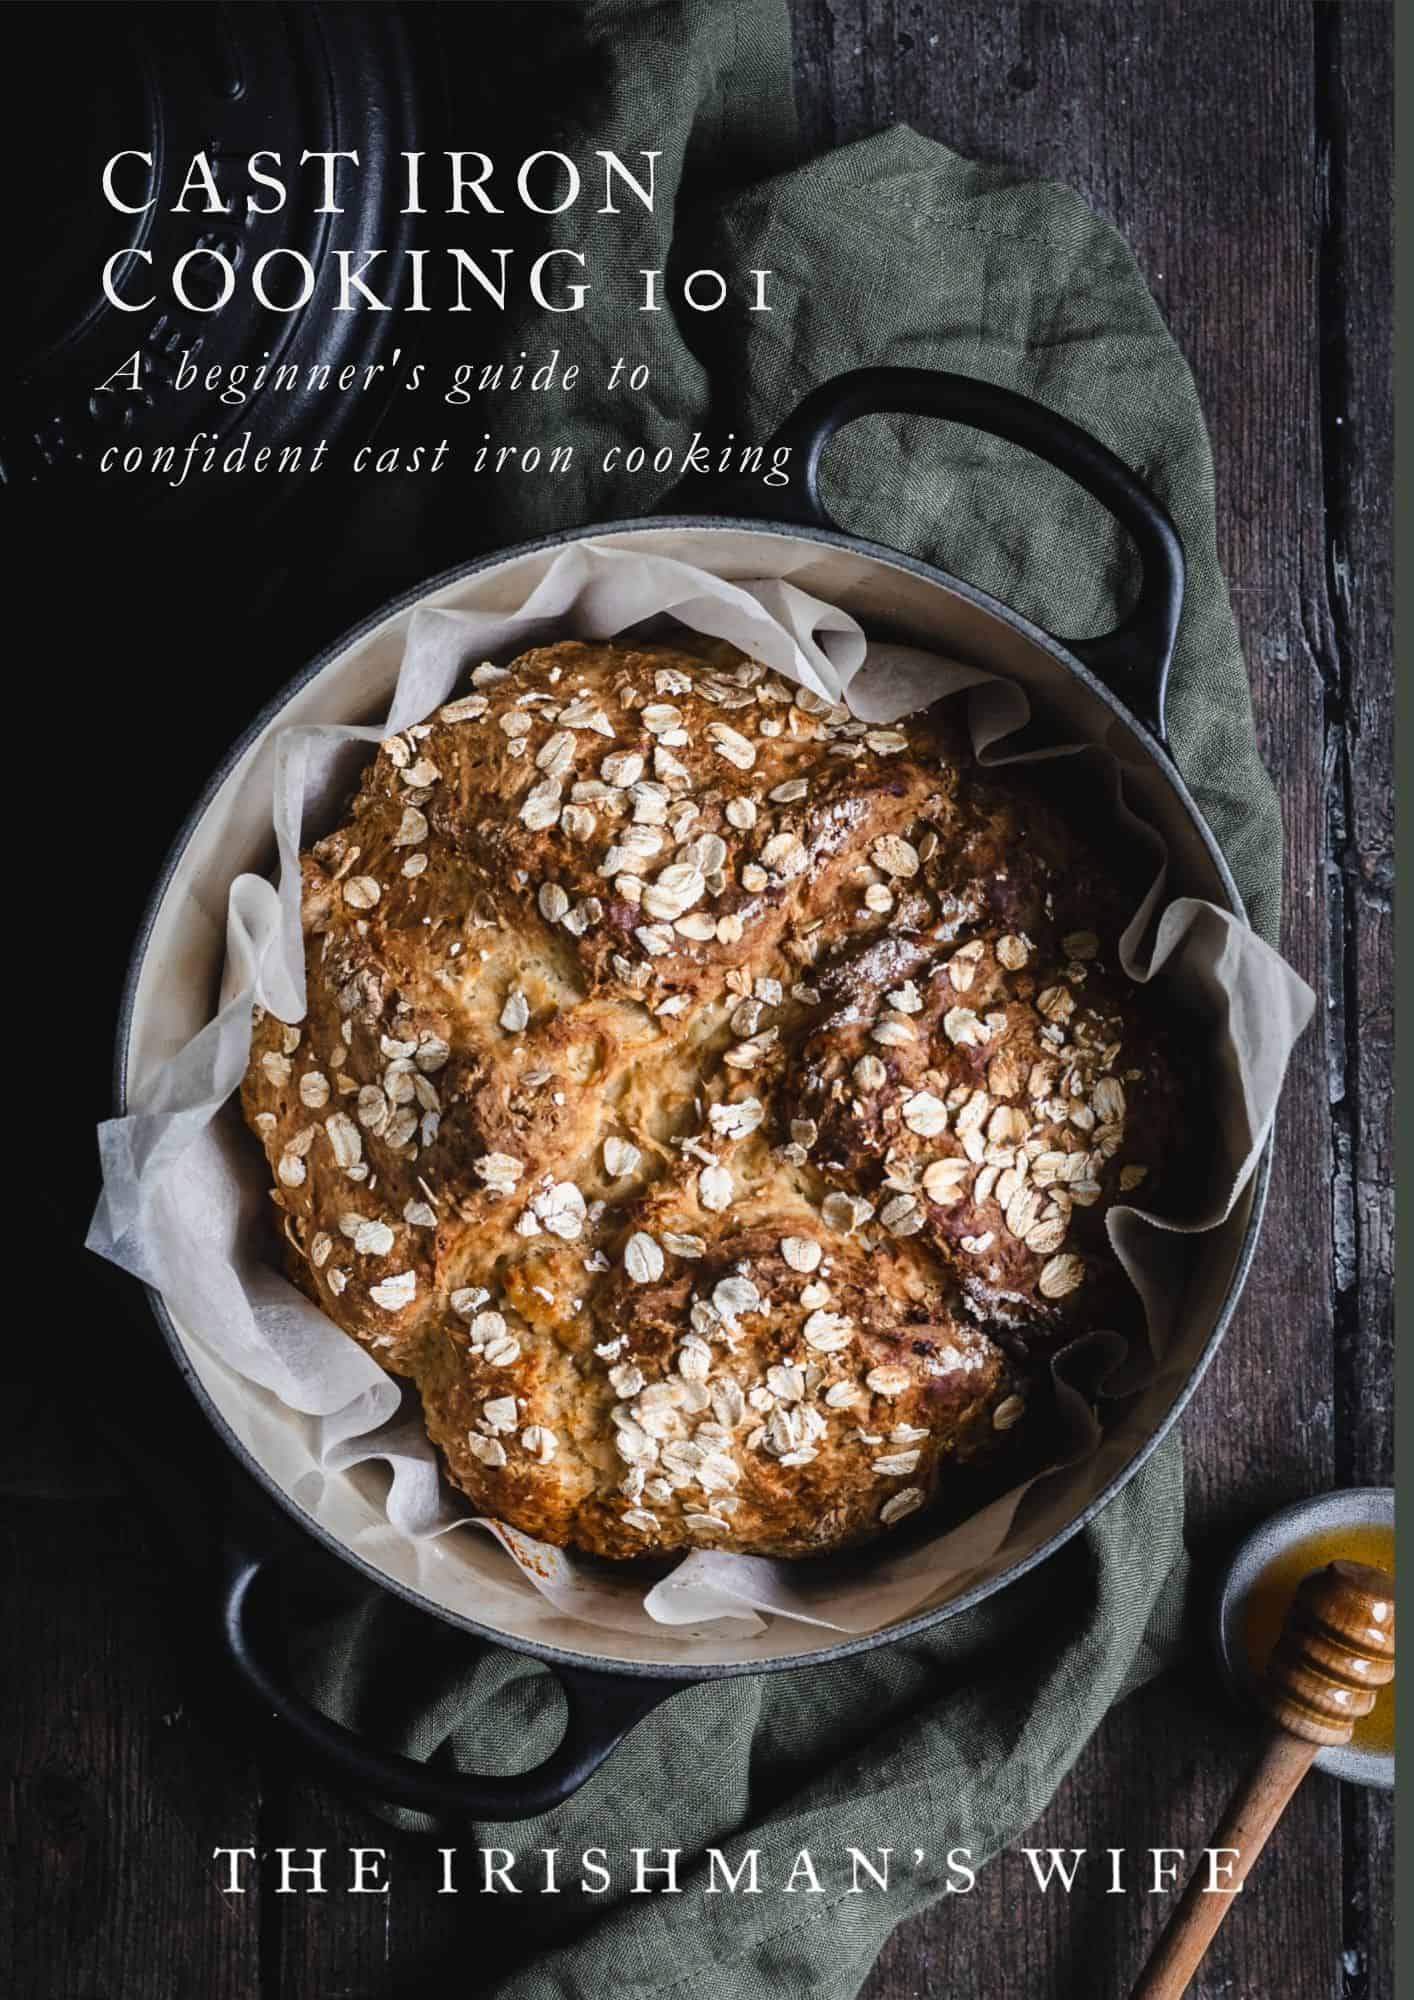
Cast Iron Cooking 101
From slow cooked stews to warm bread fresh from the oven, this guide will help you feel confident cooking with cast iron at home.

White Christmas Wreath
- Prep Time: 30 minutes
- Resting Time: 2 hours
- Total Time: 2 hours 30 minutes
- Yield: 1 wreath 1x
- Category: Sweets
- Method: No-bake
- Cuisine: Australian
Description
Turn a festive White Christmas slice into the centerpiece of your festive celebrations with this no-bake edible chocolate wreath
Ingredients
- 1 quantity white Christmas slice
- cooking spray
- salade de fleurs (dried flowers for decoration)
- ribbon bow to decorate
Instructions
- Thoroughly spray with baking spray your no-stick cake tin and whisky glass. In the center of the ring tin, place the straight-sided glass in the middle, and (if needed) touch up any sections that have not been sprayed with baking spray.
- Make White Christmas slice according to the recipe up until (and including) step 4
- Place spoonfuls of the white Christmas mixture evenly in the DIY ring tin until all the mixture is used up.
- Place in the fridge for 2 hours.
- Remove from the fridge and gently remove both the glass and the cake ring.
- Place on a plate and decorate with a ribbon bow. Scatter edible flowers on top!
Notes
If your glass doesn’t release straight away, I pour a little hot water in the glass and it normally releases in a minute or two.


so yummy the family loved it and it looks so impressive – elevated my Christmas cooking
Hope you had a Merry Christmas, thank you for letting me know x