
How to: Easy Homemade Pasta Recipe with (and without) your KitchenAid
So, let’s make pasta from scratch. It seems like a lot of effort, doesn’t it? Truth be told, making your own pasta from scratch is one of the simplest and most gratifying kitchen skills. It requires little hands-on time, it can be made with 2-3 ingredients, and that FLAVOR! No amount of store-bought dried pasta can ever compare. Plus it’s basically like playing with playdough, and it’s perfectly acceptable as an adult to do so!
Now there is a couple of types of pasta to consider when making pasta. In this case, we’re making traditional egg pasta in a KitchenAid stand Mixer. There is also no egg pasta (flour & water) and egg yolk pasta. But I find for my needs, this is the pasta dough I come back to again and again.
If you’re new here, you might not know I also run a small online store where I keep many of the tools I cook with every day, along with a few timeless homewares for good, slow living…
You don’t have a KitchenAid? That’s ok too! I have also included how to make pasta dough by hand!
What you need
My rule of thumb when making pasta is 1 egg = 75g of flour + 25g semolina = per person. The recipe on the card below is for four servings.
- 00 Pasta Flour – a type of flour that is the finest durum wheat flour. It’s perfect for making silky, fresh egg pasta!
- Semolina flour
- Fresh Eggs – Large, free range, and at room temperature is best.
- Water
- Sea Salt for salting the pasta water
Equipment you’ll need to make homemade pasta dough.
Using a KitchenAid stand mixer to make pasta you’ll need… KitchenAid pasta sheet roller, fettuccine cutter attachment (or angel hair/spaghetti attachment)
Using no machinery to make pasta you’ll need… sharp knife, bench scraper, rolling pin, cutting board
How to make fresh pasta dough with a KitchenAid Stand Mixer.
- Assemble your stand mixer with the large bowl and a dough hook attached.
- In the bowl, combine the pasta flour and semolina. Make a well in the center of the flour and add the eggs. Turn your mixer onto speed 1 until the three ingredients are combined and starting to bind together. If you need a splash of water or two to aid this process, then go for it.
- Once the dough is starting to form, increase the speed to 2 and knead the dough into a ball.
- Knead the dough for 2-3 minutes. Remove the bowl from the mixer. Cover with plastic wrap and leave to rest for at least 1 hour.
How to make pasta dough by hand
- Get your ingredients together within easy reach on a clean bench. In a bowl, measure out the flour and semolina and mix them together. Tip the flour onto the bench and make a pile.
- In the middle of the flour pile, make a well big enough for a couple of eggs. Crack your eggs into the well.
- With a fork, give the eggs a gentle whisk and slowly start incorporating a bit of the flour at a time into the egg mixture. Continue to add flour. When the mixture starts to thicken, start using your hands to incorporate the rest of the flour into a dough. If the dough is a little dry and crumbly, add a little water to bind the dough together, until you can form it into a ball.
- Make sure you have a floured surface and place the dough ball in the center. To knead, place the heel of your hand in the center of the dough and push it forward (like you are stretching the dough). Fold the dough in half, turn it over. Repeat this action for 5 minutes until you have a lovely, smooth ball of dough. Now let the dough rest. Pop the dough into a bowl, cover, and leave to rest for an hour.
Shaping your pasta
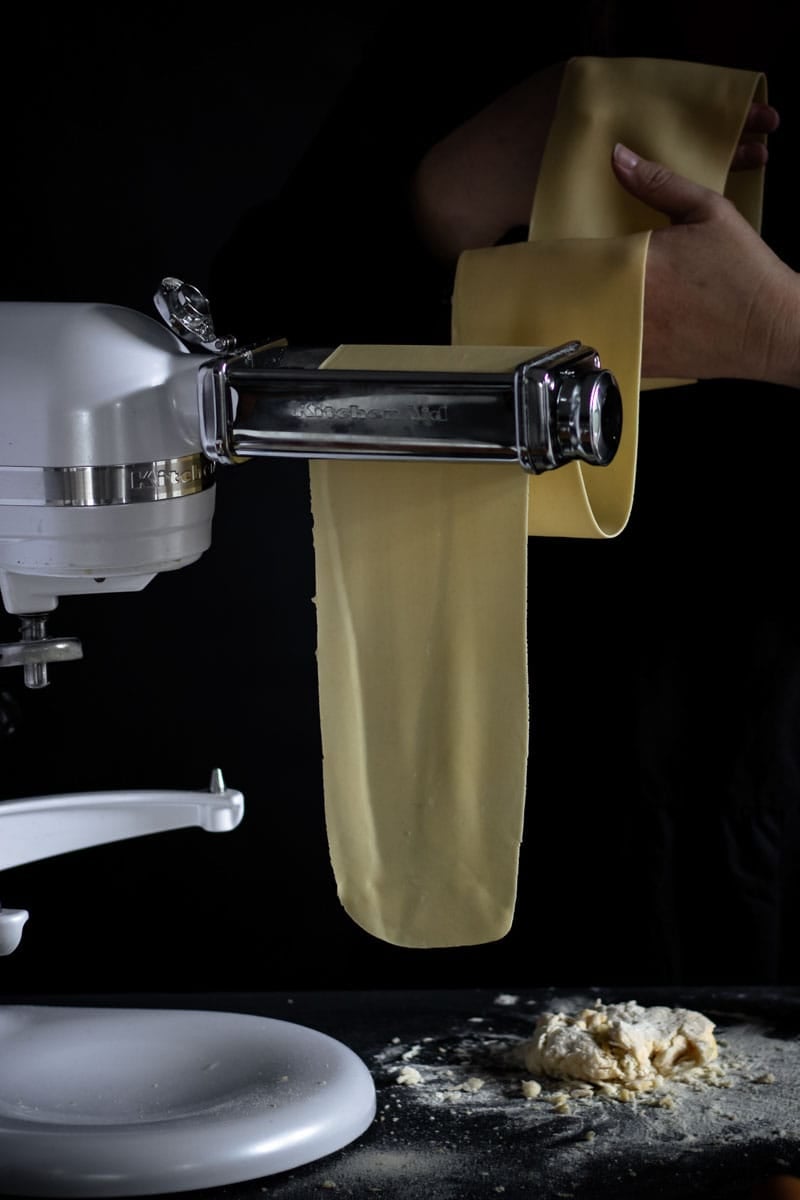
Ok so now’s the fun part. There is a whole wide world of different pasta shapes for you to explore. In this case, we are going to make fettuccine as an example. There are a couple of ways you can go about this. You could use a rolling pin and knife to cut the fettuccine into shape, a bench-model pasta machine like a Marcato Atlas 150, or a Kitchenaid stand Mixer using its pasta attachments.
Years ago I started with the Marcato and have since upgraded to a KitchenAid pasta attachment. I have both the 3 piece flat pasta attachment and the pasta press which does holey pasta like rigatoni. Both are awesome and I completely love them. The main bonus with using the Kitchenaid mixer is having a free hand to feed through the pasta as the stand mixer turns the pasta maker into an electrical pasta machine, cutting down your work considerably. Ps, I recommend both.
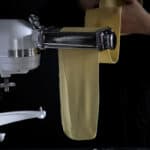
Always start with the pasta roller attachment in the widest setting (mine is 0). Depending on how much dough you have made, divide the dough into manageable chunks, and shape it into a ball. Then squish that ball of dough a bit to help the pasta machine catch the dough. Feed each dough ball through the pasta roller. After each feed, decrease the width of the pasta roller functions, working from 0 up to 9. If you at any stage make an error feeding the dough through, just start again (the bonus of pasta dough!) Once you have fed all your pasta through the thinnest KitchenAid attachment setting that you want your pasta to be, change over to a fettuccine attachment and feed each sheet of pasta through. Voila! Fettucine!
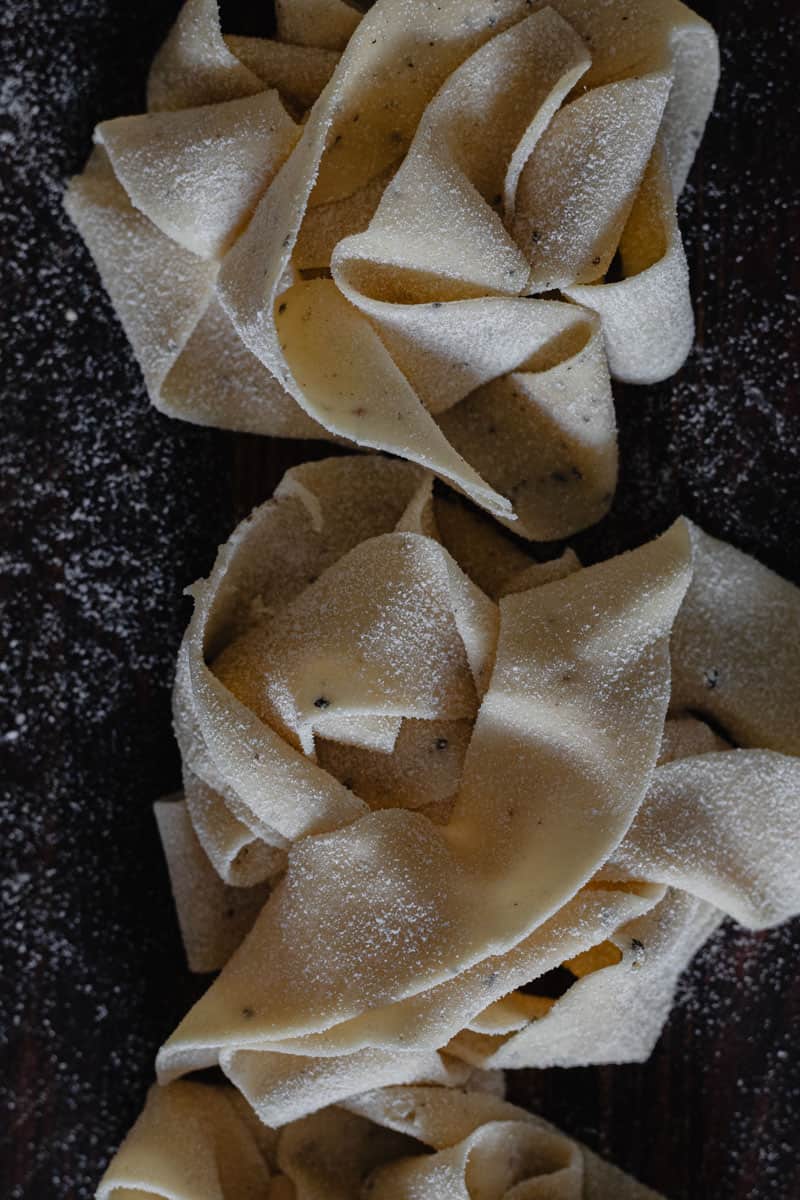
Drying your pasta
Because I don’t make pasta for freezing or for another day, drying my pasta is less of a priority than for others. I leave my pasta to dry on an old tea towel for 15 minutes before I cook it and that’s good enough for me most of the time. To dry pasta, I find that a pasta drying rack, on the back of a dining chair, or hung over a coat hanger are the best ways to dry it.
To dry your pasta, hang individual pieces (make sure they are not touching!) over the drying rack. Leave to dry for half an hour before cooking with.
Cooking your pasta
Drop your pasta into a pot of salted water on a rolling boil. Cook for 3-4 minutes or till al dente. Have a taste to check it’s cooked and strain the pasta. Add to your favorite sauce, or serve simply with a little olive oil and freshly grated parmesan.
Cooks notes
When making any kind of dough in your KitchenAid stand mixer, make sure that you don’t use a speed over 2. It’s not necessary as you will overwork the dough as well as put extra stress on your KitchenAid.
Freeze any leftover dough for another day by forming the dough into a disc shape and double-wrapping it in plastic wrap. It can then be frozen for up to one month.
Here are a few of my favorite pasta recipes…
- Fettucine Boscaiola
- Beef & Red Wine Ragu
- Slow Cooked Beef Stroganoff (Dutch oven)
- Roasted Cherry Tomato Sauce – The Irishman’s Wife (theirishmanswife.com)
I’m sure this will be the start of your new pasta-making obsession!
x
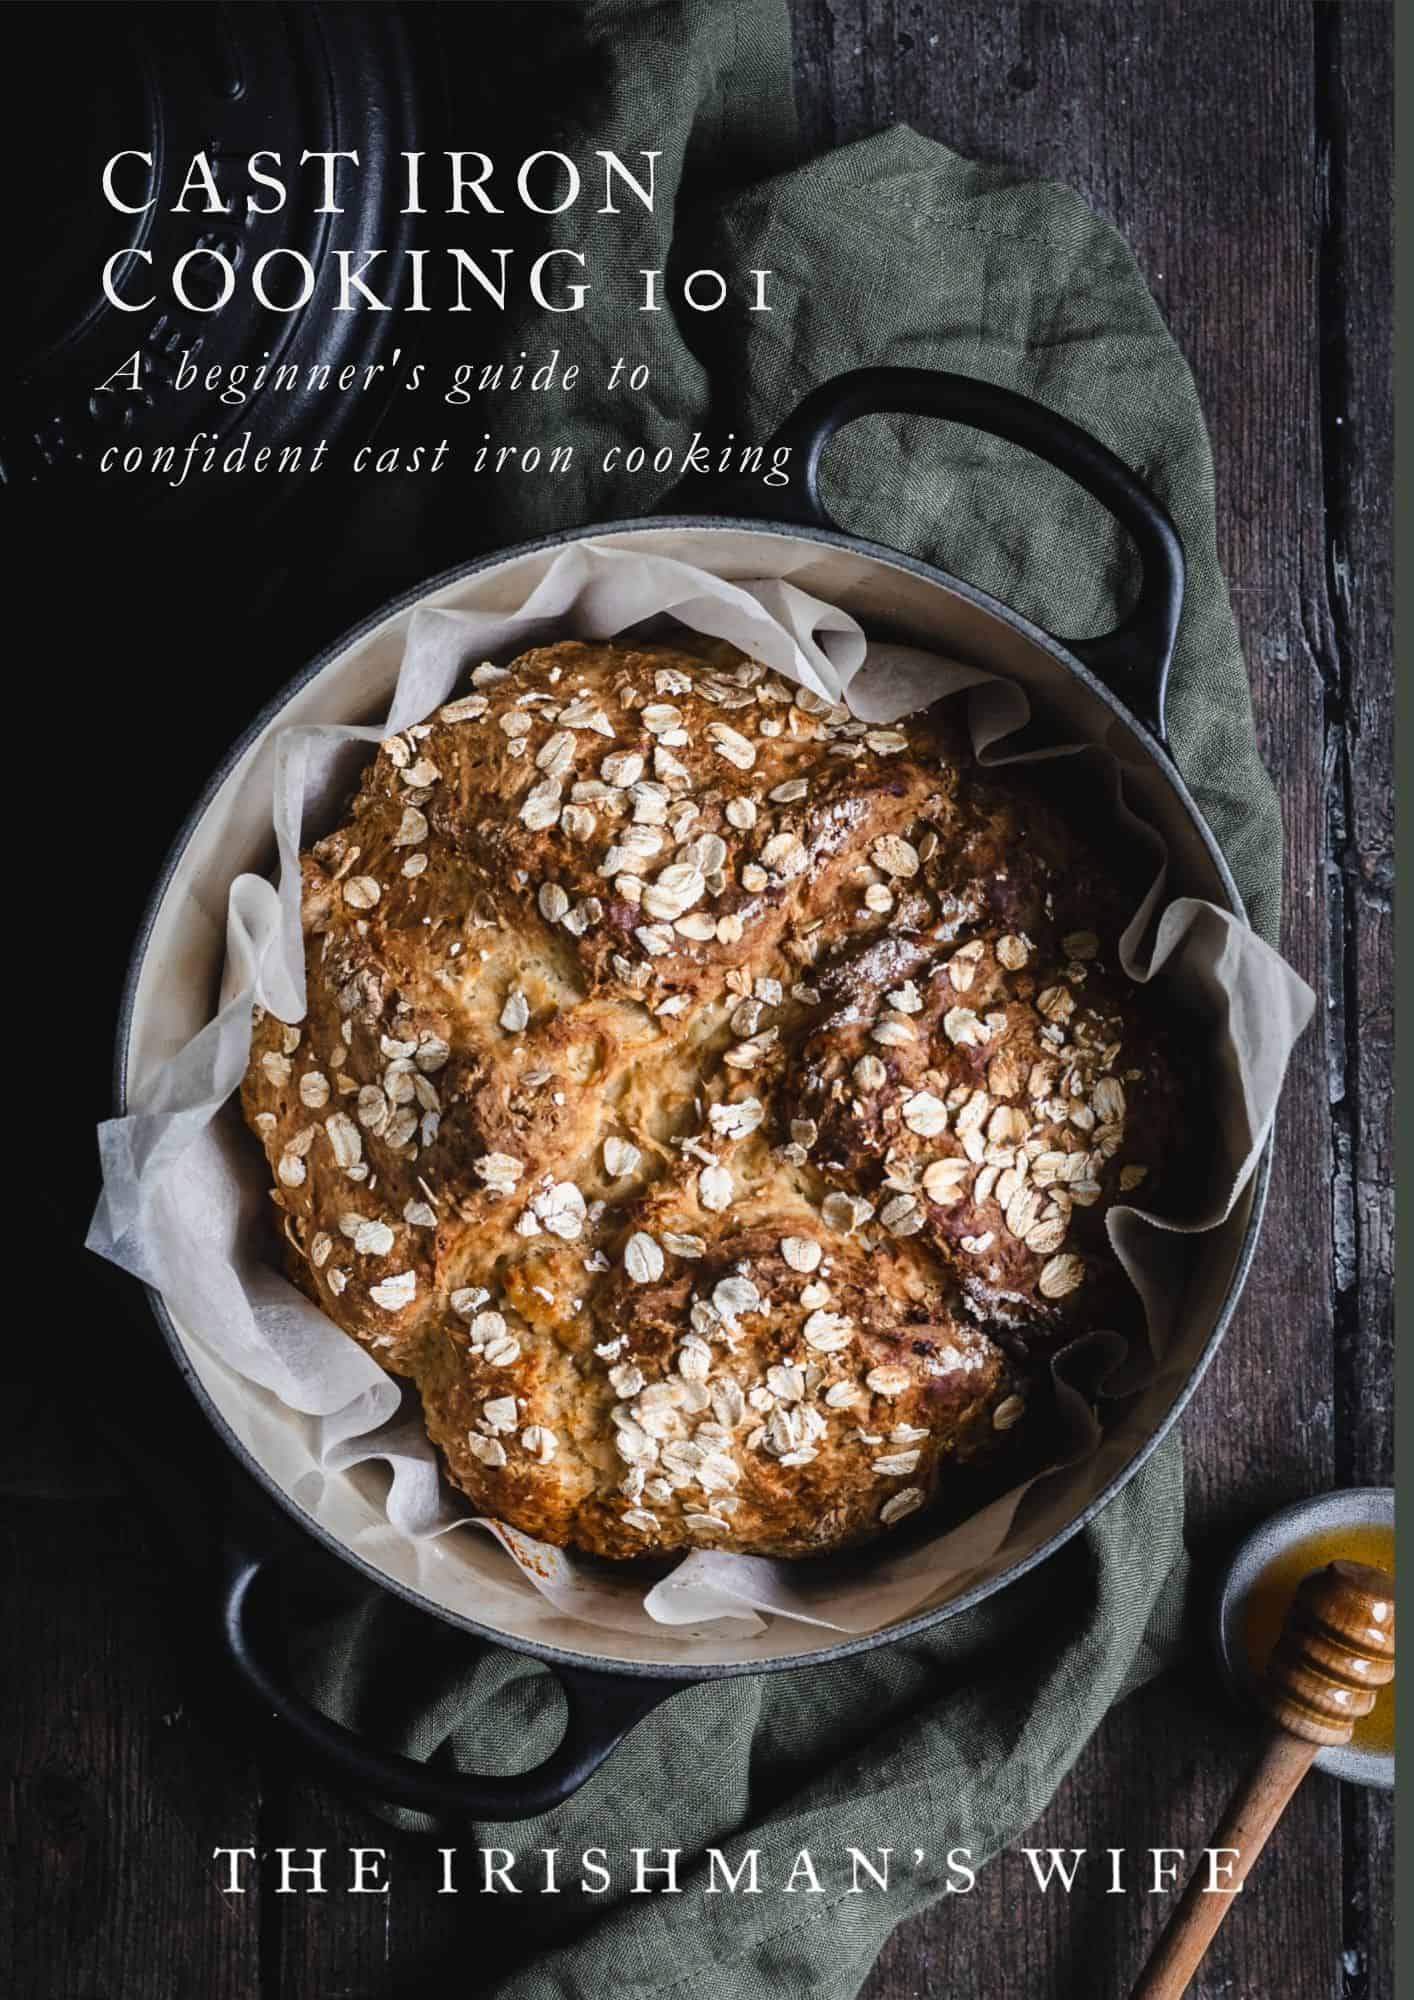
Start slow. Cook confidently.
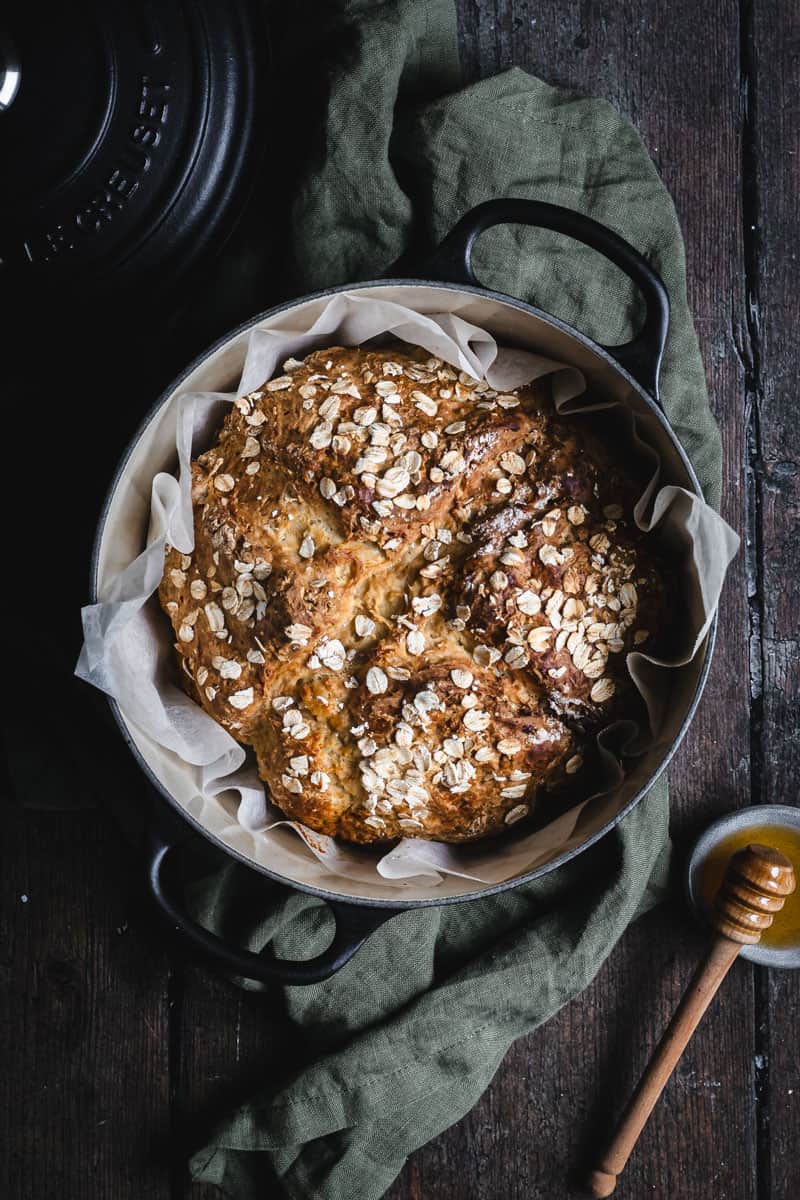
Cast Iron Cooking 101
From slow cooked stews to warm bread fresh from the oven, this guide will help you feel confident cooking with cast iron at home.
How to: Easy Homemade Pasta Recipe with (and without) your KitchenAid
- Prep Time: 25minutes
- Cook Time: 4 minutes
- Total Time: 29 minutes
- Yield: 4 1x
- Category: Pasta
- Method: Stovetop
- Cuisine: Italian
Description
Want to make pasta from scratch? This KitchenAid pasta recipe will show you how easy it is to make fresh pasta at home with (and without) attachments.
Ingredients
- 300g “00” Flour
- 100g semolina
- 4 eggs
- water
- sea salt to salt the pasta water
Instructions
- Assemble your stand mixer with the large bowl and a dough hook attached.
- In the bowl, combine the pasta flour and semolina. Make a well in the center of the flour and add the eggs. Turn your mixer onto speed 1 until the three ingredients are combined and starting to bind together. If you need a splash of water or two to aid this process, then go for it.
- Once the dough is starting to form, increase the speed to 2 and knead the dough into a ball.
- Knead the dough for 2-3 minutes. Remove the bowl from the mixer. Cover with plastic wrap and leave to rest for at least 1 hour.
- Always start with the pasta roller attachment in the widest setting (mine is 0). Divide the dough into manageable chunks, and shape it into a ball. Then squish that ball of dough a bit to help the pasta machine catch the dough. Feed each dough ball through the pasta roller. After each feed, decrease the width of the pasta roller functions, working from 0 up to 9 (or as thin as you would like it). If you at any stage make an error feeding the dough through, just start again (the bonus of pasta dough!)
- Once you have fed all your pasta through the thinnest KitchenAid attachment setting, change over to a fettuccine attachment and feed each sheet of pasta through. Voila! Fettucine!
- You may want to dry your pasta at this point. To do so, hang individual pieces (make sure they are not touching!) over a pasta drying rack. Leave to dry for half an hour before cooking with.
- Drop your pasta pieces into a pot of salted water on a rolling boil. Cook for 3-4 minutes or till al dente. Have a taste to check it’s cooked and strain the pasta. Add to your favorite sauce, or serve simply with a little olive oil and freshly grated parmesan.
Notes
When making any kind of dough in your KitchenAid stand mixer, make sure that you don’t use a speed over 2. It’s not necessary as you will overwork the dough as well as put extra stress on your KitchenAid.
Freeze any leftover dough for another day by forming the dough into a disc shape and double-wrapping it in plastic wrap. It can then be frozen for up to one month.
To make pasta dough by hand:
1. Get your ingredients together within easy reach on a clean bench. In a bowl, measure out the flour and semolina and mix them together. Tip the flour onto the bench and make a pile. 2.In the middle of the flour pile, make a well big enough for a couple of eggs. Crack your eggs into the well. 3.With a fork, give the eggs a gentle whisk and slowly start incorporating a bit of the flour at a time into the egg mixture. Continue to add flour. When the mixture starts to thicken, start using your hands to incorporate the rest of the flour into a dough. If the dough is a little dry and crumbly, add a little water to bind the dough together, until you can form it into a ball. 4. Make sure you have a floured surface and place the dough ball in the center. To knead, place the heel of your hand in the center of the dough and push it forward (like you are stretching the dough). Fold the dough in half, turn it over. Repeat this action for 5 minutes until you have a lovely, smooth ball of dough. Now let the dough rest. Pop the dough into a bowl, cover, and leave to rest for an hour. 5. Cook as per the recipe above.
Nutrition
- Serving Size:
- Calories: 435
- Sugar: 0.4 g
- Sodium: 654.4 mg
- Fat: 5.8 g
- Carbohydrates: 75.8 g
- Protein: 17.2 g
- Cholesterol: 186 mg


I’ve never made my own pasta before – will defiantly be making again so fun. Absolutely loved.
Thats great news Harriet, thank you for letting me know x