Dutch Oven Chocolate Self-Saucing Pudding
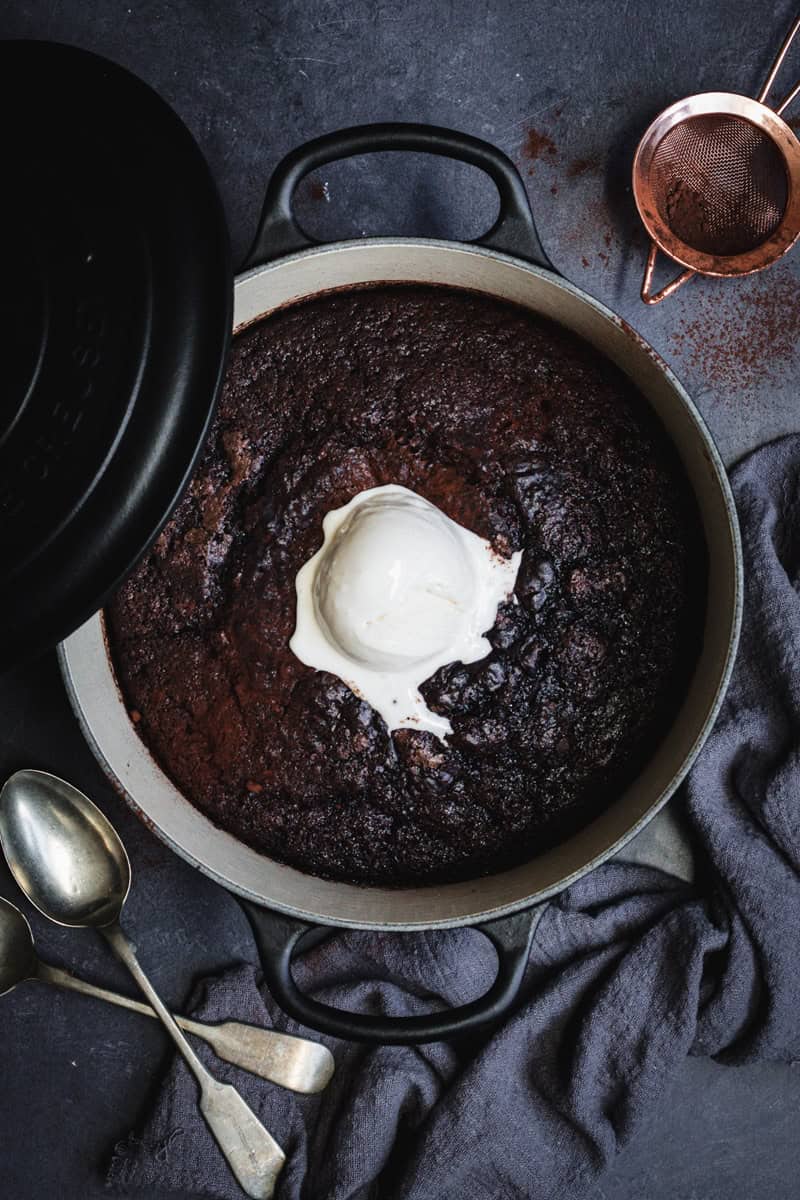
If there was a list of the most comforting desserts around, I reckon chocolate self-saucing pudding would be up there. I mean, we’re talking about a deliciously rich chocolate cake, hiding a simple (but again delicious!) chocolate sauce underneath. It’s an easy one-pot dessert that’s best served warm with a very big scoop of vanilla ice cream melting over the top.
If you’re new here, you might not know I also run a small online store where I keep many of the tools I cook with every day, along with a few timeless homewares for good, slow living…
This version is baked in my 22cm enamel cast iron Dutch oven, which has become one of my favourite pots for baking puddings. The cast iron holds onto heat beautifully, and more importantly, keeps everything beautifully warm when you bring the whole pot straight to the table.
It’s a nostalgic classic dessert that I love to cook on a slow weekend, when we’re just hunkered down at home.
Why You’ll Love This Recipe
- It makes its own sauce. A rich chocolate sauce magically appears underneath the sponge as it bakes. Crazy huh?!
- It’s super simple. There’s no complicated technique or fancy equipment required.
- Made for sharing. Pop the Dutch oven in the middle of the table, add a couple of scoops of ice cream, and hand everyone a spoon. Okay, yes, bowls are probably more civilised, but you do you!
- A proper comfort-food dessert. Warm chocolate pudding and cold vanilla ice cream is very hard to beat.
Ingredients
- Pantry – plain flour (all purpose four), white sugar, brown sugar, baking soda (bicarb soda), sea salt flakes.
- Dutch cocoa powder – It is the best when it comes to creating a deep chocolate flavor in baked recipes.
- Unsalted butter
- Buttermilk
- Eggs – always room temperature. I use large or extra-large eggs.
- Vanilla extract
- Hot water – This is what helps create that silky chocolate sauce underneath the pudding. It might look slightly alarming when you pour it over the uncooked batter, but trust the process!
Equipment You’ll Need
For this recipe, you’ll need:
- 22cm enamel Dutch oven
- Medium mixing bowl
- Balloon whisk
- Spatula or wooden spoon
- Measuring jug, cups and spoons
- Kettle
Why I Bake My Self-Saucing Pudding in a Dutch Oven
If you’ve spent any time around here, you’ll know I don’t need an excuse to pull out one of my enamel Dutch ovens. While chocolate self-saucing pudding is traditionally made in a baking or casserole dish, an enamel cast iron Dutch oven also works beautifully.
One of my favourite things about using cast iron for desserts is how well it holds onto heat. I can take the pudding straight from the oven to the table and it stays beautifully warm while everyone helps themselves – which is exactly what you want with a self-saucing pudding.
What Size Dutch Oven Should I Use?
I created and tested this recipe in a 22cm enamel cast iron Dutch oven, which gives the pudding plenty of room to rise while still leaving enough depth for the chocolate sauce underneath. You can also use a 20cm Dutch oven, although the pudding will be deeper and may need a little longer to bake. A 24cm Dutch oven will spread the batter more thinly, so start checking it earlier.
When using a different pot or baking dish, don’t judge it by diameter alone. The depth and shape of the dish matter too. A wider, shallower dish will generally cook more quickly, while a smaller, deeper dish will take longer.
PS, You don’t need to preheat your Dutch oven for this recipe. Unlike searing meat or getting a good crust on bread, we’re looking for a gentle, even bake here.

WELCOME TO THE WORLD OF CAST IRON
One pot turned into three… and now you’re hooked? It happens to the best of us. Find recipes, tips, and guides in my Cast Iron Cooking Library.
Can I Use a Baking Dish Instead?
Yes. If you don’t have a Dutch oven, you can make the pudding in an ovenproof casserole or baking dish of a similar size and capacity. Just keep in mind that changing the material, width, or depth of the dish can change the baking time. A shallow baking dish will usually cook more quickly than a deep Dutch oven, so start checking the pudding earlier.
Whatever you bake it in, make sure there’s plenty of room above the batter before it goes into the oven. The sponge will rise as it bakes, and you don’t want chocolate sauce bubbling over the sides.
A Few Simple Steps…
- Prepare the Dutch oven and preheat your oven.
- Make the chocolate sauce topping.
- Mix the dry ingredients.
- Mix the wet ingredients.
- Make the pudding batter.
- Add the topping and boiling water.
- Bake.
- Rest and serve.
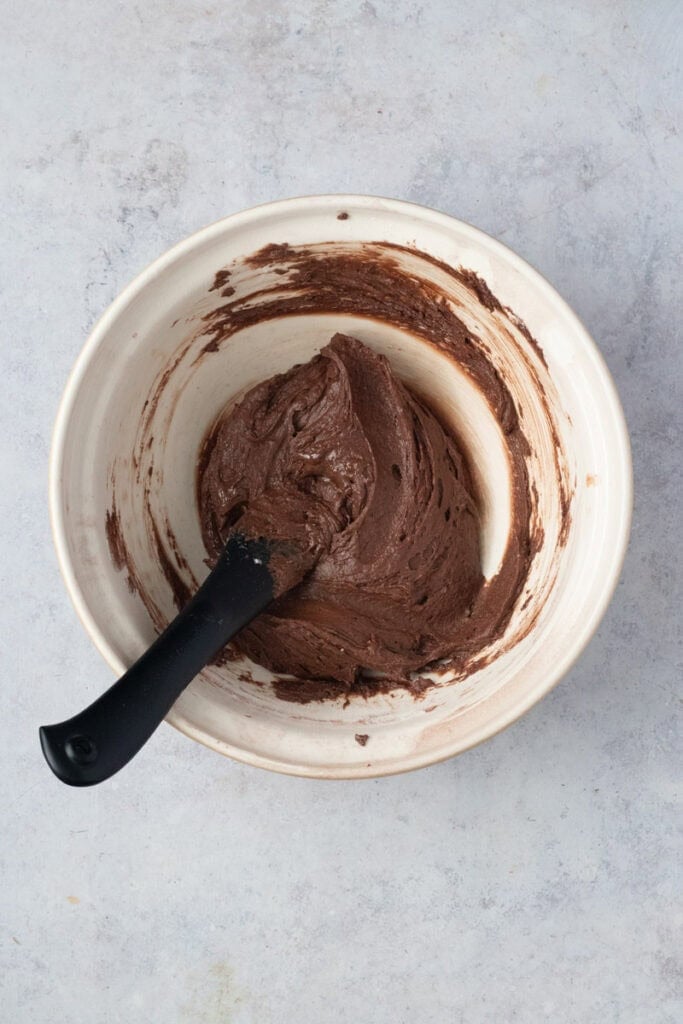
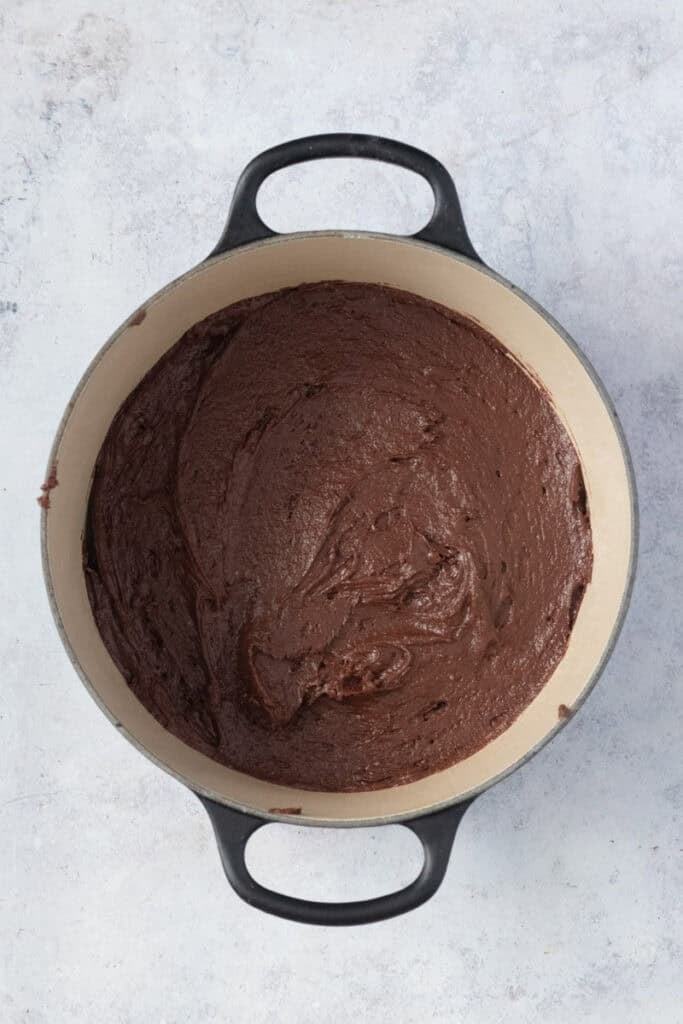
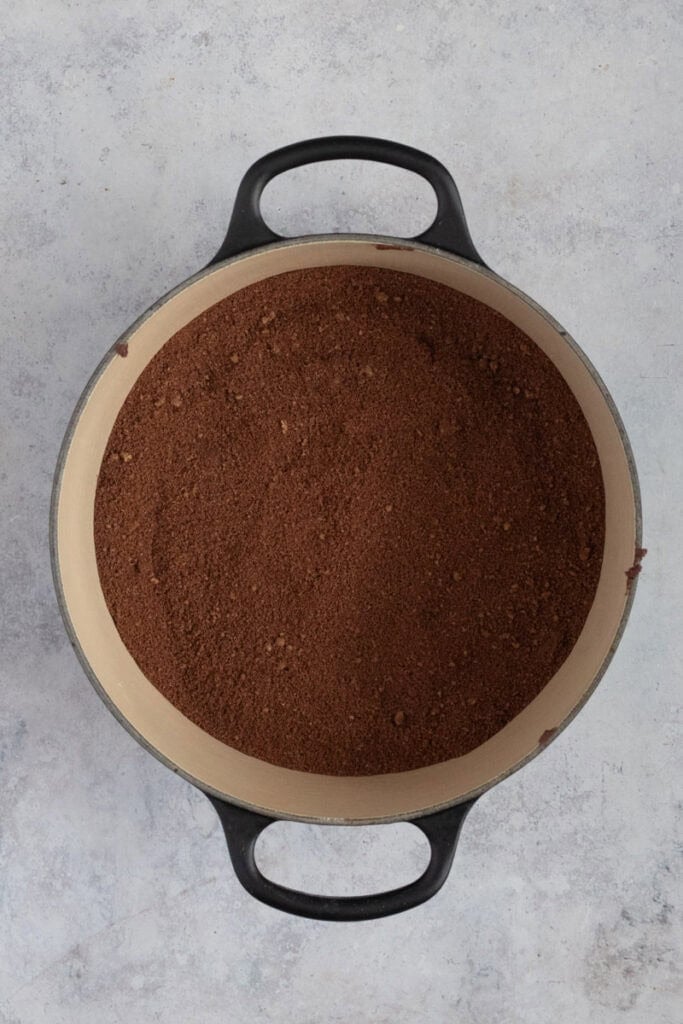
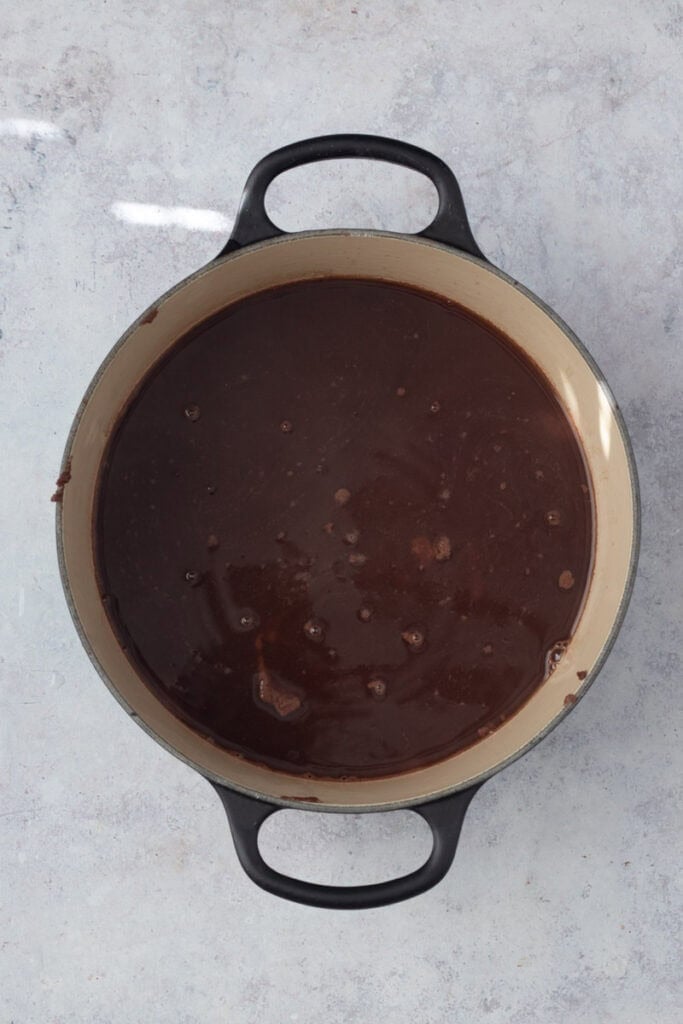
How Does Chocolate Self-Saucing Pudding Work?
This is the clever bit. No, this isn’t Hogwarts, but there is an element of magic to it!
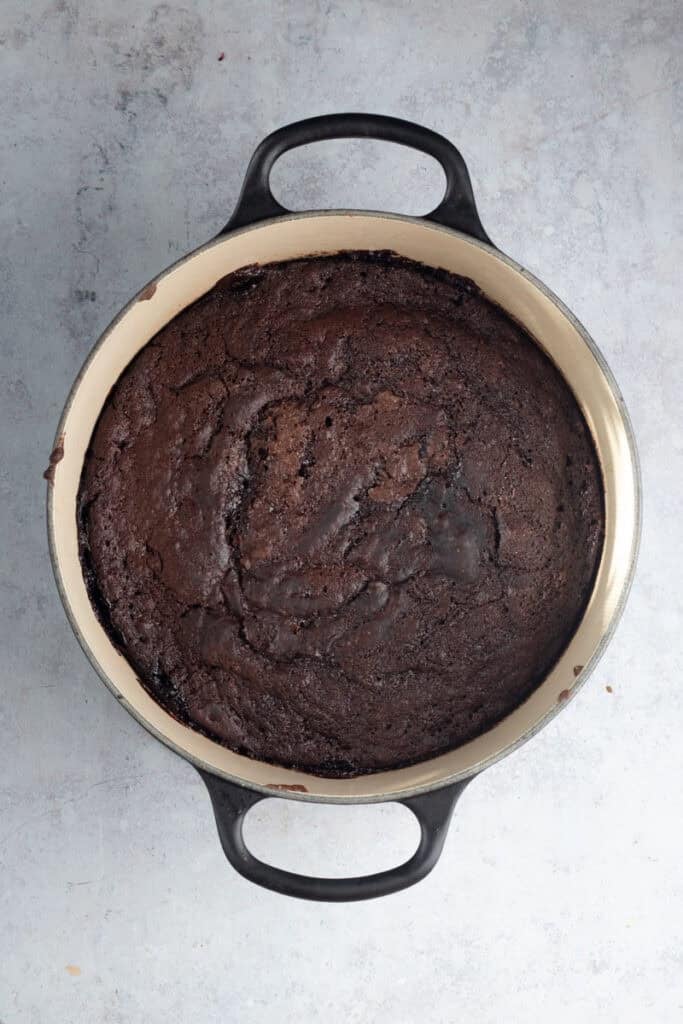
The pudding goes into the oven with the cake batter on the bottom and a mixture of brown sugar, cocoa and boiling water sitting over the top. As it bakes, the sponge rises through the liquid while the sugar, cocoa and water work their way underneath, thickening into a rich chocolate sauce. The result… a spongy chocolate pudding on top and warm chocolate sauce underneath – all from the one pot.
And no, you absolutely don’t stir the water into the batter before baking. As odd as leaving it sitting on top may feel, that’s what makes the magic happen.
Cooks notes
Don’t stir after adding the water. It really is the golden rule of self-saucing pudding. Sprinkle over the topping, pour over the boiling water, and leave it alone.
Use boiling water. Have the kettle boiled and ready to go just before you pour the water over the pudding.
Don’t overmix the batter. Mix only until everything is combined to keep the sponge soft and light.
Don’t overbake it. Overbaking is one of the easiest ways to lose that gorgeous sauce underneath. The top should look cooked and springy, but you’re not looking for a completely dry pudding. Baking time will always vary with each oven, so with this one, bake for 30 minutes and add more cooking time if needed.
Remember that cast iron retains heat. Your pudding will continue to stay very hot after it comes out of the oven, so don’t leave it sitting around too long before digging in, as the longer it stays in its pot/dish, the more sauce that is absorbed
Let’s Serve It Up!
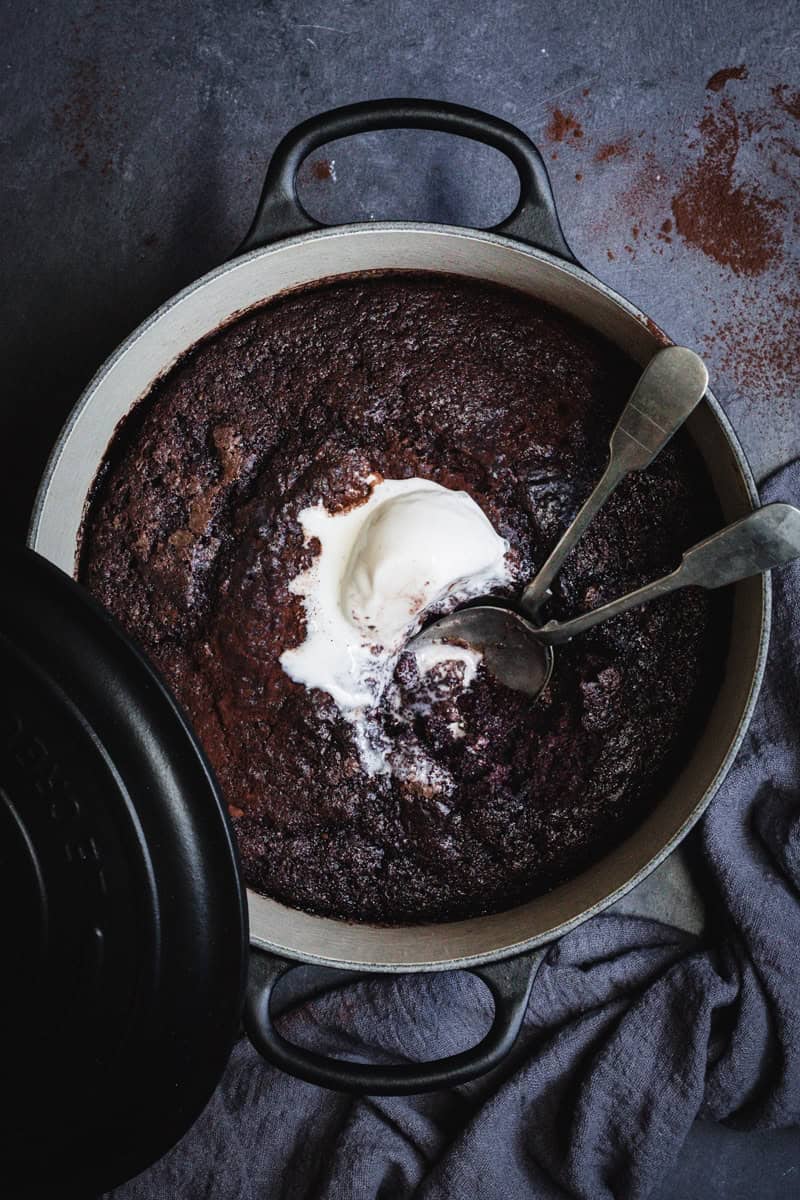
For me, always vanilla ice cream. Bonus points if it’s homemade!
Spoon the warm pudding into bowls, making sure you dig right down to the bottom to get plenty of chocolate sauce, then add a scoop of ice cream and let it slowly melt into the pudding. Holy moly, I’m drooling just thinking about it!
You could also serve it with:
- Double cream
- Warm vanilla custard
- Fresh berries. I’m going to lean towards raspberries or strawberries with this one!
- Crème fraîche if you like something a little less sweet.
Storing and Reheating
This chocolate pudding recipe is at its absolute best freshly baked, when there’s plenty of warm sauce underneath. If you have leftovers, let the pudding cool before covering and storing it in the refrigerator for up to 2 days. Be sure to keep in mind that the sponge will gradually absorb some of the sauce as it sits, so a reheated self-saucing pudding won’t be quite as saucy as one straight from the oven.
Reheat individual portions gently in the microwave until warmed through.
Start slow. Cook confidently.
Cast Iron Cooking 101
From slow cooked stews to warm bread fresh from the oven, this guide will help you feel confident cooking with cast iron at home.
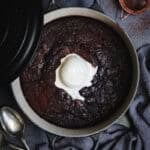
Dutch Oven Chocolate Self-Saucing Pudding
- Total Time: 40 minutes
- Yield: 6 serves 1x
Description
A rich chocolate self-saucing pudding with a soft chocolate sponge and warm, gooey sauce underneath. An easy one-pot dessert that’s even better served warm with a big scoop of vanilla ice cream.
Ingredients
Saucy topping
- 2 tbsp cocoa powder
- 3/4 c brown sugar
- 1 c boiling water
Chocolate Sponge
- 60g unsalted butter
- 1 cup plain flour (all-purpose)
- 3/4c white sugar
- 1/3c Dutch cocoa
- 1 tsp bicarb soda
- 1/2 tsp sea salt flakes
- 3/4c buttermilk
- 1 1/2 tsp vanilla extract
- 1 egg
Instructions
- Preheat the oven to 170°C/340°F and lightly grease the inside of a 22cm enamel Dutch oven with a little butter.
- Make the cocoa and sugar topping for the sauce and set aside.
- Melt the butter and pop aside to cool for a few minutes.
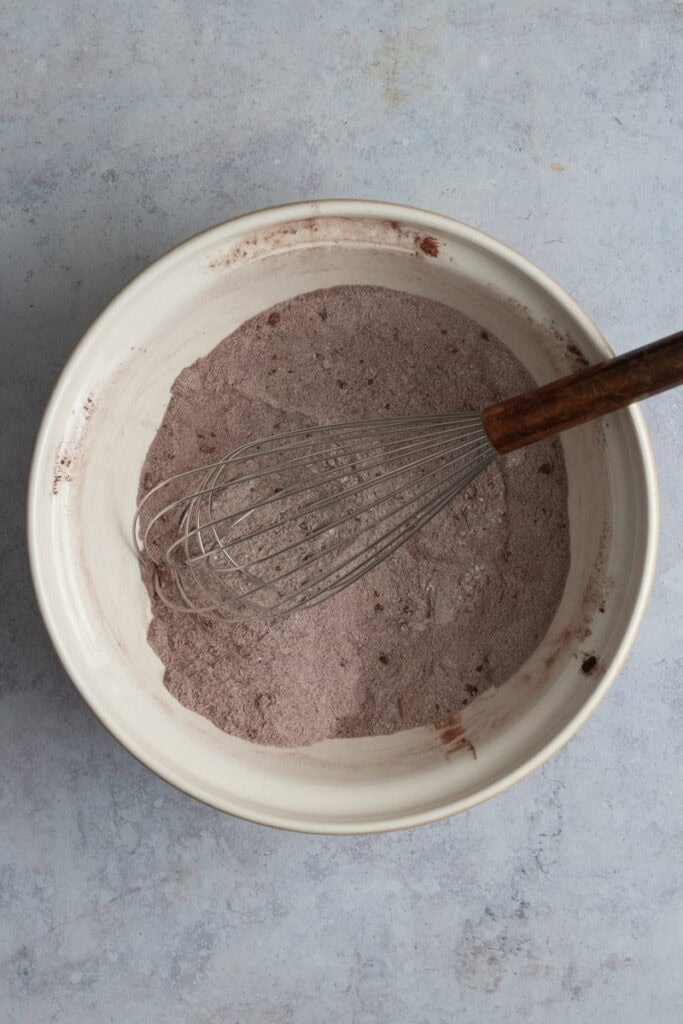
- Make the chocolate pudding batter. Combine the dry ingredients in a medium bowl (flour, white sugar, Dutch cocoa, bicarbonate of soda, salt flakes) and give it a quick whisk to break up any lumps and bumps.
- In a measuring jug, combine the wet ingredients (buttermilk, vanilla extract and egg) and give it a quick mix.
- Add the melted butter, as well as the buttermilk mixture, to the dry ingredients and gently mix until everything is just combined and you have a smooth chocolate batter.
- Spoon the batter into the prepared Dutch oven and smooth the top.
- Sprinkle the sugar/cocoa mixture evenly over the top of the pudding batter.
- Gently pour the boiling water over the back of a spoon and onto the pudding, being sure to cover all the dry sugar mix. Don’t stir it! I know it looks a little strange at this point. You’ll have chocolate batter underneath and what looks like very watery chocolate sitting on top. That’s exactly how it should look.
- Pop the Dutch oven, uncovered, into the oven and bake for 30-35minutes, or until the chocolate sponge has risen, the surface looks set and the centre springs back lightly when touched.
- Leave the pudding to stand for 5–10 minutes before serving.
Notes
Do not overmix the batter! Just like a cake, too much mixing can leave you with a heavier sponge.
Don’t be tempted to keep baking until everything looks completely dry. Remember, there’s supposed to be a pool of chocolate sauce hiding underneath.
This recipe was cooked in a 22cm enamel cast iron Dutch oven.
Please note that all recipes on this website are in US measurements. Eg, 1 cup / 240ml, 1 tablespoon/15mls. Oven temperatures refer to a fan-forced oven.
- Prep Time: 10 minutes
- Cook Time: 30 minutes
- Category: Dessert
- Method: Baking
- Cuisine: British