
Why I’m in love with cold oven bread baking
I’m a casual sourdough baker. I don’t follow much of a schedule, and much prefer to just pop on a loaf every other weekend when time allows and we’re all at home to eat it. Lately, I’ve become quite laid back with my sourdough. Not feeding my starter religiously, more in the lead-up to baking, rather than every day at precisely the same time. And do you know what? My starter is thriving! This leads me to another discovery… Cold oven bread baking. It’s a revelation! Now if you haven’t yet tried making sourdough but want to give it a try, you’ll need to start with a bread starter.
If you’re new here, you might not know I also run a small online store where I keep many of the tools I cook with every day, along with a few timeless homewares for good, slow living…
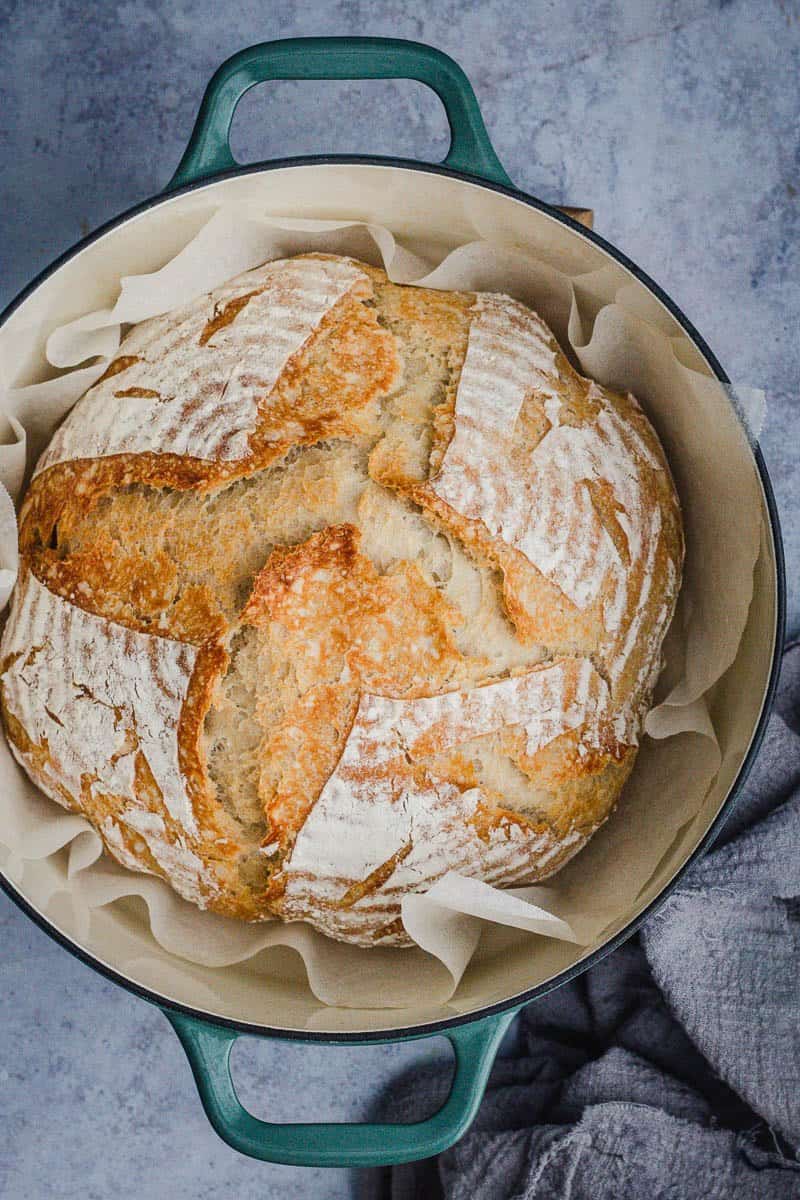
I first heard about cold oven bread baking from the Sourdough guru Elaine Boddy. If you are a sourdough baker and you don’t follow Elaine’s Insta, I’m giving you total permission to pop over there now. A self-taught baker, Elaine makes sourdough simple. Just what I like! Cold oven bread baking is the idea that you don’t need to preheat your oven when baking sourdough. Just pop the dough into an enamel, clay, or cast iron pot, pop on the lid, and bake away. For a no-fuss baker like myself, this method suits me to a tea!
Now if you’ve followed me for a while you’ll know that cast iron cooking is my love, so of course, that’s what I’m using. For reference, I’m currently using this 26cm Chasseur French oven below for my bread baking.
My cold oven bread baking process
For a Sunday lunch loaf, I give my starter a good feed on a Friday or Saturday morning before I head to work. By the time I get home, it’s doubled in size and it’s good to go. And yes, Saturday night baking… that is how I roll!
This is my process...
- Friday/Saturday morning – Feed starter
- Friday/Saturday evening – Start sourdough according to your usual sourdough recipe. Slowly prove in the fridge until Sunday morning.
- Sunday morning 9am – Remove from fridge and leave on the bench for 1 hour to get to room temperature.
- Sunday Morning 10am – Final shape and pop into a banneton and cover for the final proof. (My second prove is 2 hours on a normal 20 degree day)
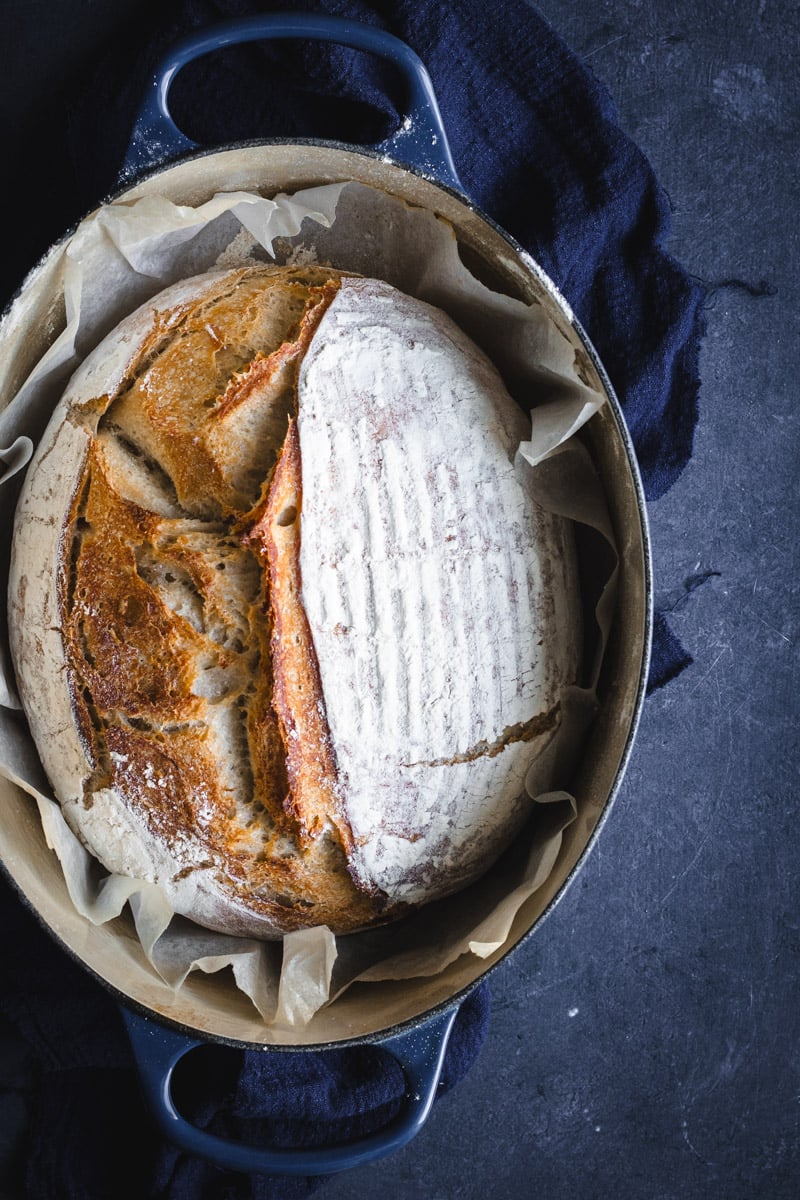
- Midday – Grease the inside of your cast iron casserole pot with oil. Flour a piece of baking paper and turn your loaf out of the banneton. Using a lame, score the dough. Lift up the paper and put the loaf into the pot. Pop on the lid. Place into a cold oven. Turn on the oven to 190 degrees C. While it depends on the size of the loaf, for my 20cm round loaf, I bake for 40 minutes with the lid on, and then the last 20 minutes with the lid off.
- Lunch – Eat ALL the bread because it’s freakin delicious!
Notes
Many people I talk to about sourdough are always surprised that I do the first proof in the fridge instead of the second. The main recipe I am using at the moment is from the book Wild Sourdough by Yoke Mardewi which talks heaps about how to make sourdough baking work around your life. While I’ve tried other recipes this one works for me and I love that you can leave it in the fridge to prove for up to 5 days.
If I haven’t fed my starter in the few days prior, I would feed it 24 hours before starting to build up some strength.
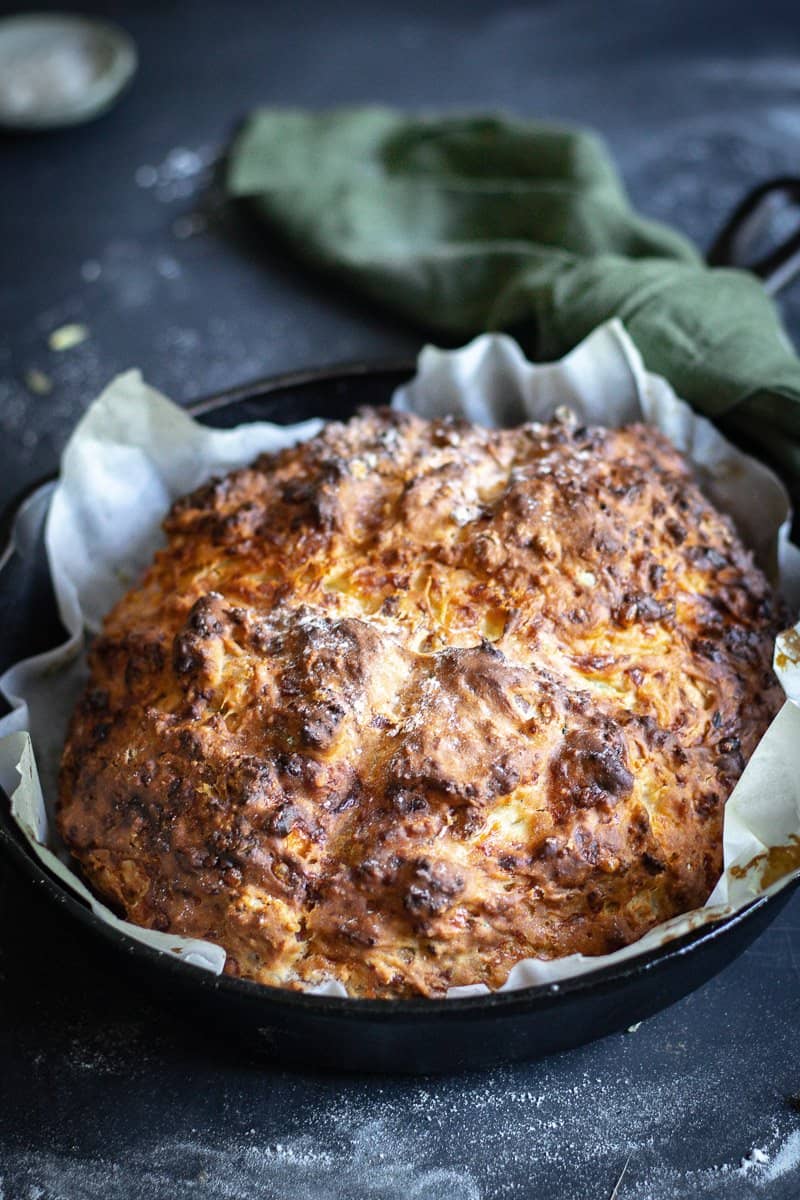
A bit on cast iron cooking
There is nothing like cooking with cast iron cookware. The way it creates such intense flavor with such simple cooking is magical. I am its biggest fan and advocate, mainly due to its ability to ACTUALLY last a lifetime if it’s treated correctly.
When you are cooking bread with enameled cast iron, make sure you baste the pan in oil before any heat is applied to the pot. Without basting prior, the pan can get thermal shock and crack the enamel. The same goes for using your pot on the stove. Never turn on the heat without some form of liquid on the base to protect it.
Happy bread baking
x
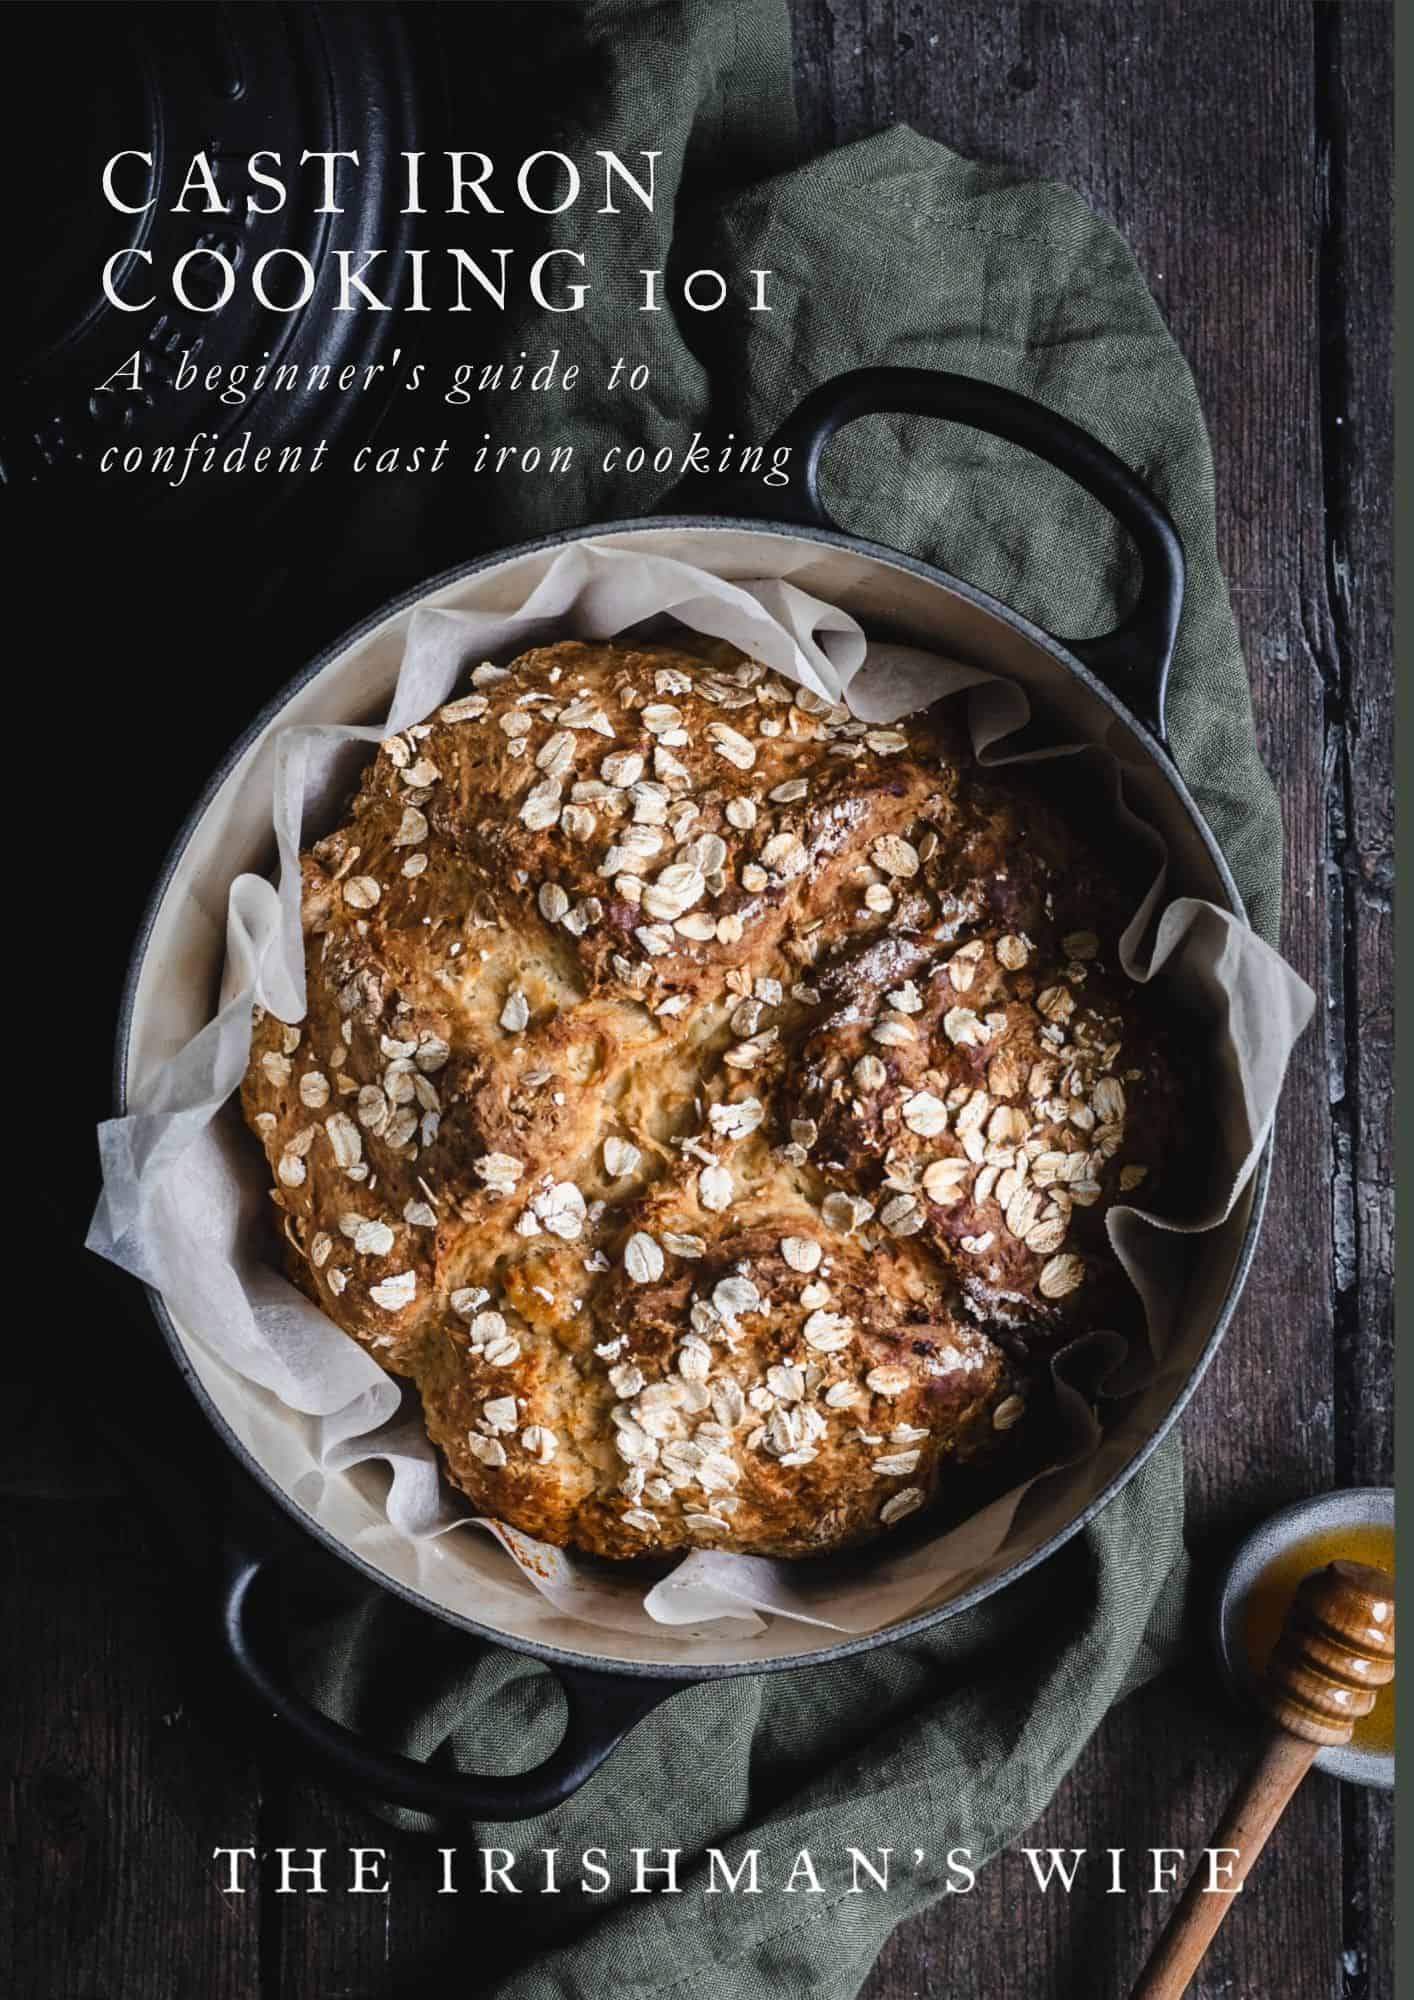
Start slow. Cook confidently.
Cast Iron Cooking 101
From slow cooked stews to warm bread fresh from the oven, this guide will help you feel confident cooking with cast iron at home.
THIS POST IS IN COLLABORATION WITH CHASSEUR AUSTRALIA. A BRAND I LOVE AND ADORE. ALL OPINIONS ARE 100% MY OWN.


Hi Emma, I’ve been a novice bread maker since the beginning of lockdown. I did try sour dough bread making once or twice and gave up. You have inspired me to give it another go. Thank you.
Awww I love this!!! The secret to sourdough is making it fit around your life, not the other way around. Thanks so much for sharing x
Thanks for sharing this! I followed your instructions and mine came out perfect!
That’s so good to hear Amy x
Hi Emma, you have a gift with words, very motivating. I’ve had very mixed results over the years with sourdough and I’ve stumbled over your posts while experimenting with slow fermenation, no knead recipes as promoted by the New York baker Jim Lahey, among others. Will try your method next time I make bread: the batch of sourdough loaves l baked yesterday were barely worth keeping.
Oh no. I have those bakes too – it’s always so heartbreaking isn’t it?! Personally it took me ages to get into my sourdough groove and find what worked for me. You’ve just got to now find what works for you and most importantly fits around your life. It’ll happen 🙂 Good luck on your sourdough journey Richard!
You say to turn the oven to 190°, but is that 190° C or 190° F?
Hi Donna. It’s Celsius 🙂
Hi Emma,
Is the 190 C for fan-forced (convection) or conventional mode?
Thanks!
Wendy
All my recipes are fan forced Wendy 🙂