
Dutch Oven No Knead Bread (Farmhouse Style)
I love a proper bread-making session as much as the next person. But some days? I don’t want to knead. I don’t want to think too hard. I just want good bread on the table with minimal fuss. And that’s exactly where this Dutch oven no-knead bread comes in. It’s based on my Hunter’s Dutch oven bread recipe — the one I’ve made more times than I can count — but this version? It’s been simplified. Slowed down, maybe. Made a little more forgiving. And most importantly… It’s been tested and given the thumbs up by Hunter — which, around here, is about as official as it gets.
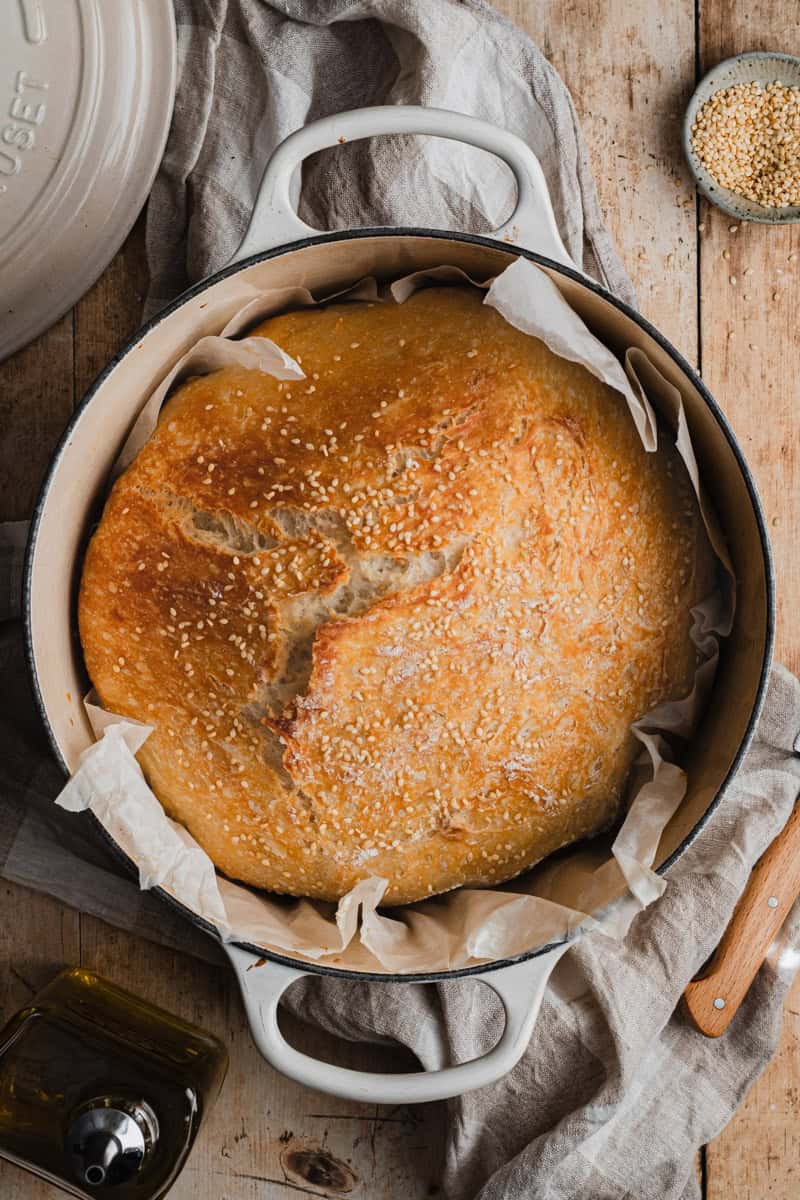
This Dutch oven no-knead bread is a simple, 5-minute prep recipe made with just 6 pantry ingredients. No kneading, no mixer, and a crusty, bakery-style loaf every time.
If you’re new here, you might not know I also run a small online store where I keep many of the tools I cook with every day, along with a few timeless homewares for good, slow living…
So, What Is No-Knead Bread?
Quite simply, no-knead bread is an easy bread-making method that uses time instead of kneading to develop gluten, resulting in a soft, airy crumb with minimal effort. Sounds good, doesn’t it?!
Here’s Why You’ll Love This Recipe
If the idea of kneading dough has ever put you off baking bread, this is your time to shine! There’s no technique to master here. No worrying if you’ve done it “right.” You simply mix, leave it alone, and let time do the work.
You don’t need a perfectly planned day to make this. Stir it together in the afternoon (I like to throw it together on a Saturday night after dinner), pop it in the fridge, have a good night’s sleep, and the next day, you’ve got a warm, crusty loaf on the table on Sunday morning. It’s the kind of recipe that works with your day, not against it.
You only need a handful of pantry ingredients. Flour, yeast, salt, sugar, olive oil, water. That’s it. No special trips to the shops. No complicated additions. Just the basics, doing their thing, exactly as they should. Making a homemade fresh loaf of bread doesn’t need to be hard!
It’s perfect for beginners (and tired Mummas like me!) If you’ve never made bread before, this is the one to start with. And if you have made bread before but just can’t be bothered some days… this is also the one to come back to. You don’t need to knead the dough, the fridge does most of the hard work, AND you come out with a loaf of homemade bread that didn’t require 3 hours hands-on baking. Winner!
Why Bake Bread In A Dutch Oven, You Ask?
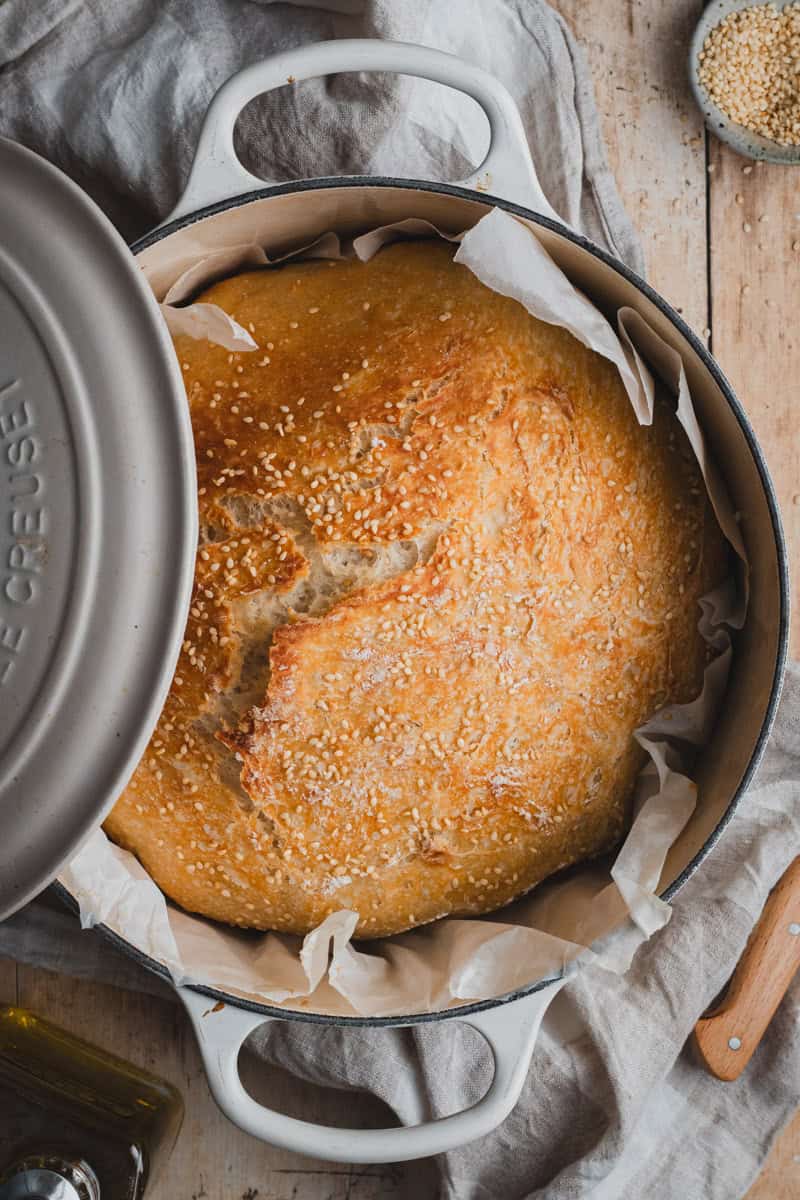
Well, there’s a reason that a Dutch oven has become the go-to for no-knead bread. Quite simply, because it does all the hard work for you! When you bake with the lid on, it traps steam released from the dough, creating the kind of environment you’d find in a professional bakery oven (ahh, the dream!). That steam is what gives you that deep golden, crackly crust while keeping the inside soft and airy. It also helps the loaf rise properly in those first crucial minutes of baking. Basically, it’s the difference between a nice loaf of bread and one that comes out of the oven feeling like it came straight from a little artisan bakery.
If you’re new around here and curious about cooking with cast iron but not quite sure where to begin, I’ve popped together a page all about cast iron cooking.
Ingredients
- Bread flour
- Sea salt flakes – I use Murray River salt flakes
- Instant or active dry yeast
- Lukewarm water
- Extra virgin olive oil
- Sugar – I use golden caster sugar
Equipment
No fancy equipment here, just your everyday kitchen bits – a large mixing bowl, wooden spoon, or spatula, and measuring tools. I swear by my half-moon plastic bowl scraper. As well as getting everything out of the bowl, it also cleans the bench without scraping it! You’ll also need a piece of parchment paper to bake your bread on in your Dutch oven. And most importantly… a 22/24cm Dutch oven (I use my Le Creuset enamel cast iron — it gives that incredible crust)
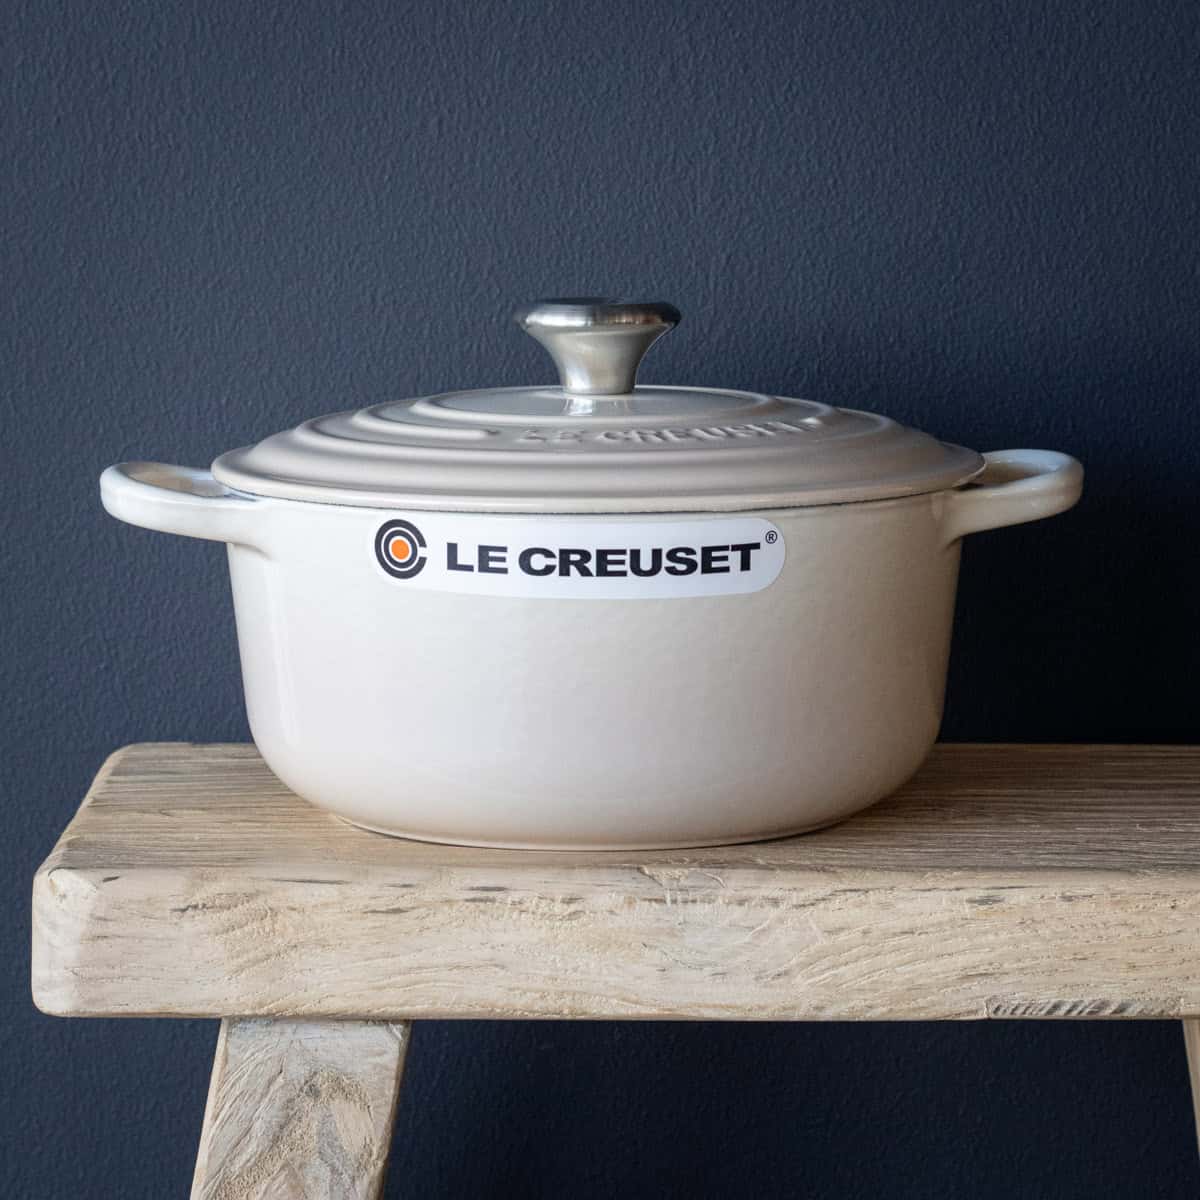
My Go-To Cast Iron Pot
If there’s one piece of kitchen equipment I couldn’t live without, it’s my 24cm Le Creuset enamel Dutch oven. Steady heat, beautiful cooking and it goes from the stovetop straight to the table.
Step-by-Step Instructions
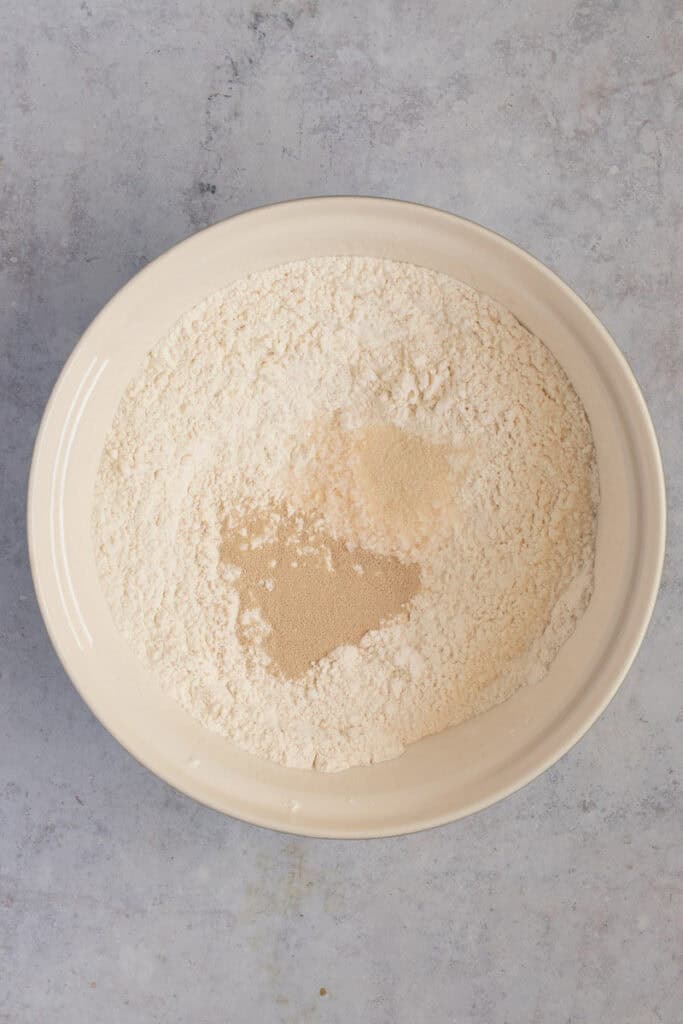
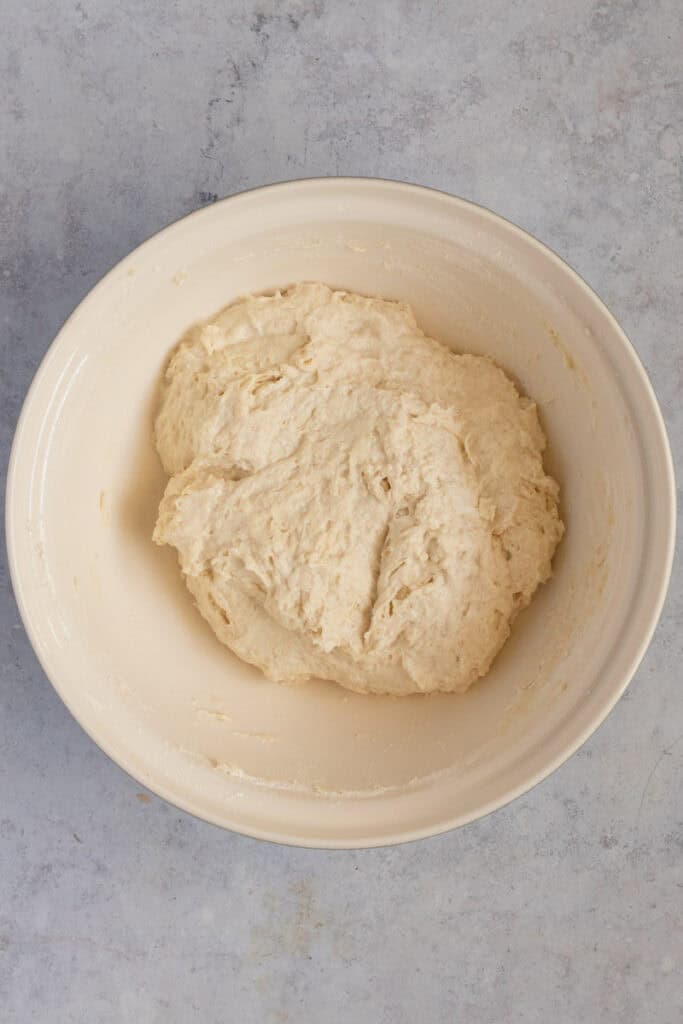
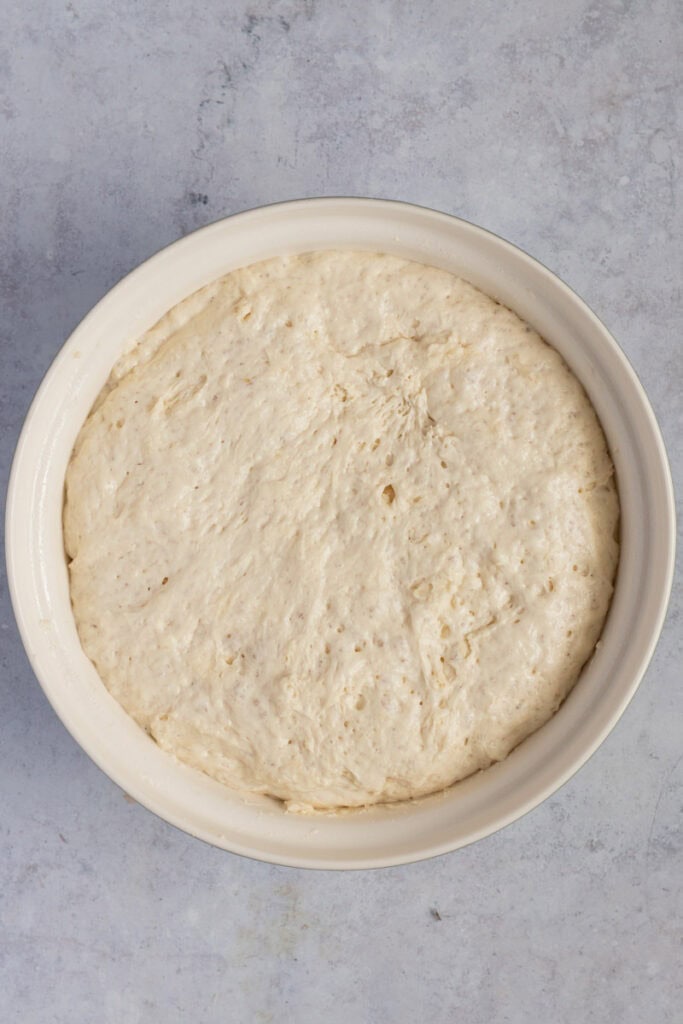
- Start by mixing together your dry ingredients in a bowl. Add the wet ingredients. Give it a quick mix, and you’re done.
- Cover the bowl and let it rest in the fridge overnight.
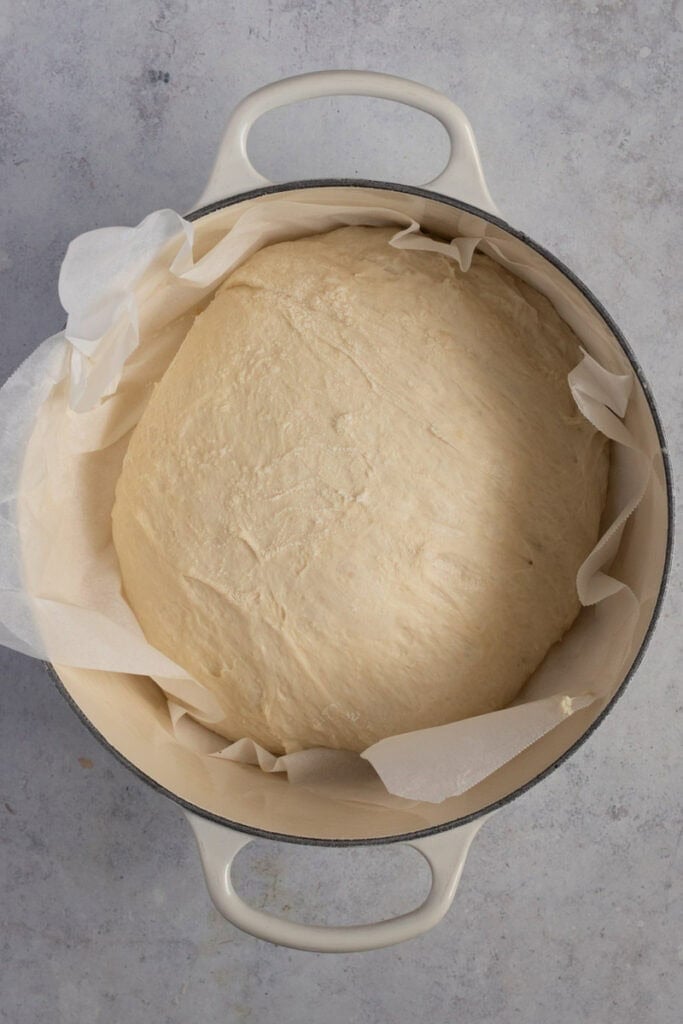
- Turn the dough out onto a lightly floured work surface and shape it lightly into a round ball, then transfer it to a sheet of parchment paper and into your Dutch oven.
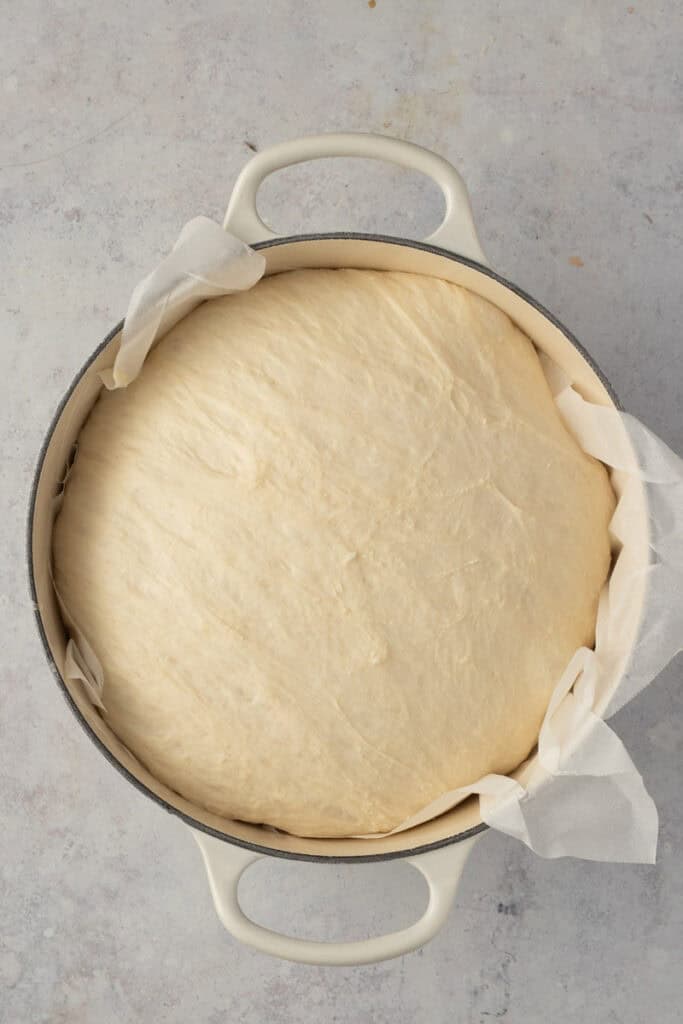
- Cover with a clean kitchen towel, and let the bread dough sit in a warm spot for a final rise while the oven heats.
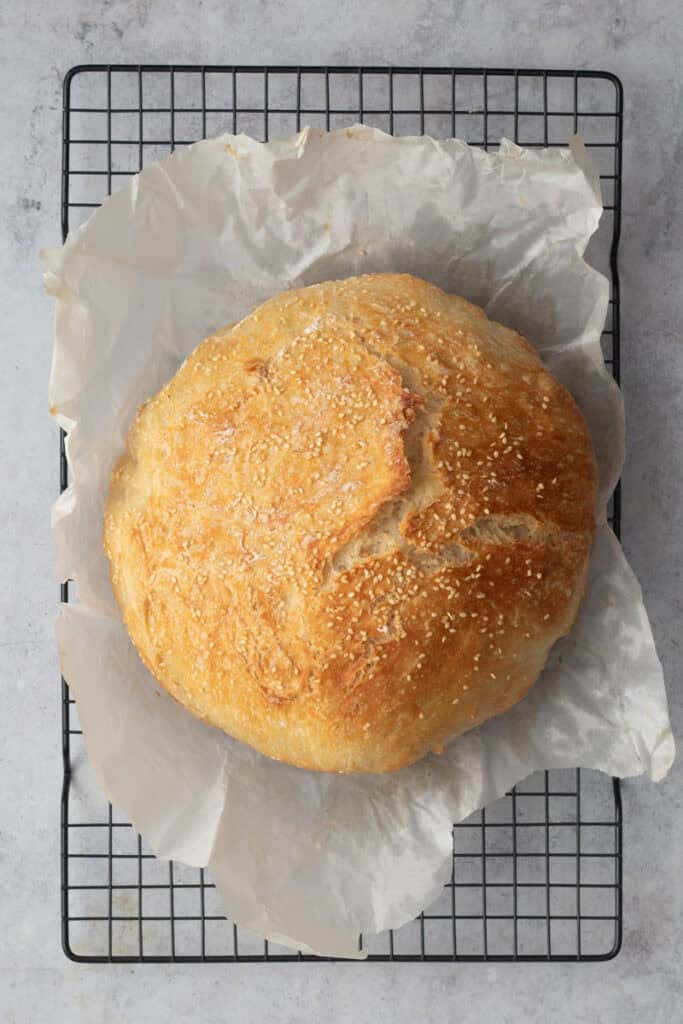
- Bake with the lid on first to create that beautiful crust, then uncover for the final stretch until golden brown and crispy on top.
- Once cooked, pop it onto a wire rack and let the bread cool.
Cooks notes
Sticky dough is good dough – Don’t panic if it feels too wet. That’s what gives you those lovely air pockets.
Don’t over-handle it – The less you fuss with the dough, the better the result.
Listen for the hollow sound – Tap the bottom of the loaf when it’s cooked. If it sounds hollow, it’s ready. You also can test with an instant-read thermometer. The internal temperature should be 90°C/190°F.
Every kitchen is a bit different – If it’s cooler where you are, your dough might need a little longer to rise.
Feel free to experiment with toppings. I like to add things like poppy or sesame seeds for a little interest.
Shall We Serve It Up?!
This bread is one of those “goes with everything” kind of loaves.
- Thick slices with butter melting into all the cracks
- Alongside a slow-cooked Guinness stew.
- Dunked into this Dutch oven pumpkin soup.
- Toasted the next morning with a homemade berry jam.
- Or piled high with something simple like ham, chutney, and cheddar cheese.
Let’s Talk Rise Time (And Why It Matters)
I normally make this one alongside my Saturday night dinner prep, cover with plastic wrap or my silicon lid, and it’s into the fridge overnight for at least 12 hours. I normally suggest 12-18 hours to let the dough rise in the fridge, which is perfect. At this time, you’ll also allow the flavours in the yeast to develop, which gives you more of a sourdough type flavour.
If you are making this in one day (which you can!), You will get a milder flavour in your loaf, but it’s still totally doable and delicious!
Where Did I Go Wrong?
Bread has a funny way of keeping us humble, doesn’t it? Even the simplest loaves (and the best bakers!) can have an off day, but the good news is most of the common dramas are easy to fix once you know what to look for. So here’s a little cheat sheet for when something goes wrong…
If your bread is a bit dense… It’s usually because the dough didn’t have enough time to rise, or your yeast wasn’t quite active. This dough relies on time more than anything else, so don’t rush it — those bubbles are where all that lovely texture comes from.
If your loaf spreads out instead of holding its shape… the dough might be a touch too wet or just a little over-proofed. A light dusting of flour when you are shaping, but don’t go too far – we still want that soft, slightly sticky dough.
Not getting that crusty, golden top? Make sure your Dutch oven is covered for the first part of baking. That trapped steam is what creates that beautiful crackle. And if the bottom is catching a bit too much colour, try placing a baking tray on the rack underneath to soften the heat.
And if your dough just isn’t rising much at all, it could be as simple as your kitchen being a little cool. Give it more time, or let it sit somewhere slightly warmer (not hot — we’re not rushing, just encouraging).
Honestly, once you’ve bread a couple of times, you start to get a feel for it. But like anything, it can be a learning curve! And even the “not quite perfect” loaves still taste delicious straight out of the oven with a smear of butter.

HELLO DUTCH OVEN PEOPLE!
You know you’re hooked when you start cooking just for the leftovers. We’re your people. Explore the kitchen in the Cast Iron Home Base.
FAQ’s
Storage
Once cool, I pop my no-knead Dutch oven bread straight into a paper bag or just wrap it up in a large linen tea towel. It then gets left in the pantry at room temperature. While it’s best eaten on the day that it’s made, it will make cracking toast on days 2 & 3.
Looking For Some More Dutch Oven Recipes? Try These…
This is the kind of recipe I just love. Not because it’s complicated or even impressive… but because it works. Every damn time. It fits into real life. Into busy days, slow afternoons, and it’s a perfect one for those frosty Autumn Saturday mornings after sport with a bowl of soup.
And when you pull that lid off and see that golden loaf sitting there…
Well, it never really gets old, does it?
Happy baking
Emma x
Start slow. Cook confidently.
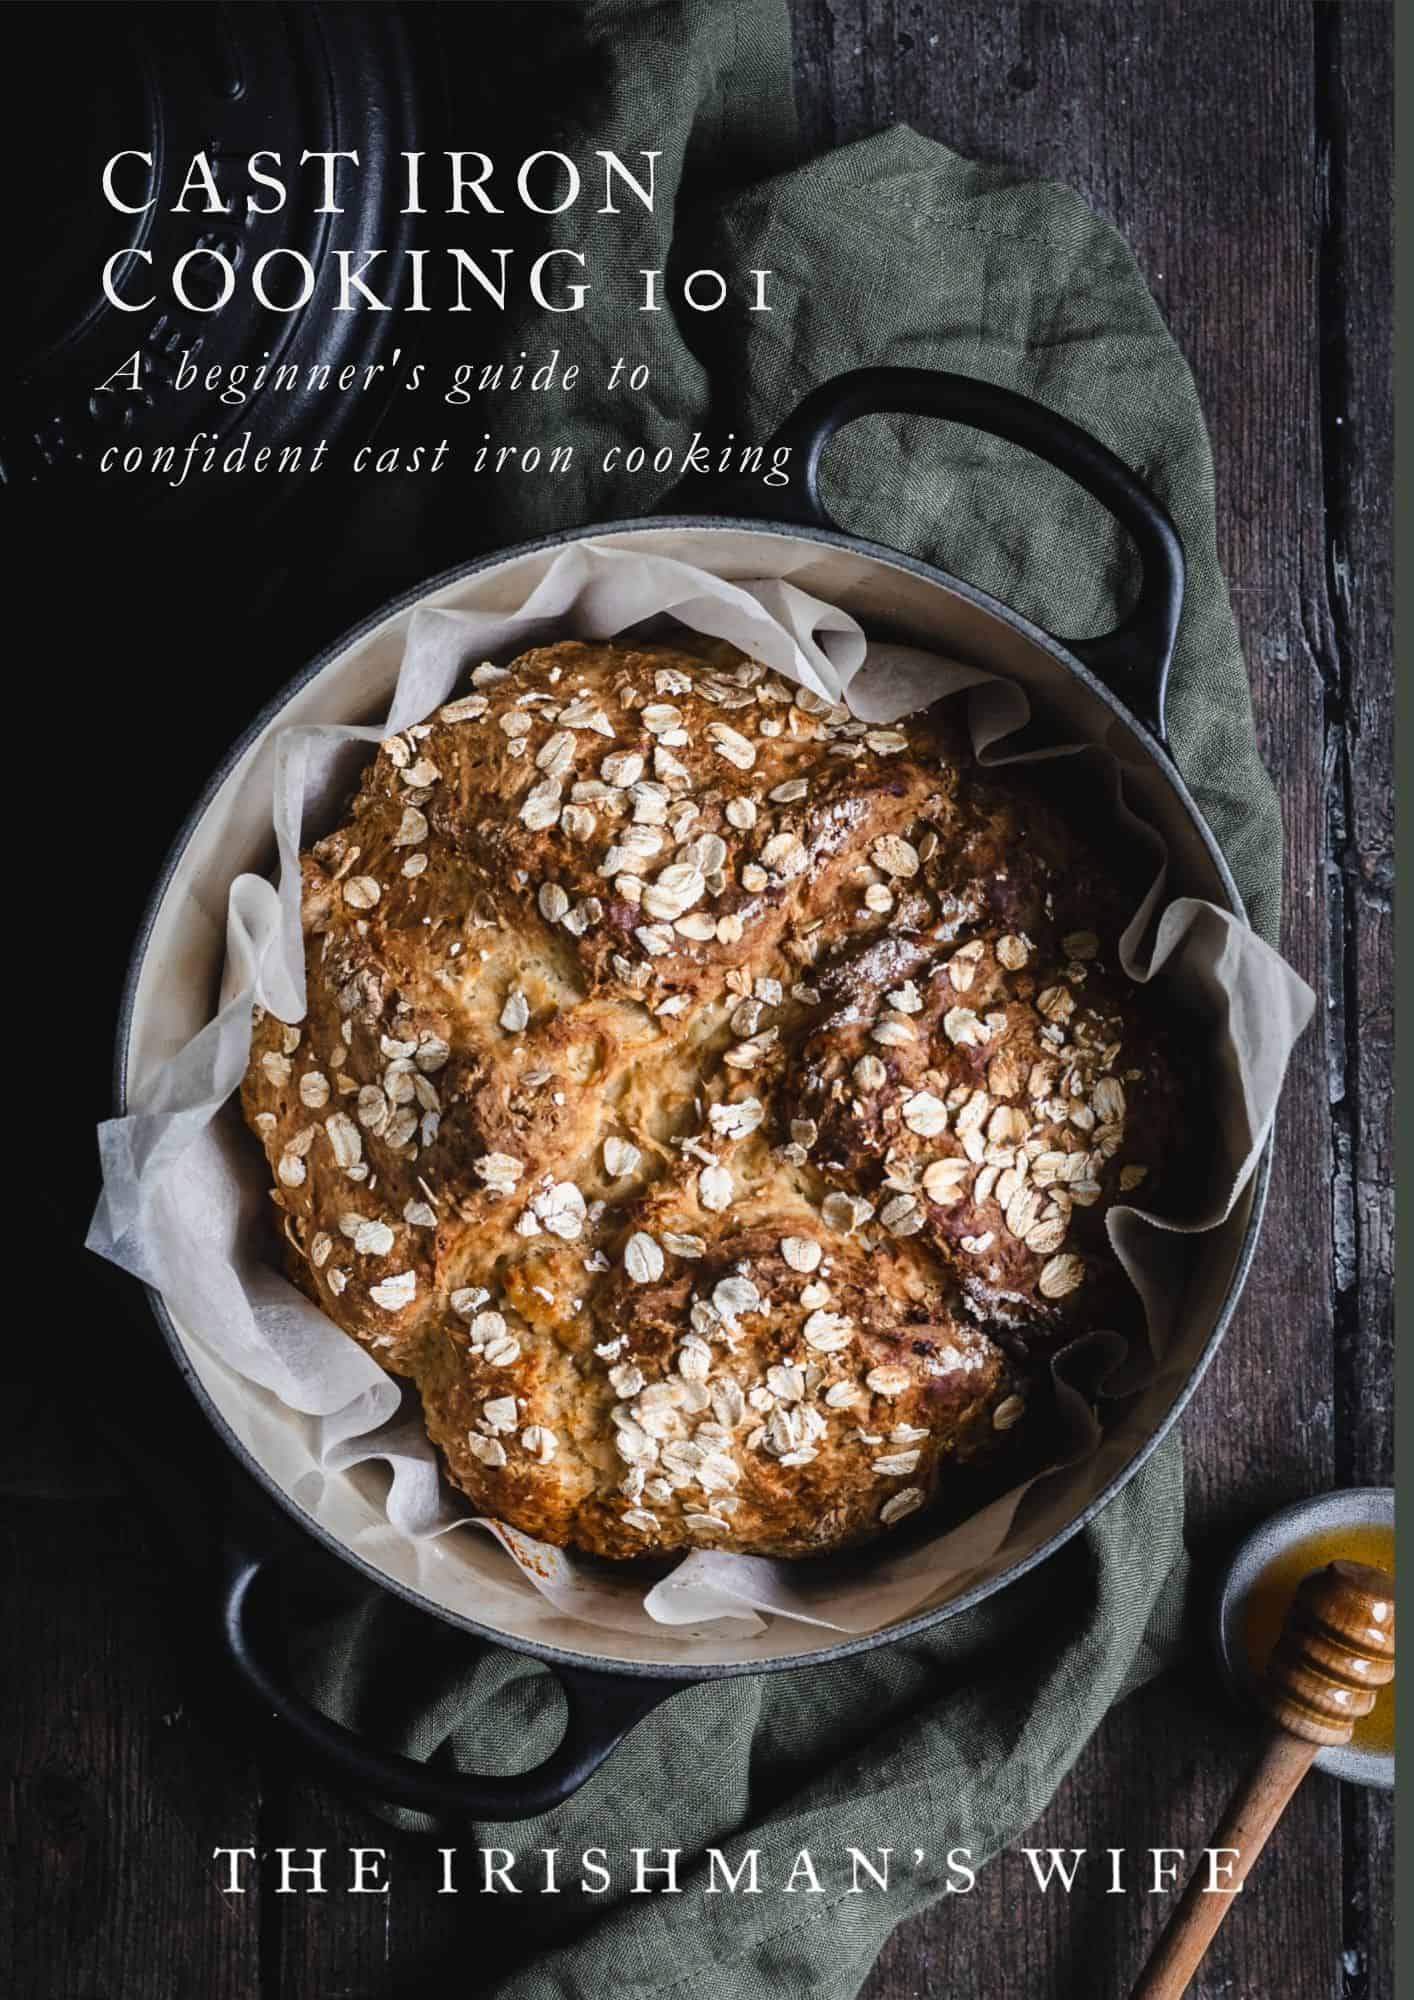
Cast Iron Cooking 101
From slow cooked stews to warm bread fresh from the oven, this guide will help you feel confident cooking with cast iron at home.
Dutch Oven No Need Bread
- Total Time: 12 hours 50 minutes
- Yield: 1 farmhouse loaf 1x
Description
This Dutch oven no-knead bread is a simple, 5-minute prep recipe made with just 6 pantry ingredients. No kneading, no mixer, and a crusty, bakery-style loaf every time.
Ingredients
- 600g bread flour + extra flour for shaping the loaf
- 1 tbsp sea salt flakes
- 1 tbsp dried instant yeast
- 1 tsp sugar
- 500ml lukewarm water
- 2 tbsp extra virgin olive oil
Instructions
- In a large mixing bowl, combine flour, salt, sugar and instant yeast. Pour in the lukewarm water and olive oil. Mix with a wooden spoon to incorporate all the ingredients into a wet dough.
- Cover the bowl with plastic wrap or a silicone lid and pop it into the fridge overnight to let the dough rise and ferment a little. The dough should double in size and look soft and jiggly on the surface.
- Remove the dough from the fridge and lightly flour your bench. Using a spatula or bench scraper, gently turn it out, trying not to knock the air out. It’s a fairly wet dough, so sprinkle over a little flour (no more than a tablespoon) to make it manageable. Fold the edges underneath a few times to form a soft round ball, then transfer the dough ball onto a piece of parchment paper. Pop it into your oiled Dutch oven, cover, and leave in a warm spot for about 2 hours to come back to room temperature and rise again til it’s doubled in size.
- Preheat the oven to 220°C/390°F. Pop the Dutch oven into the oven and bake with the lid on for 30 minutes. Reduce the heat to 190°C/375°F, remove the lid, and bake for another 20 minutes, until the crust is deep golden and the loaf sounds hollow when tapped.
- Lift the bread out and cool on a wire rack for at least 1 hour before slicing with a serrated knife. It’s worth the wait, I promise, the crumb needs time to set, and it’ll slice like a dream.
Notes
Sticky dough is good dough – Don’t panic if it feels too wet. That’s what gives you those lovely air pockets.
Don’t over-handle it – The less you fuss with the dough, the better the result.
Listen for the hollow sound – Tap the bottom of the loaf when it’s cooked. If it sounds hollow, it’s ready. You also can test it with an instant-read thermometer. The internal temperature should be 90°C/190°F.
Every kitchen is a bit different – If it’s cooler where you are, your dough might need a little longer to rise.
This recipe is cooked in a 24cm enamel cast-iron Dutch oven.
Please note all recipes on this website are in US measurements. Eg, 1 cup / 240ml, 1 tablespoon/15mls. Oven temperatures refer to a fan-forced oven.
- Prep Time: 10 minutes
- Resting Time: 12 hours
- Cook Time: 40 minutes
- Category: bread
- Method: Baking
- Cuisine: French
Nutrition
- Serving Size:
- Calories: 308
- Sugar: 0.8 g
- Sodium: 876.8 mg
- Fat: 4.9 g
- Carbohydrates: 55.5 g
- Protein: 9.6 g
- Cholesterol: 0 mg







This looks amazing!
What can I do if I don’t have a Dutch oven?
Hi Megan
Such a good question-don’t let it stop you baking!
If you’ve got any oven-safe pot with a lid, use that instead. You just need to trap the steam. No lid? Bake on a tray and pop a small dish of hot water in the oven to create steam. Or cover the dough with an upside-down roasting pan for the first part of the bake. It might look a little more rustic, but it’ll still be a cracking loaf.
Hope this helps 🙂
Emma x