
Why Food Sticks To Enameled Cast Iron (And How To Stop It)
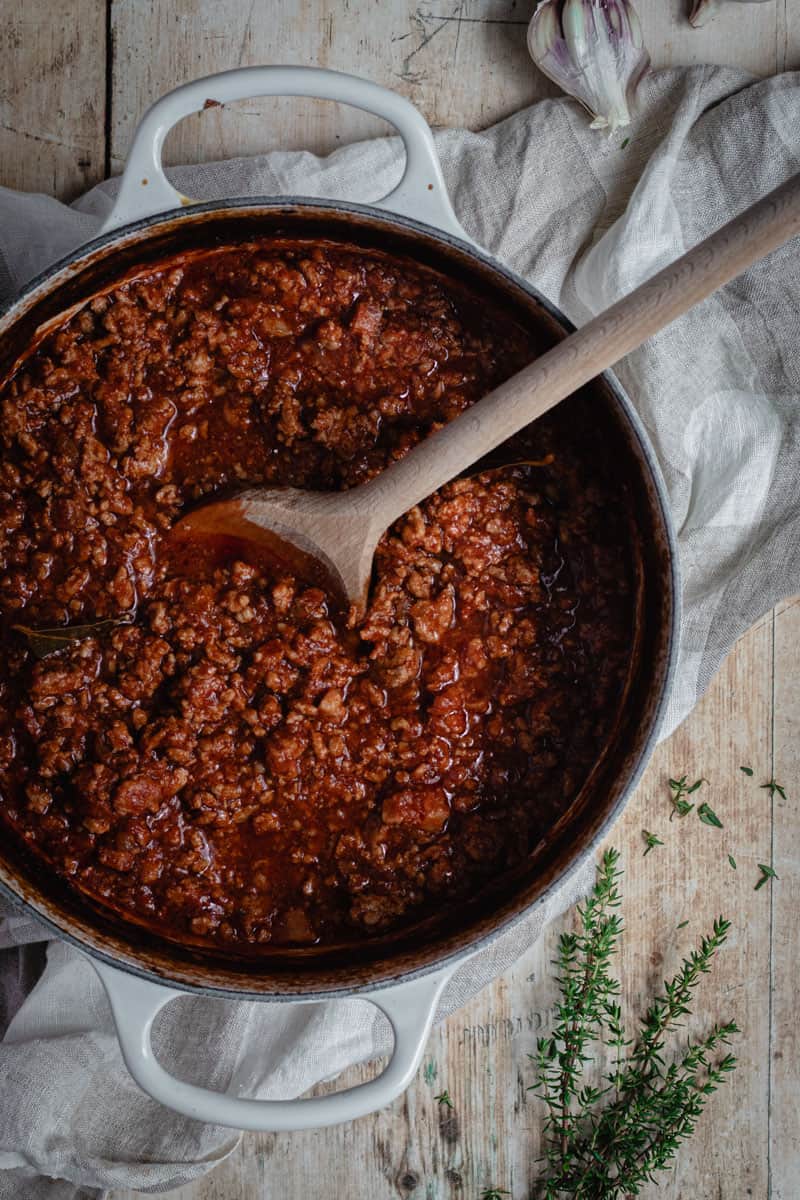
Picture this. It’s Sunday night, and you’ve been pottering around the kitchen for hours. The house smells amazing, and you’re about to serve a slow-cooked pot of stew straight from the oven for supper. You lift the lid on your large, enamel Dutch oven, give the pot a stir, and—you almost want to cry. Half the meat is glued to the bottom like it’s signed a long-term rental agreement. Dinner has become one big caramelized crime scene.
If you’ve ever wondered why your Dutch oven is sticking (especially when it feels like it shouldn’t), you’re not alone. But don’t stress because the fix is usually way simpler than you think. So let’s dive in…
New to cast iron cooking? Here’s a beginner’s guide on how to use a Dutch oven.
Why food sticks to enameled cast iron (quick answer)
As a general rule, food usually sticks to enameled cast iron because the heat is too high, the pot hasn’t been properly preheated, or there isn’t enough oil or fat in the pot. Unlike other types of cookware, like non-stick, enameled cast iron needs a low heat to start with, as well as a little time and patience — then once the temperature is right, food will naturally release from the surface.
If you’re new here, you might not know I also run a small online store where I keep many of the tools I cook with every day, along with a few timeless homewares for good, slow living…
We’ve all been there. Too many times! In fact, most of my pans have had disasters in them at one point or another (and they’re all still going strong!). In fact, I once forgot I had a small batch of tomato sauce on the stove and went outside to garden for four hours. Now that was a disaster! Mainly because it’s a miracle I didn’t burn the house down. And yes, I still have that pan in use today!
Food sticking to enameled cast iron is one of those things that happens to everyone at some point. Most of the time, it’s not the disaster that it appears to be. And once you understand why it happens, you’ll know exactly how to fix it, and stop it from happening again. Except for accidentally leaving the stove on for four hours while you garden – I can’t help you with that!
Why enamel cast iron cookware is the BEST!
Here’s the thing. Unlike raw cast iron, which builds a layer of seasoning by cooking and oiling it, enameled cast iron has a smooth, glazed, glass-like surface. It’s tough, beautiful, and cleans up easily, but it doesn’t come with that same non-stick finish that seasoned cast iron does (Like Lodge Cast Iron). That doesn’t mean it’s not as good (as far as I’m concerned, it’s the BEST!)- it just means that it’s different. And while it would be lovely to automatically cook perfectly from every piece of cookware you buy, in real life, it’s not that simple. No matter what type of cookware you buy, they’re all different, and each comes with a learning process to get the best out of it.
Enameled cast iron cookware loves low and slow cooking. It’s in its element with gentle preheating, a splash of fat, and food that’s not stone-cold from the fridge.
So, if your food is sticking, it’s rarely because your pot’s broken. It’s usually down to how you are cooking in it.
How to stop your Dutch oven from sticking
If you take away nothing else from this post, remember this…
- Add oil or butter before you even turn on the heat
- Start on low to medium heat always. Never high, it’s a one-way ticket to damaging your pot
- Always preheat your pot gently. Normally, it takes about 3-5 minutes.
- Don’t rush the browning and don’t crowd the pan
- Let food release naturally before turning
Once you get the feel for it and follow those simple steps, it will all become like second nature. And food sticking will become a thing of the past.
Why food sticks to enameled cast iron (and your Dutch oven)
Ok, let’s talk about the usual suspects. Here are the main reasons why food sticks in enamel cast iron…
1. The Cold Pot
You haven’t warmed up your pot before adding food. Enamel cookware needs to be warmed up first. If you add your food to a cold pot, it grabs and sticks. Like GLUE! Always preheat your enamel Dutch oven with a thin layer of oil in the pot on low heat for a few minutes before adding food. Hint… The oil here is the super important bit. You should always add fat to the base of the pot before it’s heated to stop it from getting thermal shock. Think of it like a moisturizer, without it, your pot will crack!
2. Using The Correct Piece Of Cookware For the Job
In the case of good quality enameled cookware like Le Creuset, it has a cream enamel coating in their Dutch ovens and a black enamel in its skillets. It really is a case of using the right piece for the job. Quite simply, the cream-colored enamel is for “wet” cooking. Think soups, stews, risottos, pasta sauces, etc. Anything that has liquid in it. While the black enamel is for “dry” cooking, like steaks, chicken, grilled vegetables, you get the drift. It can also tolerate a higher heat than the cream enamel. While there are loopholes to this rule, it’s a great place to start, so you don’t damage your cookware the first time you use it!
3. Your Heat Is Too High
Enameled cast iron just hates high heat. So please don’t treat it like your trusty carbon steel wok! Crank up your heat too high, and your food will burn and stick. Low-Medium heat is the sweet spot for most things. Want to sear a steak? You totally can do it, just be sure to use a skillet (and not a Dutch oven) and let it heat up before adding your meat to the pan. Tip: When cooking a steak in an enamel cast iron skillet, oil the meat, not the pan, for the best result!
4. Cold Food Meets Hot Pan
Cold meat from the fridge will literally weld itself to the pan. That’s because cold contracts and the enamel surface grab it. We want to avoid this at all costs, so always be sure to let meat rest on the bench at room temperature for 10–15 minutes before popping it in the pan. Tip: To check if your Dutch oven is ready to cook in, throw a tiny pinch of flour into the pot or watch into your skillet. If it sizzles, you’re good to go!
5. Way Too Much in the Dutch oven
Crowding your food when you’re cooking creates steam, which leads to boiled food that doesn’t cook properly and sticks! Yick! Take your time, and give everything space to breathe, and brown properly. Yes, this means cooking in batches. Tip: If time isn’t on your side when browning meat, instead of cutting the meat into chunks, cut it into larger steak-like pieces. They take less time to brown and then are removed from the pot and cut into chunks before slow cooking. It’s a game-changer!
It’s Stuck. What Do I do?
Firstly, don’t cry. We’ve got this! Here are my top four ways to release stuck-on food…
- Deglaze your pot. Simply add a splash of wine, stock, or even water to your enameled cast-iron pans. It will sizzle, reduce, and lift those stuck-on bits beautifully. Bonus flavor, too, if you’re making a sauce later on! Just make sure it’s at room temperature before adding. Sudden temperature changes, like adding cold water (or other cold liquids) to a hot pot, can shock and damage your enamel coating.
What you’re lifting there is called fond. It’s those browned bits that stick to the bottom of the pot. It might not look like much, but that there is a whole lotta flavor. Don’t discard it! - Be patient and wait it out. Many foods, like meat, will release naturally once it has been properly seared and a barrier has been created between the food and the pan. A little patience and you’ll be good.
- Use the right utensils. I’ll say it again… Metal utensils are for stainless steel cookware and BBQs!!! A wooden spatula, spoon or silicone spatula works wonders. Metal is a one-way ticket to Scratch City.
- While this isn’t a quick fix… you’ll be amazed at what some warm, soapy water can do to an enamel pot left overnight to soak. Simmering a couple of cups of water in your cast-iron skillet or Dutch oven can also help lift stuck-on bits too. Here’s a little more on how to clean your enamel Dutch oven in more detail.
Some simple steps to prevent sticking next time…
- Preheat low and slow. Take your time. Pop that skillet on and leave it to heat up on low heat for at least 4-5 minutes before you add any bits of food.
- Never heat an empty enamel Dutch oven. Add the cooking oil to the pot before you turn on the heat on. If you’re cooking in enameled cast-iron skillets, the best way to sear foods is by oiling the meat, and not the pan.
- Pat meat and veggies dry before cooking. That goes for halloumi too! – Side note, I’ve just realized the big difference it makes to halloumi when you pat it dry with a paper towel before pan frying. How did I not know this???
- Don’t crowd the pot. No one wants boiled beef for dinner.
Unlike traditional non-stick pans, enameled cast iron relies on heat and a little technique rather than a coating. Once the temperature is right and the food has properly seared, it will naturally release from the surface. Be gentle, consistent, treat it well, and you’ll have your enamel cast-iron cookware for a lifetime.
If you’re still getting the feel for it, my full guide on cast iron cooking walks you through exactly how to cook in cast iron.
The one thing that makes all the difference
Dutch oven → oil goes in before heat to moisturize the enamel. Many low-heat enamels, like Le Creuset, expand and contract depending on the heat. If your Dutch oven doesn’t have any oil in it, the heat will expand the enamel and this will lead to those pesky grey lines in your pot where the enamel has cracked. While most of the time, it’s not ruined, doing this over a prolonged time can cause irreversible damage to your pot.
Skillet → When possible, oil the food, not the pan. And use a high-heat oil, like avocado. Why? Because extra virgin olive oil can burn at a temperature of 140°C, causing it to burn onto the pan. This then creates a barrier on the enamel and stops it from forming a cooked crust on your food, which is how it’s released cleanly (and without sticking) from the surface.

CAST IRON ENABLER Here!
You started with one pot. Now you’re comparing colours and sizes online at midnight. Continue the obsession in my Cast Iron Kitchen HQ.
What not to do…
Do not use steel wool. I cannot stress this enough. Steel wool is meant for the garage, not your kitchen. It will only lead to disaster and a ruined enameled pot.
Rock salt and a lemon come a close second in what not to do. Stubborn stains should be soaked – I once soaked a pot repeatedly for 7 days to remove the burnt-on rice that had welded itself into my 20cm Dutch oven after I went for a shower whilst the rice was cooking. To be fair, I did ask someone to keep an eye on it, but what can I say, We need to work on our multitasking!
Foods That Are a Bit Tricky
There are some foods that take time to perfect in a new enameled cast-iron pan. But give it time, and soon enough you’ll be using your pan for everything!
- Eggs are usually the No. 1 reason people tell me they don’t like cooking in cast-iron skillets. And to be fair, if you’re chasing those perfect, slip-sliding eggs, a good non-stick pan (ceramic or traditional) will always be the easiest option.
But… I recently bought a new Le Creuset skillet, and as an experiment, the very first thing I cooked in it was an omelette. Proper preheat, a little oil, kept the heat low, and not a single bit stuck. It came out perfectly. So it can absolutely be done.
If you’d prefer to cook eggs in cast iron, it just comes down to technique. Use a high-heat oil like avocado, keep the temperature low (not too hot), and once the base has set, turn the heat off and pop a lid on for a minute. They’ll release cleanly and cook through beautifully. - Delicate fish, like eggs, are another one that needs a good bit of oil and some tender loving care. More robust fish types, like salmon, are rarely a problem.
- Caramel & sugar burn quickly, so keep the heat steady and low – sugar burns fast and loves to stick on with a vengeance.
FAQ’s
When It’s Not You, It’s the Pot
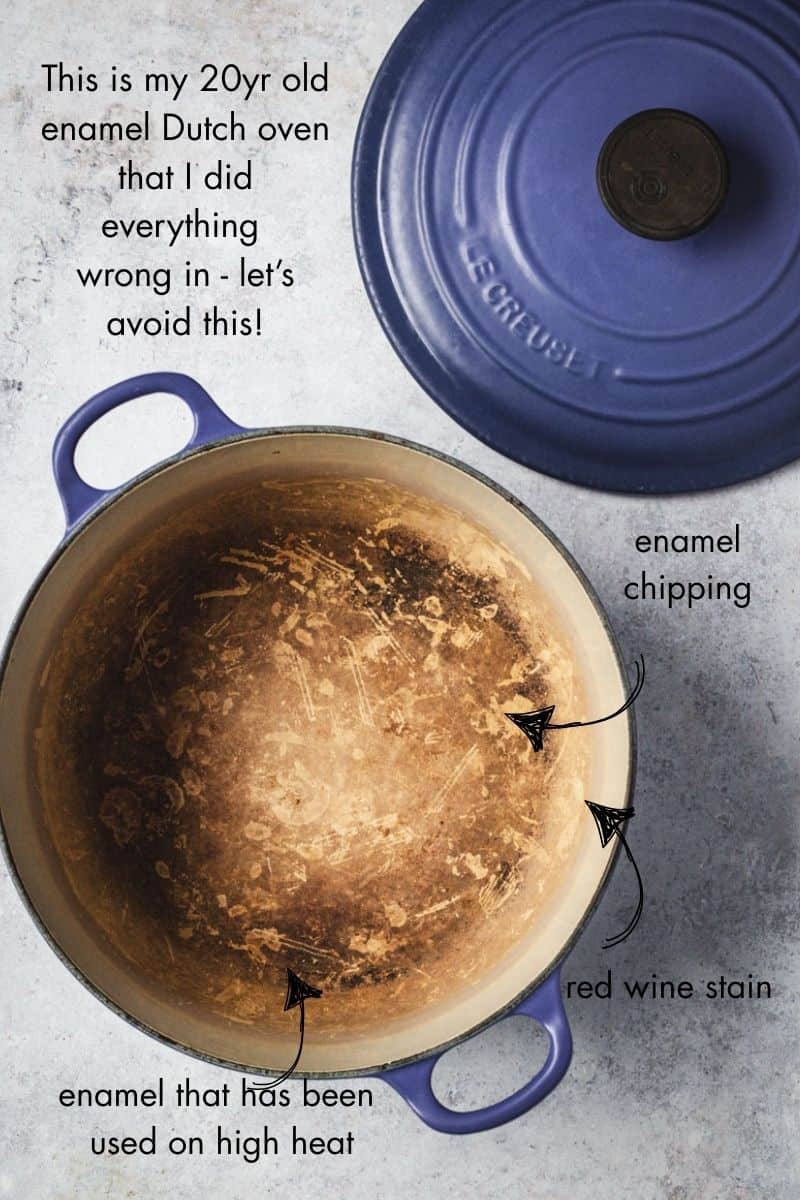
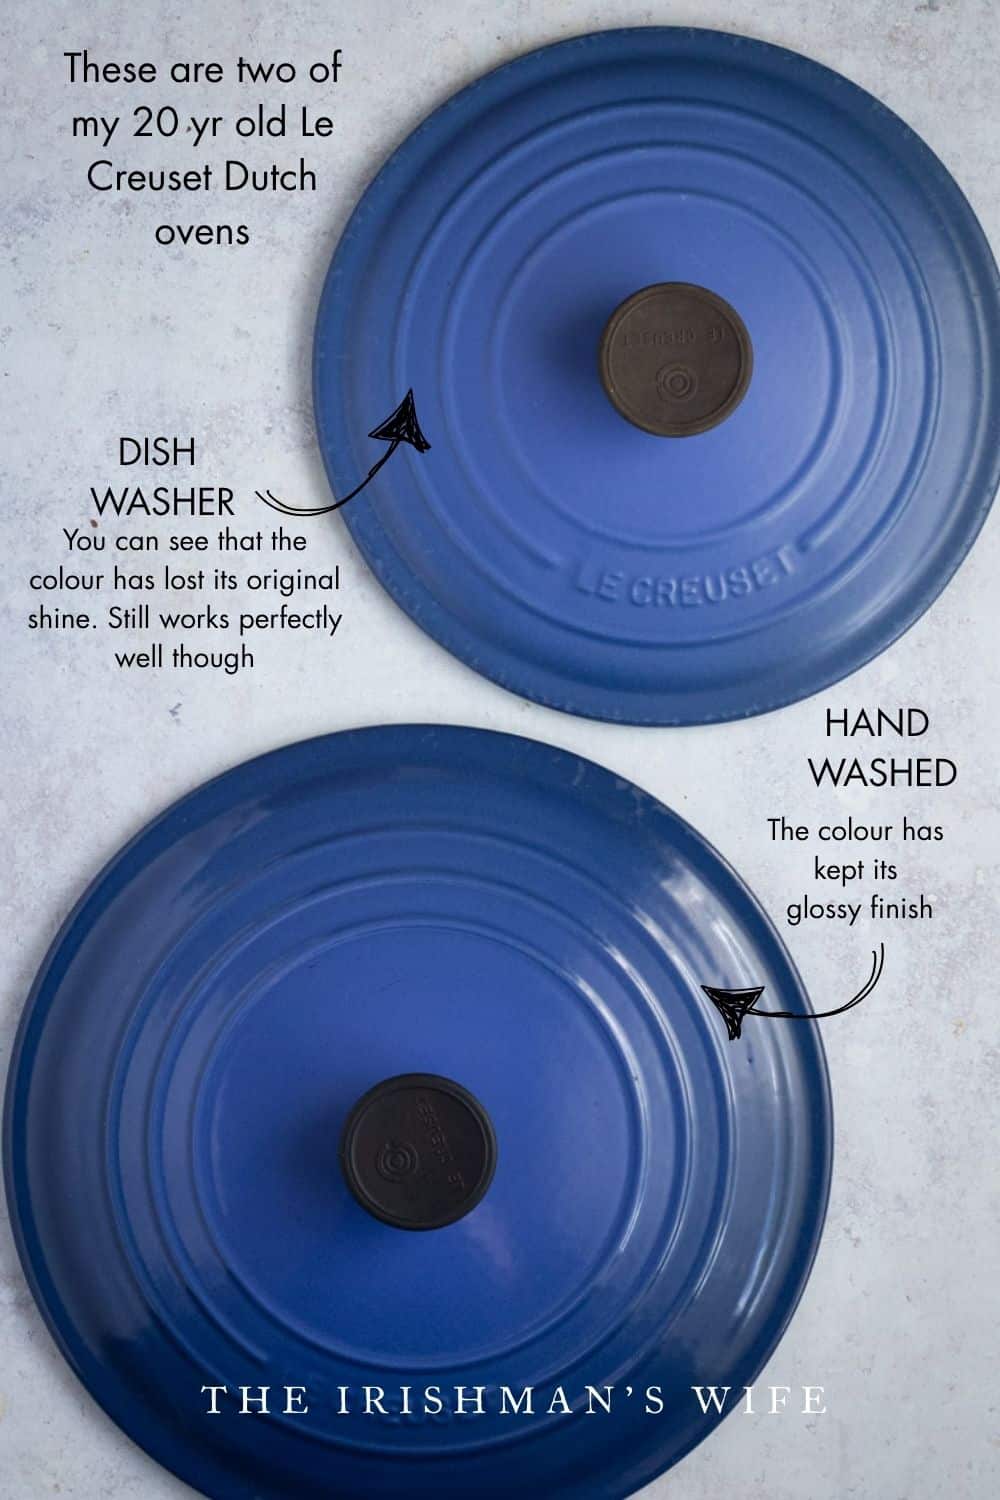
- It’s not me, it’s you 😉 Sometimes the issue isn’t your cooking, it’s the enamel itself. Older pots that have been used on high heat for a long period of time will eventually not get a lovely barrier seal when you’re browning. I am at this stage with my oldest large Dutch oven. It’s 20 years old and hand on heart, I probably did all the damage on high heat in the first five years when I had no idea how to cook in it. It has been well-loved, and this is a perfect example of when it’s time to say goodbye.
- Cheaper enamel can feel rougher. It’s not unsafe, but you may need a touch more fat to help things along.
- Don’t panic over a chip (unless it’s on the inside) or a stain. Nine times out of ten, it’s purely cosmetic, and your pot will keep on cooking for decades. As far as I’m concerned, food stains in my enamel (red wine, curry, etc) are nothing but love and flavor. It’s something to be proud of! You love your pot, and it’s clearly being used to cook beautiful food.
- So if food’s been sticking in your enameled cast iron, don’t worry—you haven’t ruined anything. It’s not a design flaw, it’s just a quirk. A little patience, a splash of oil, and the right heat will have your pot playing nicely again.
- It took me a while to get used to my first Dutch oven (pictured above). When I first met the Irishman, I could cook a five-course degustation meal in a restaurant, but I’d never made an Irish Stew. Since then, I’ve learnt a lot! It’s fed us countless Sunday roasts, soups, and stews, and I wouldn’t trade it for the world. In fact, I need to be stopped (never!!!) from buying more.
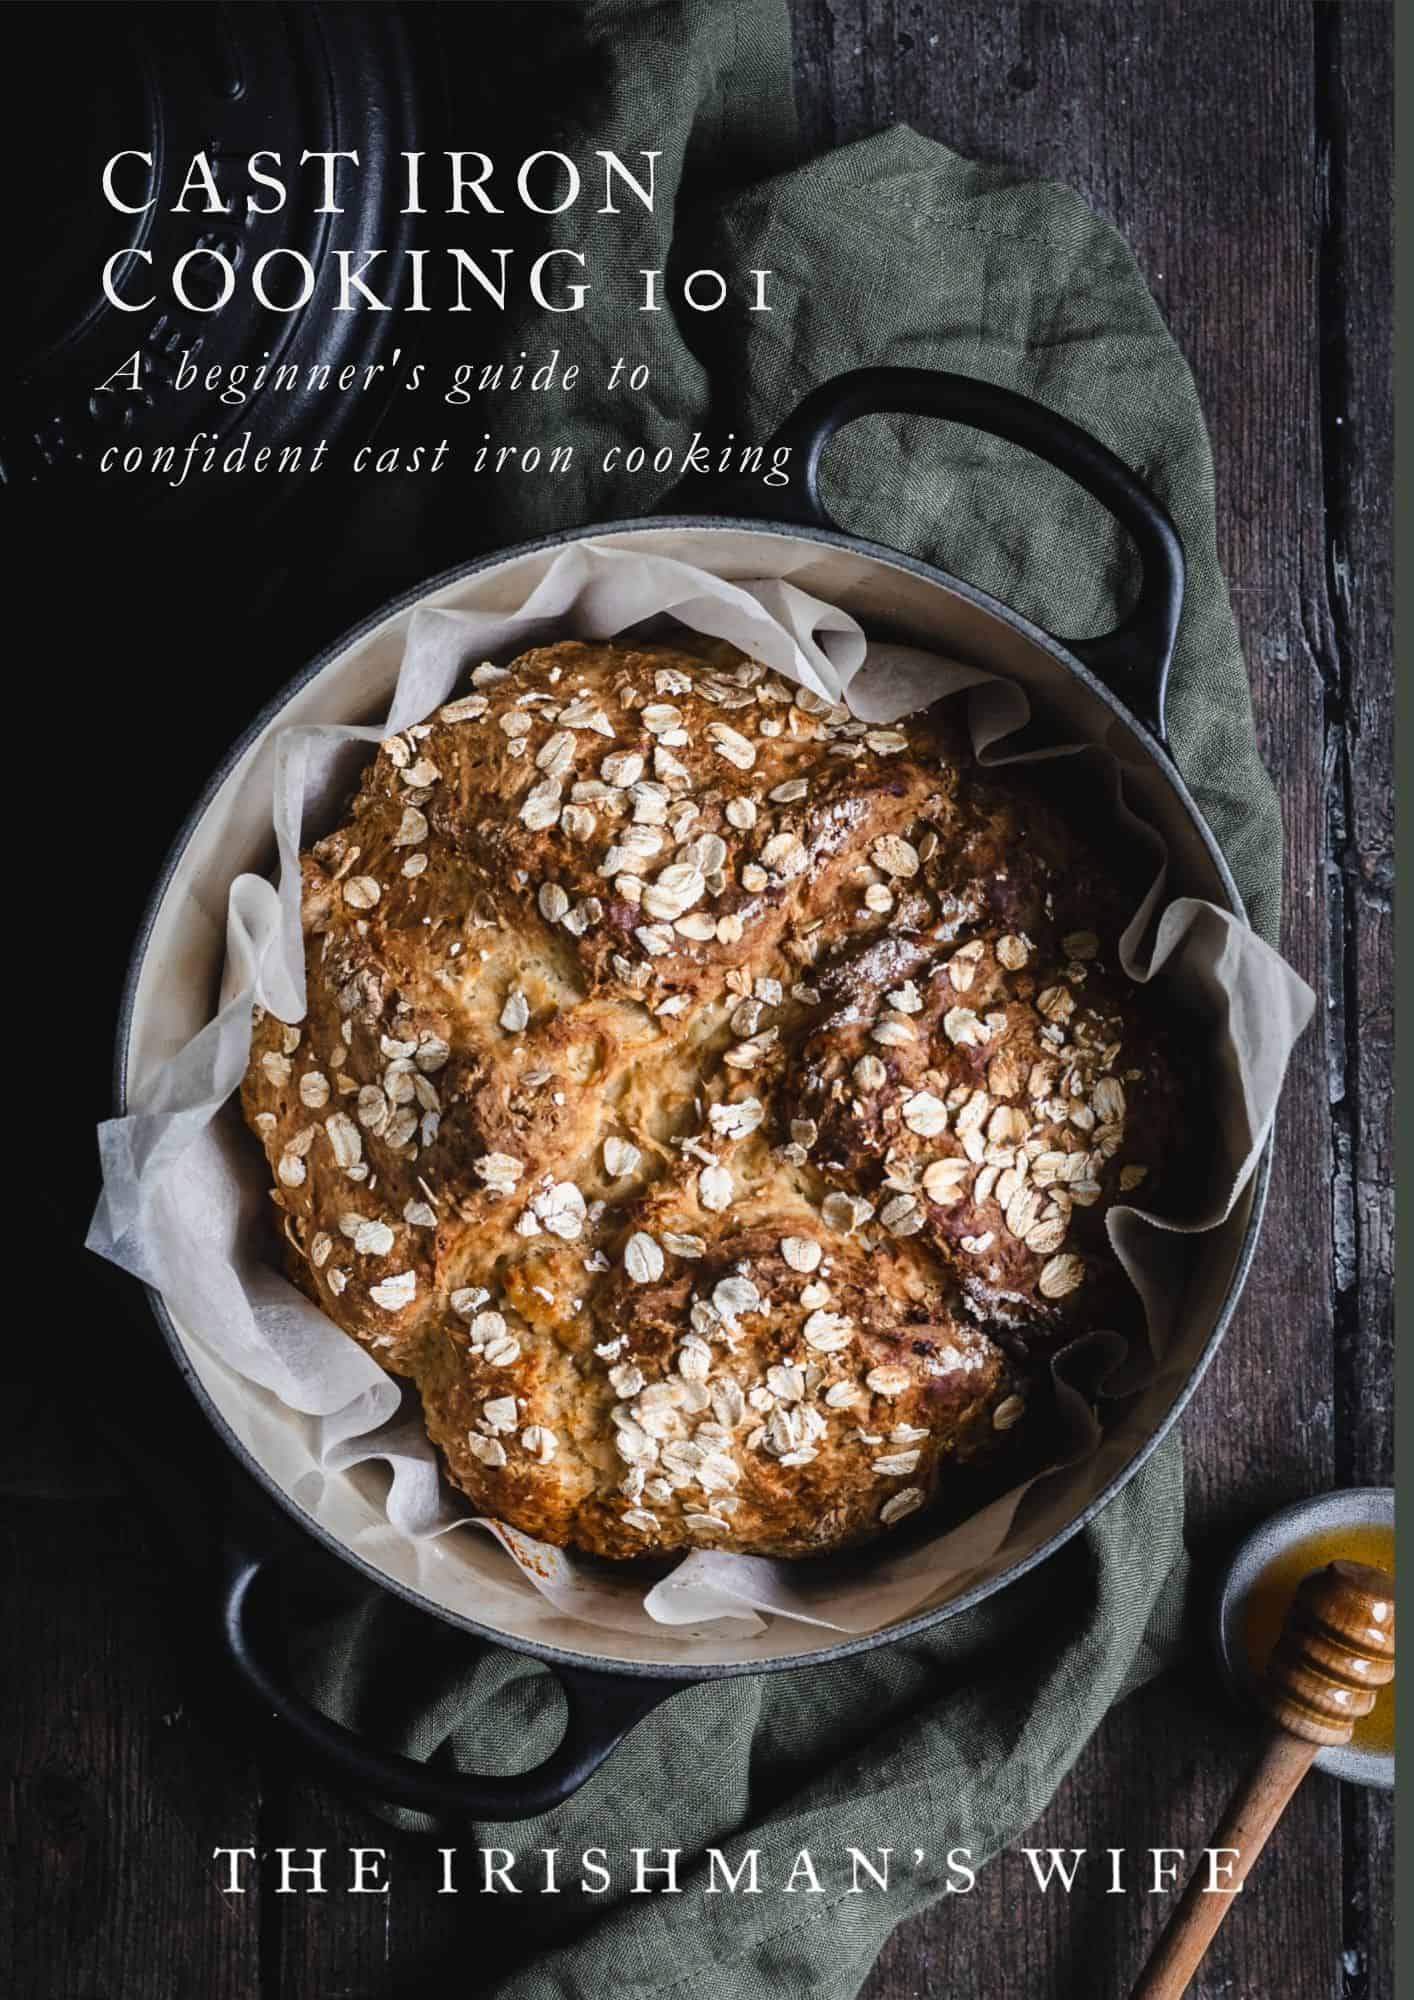
Start slow. Cook confidently.
Cast Iron Cooking 101
From slow cooked stews to warm bread fresh from the oven, this guide will help you feel confident cooking with cast iron at home.
Want to learn more about cast iron cooking? Check out these…
- How To Care For Enamel Cast Iron Cookware
- This Slow-Cook’s Cast Iron Collection
- How to Choose the Right Size Cast Iron Pan
- What is the Best Dutch Oven size to buy?
So tell me, what’s been your stickiest enamel disaster? Let me know in the comments. I’ll bet I’ve been there too.
x


Thanks. I just got some enameled pots and skillet for Christmas. I am a pretty good cook but 3 times in and everything sticking, I decided it was time to do a deep dive online search.
Thankfully I came across your site and just learned I have to mentally change my approach to using these pans.
I’m about to try again this afternoon with an expensive piece of meat and don’t want it burnt.
Oh thank you so much for this! And yay for cast iron Christmas gifts 🥰 (it definitely has a learning curve!).
You’re so right — it’s a bit of a mindset shift, but once it clicks you’ll never look back. For your meat… preheat gently, pat the meat dry, add oil once warm, then don’t touch it until it releases naturally (that crust is your best friend!).
Hope it goes well!
Emma x
Totally needed this! I gave Staub as gifts last Christmas and birthdays to my daughter, daughter in law and 4 granddaughters. I am saving this and sending it to each of them. Thank you so much. Judy
Oh Judy, I love this so much. What beautiful gifts to pass down through the family! I hope this helps them all fall even more in love with cast iron cooking. Thank you so much for sharing this with them x